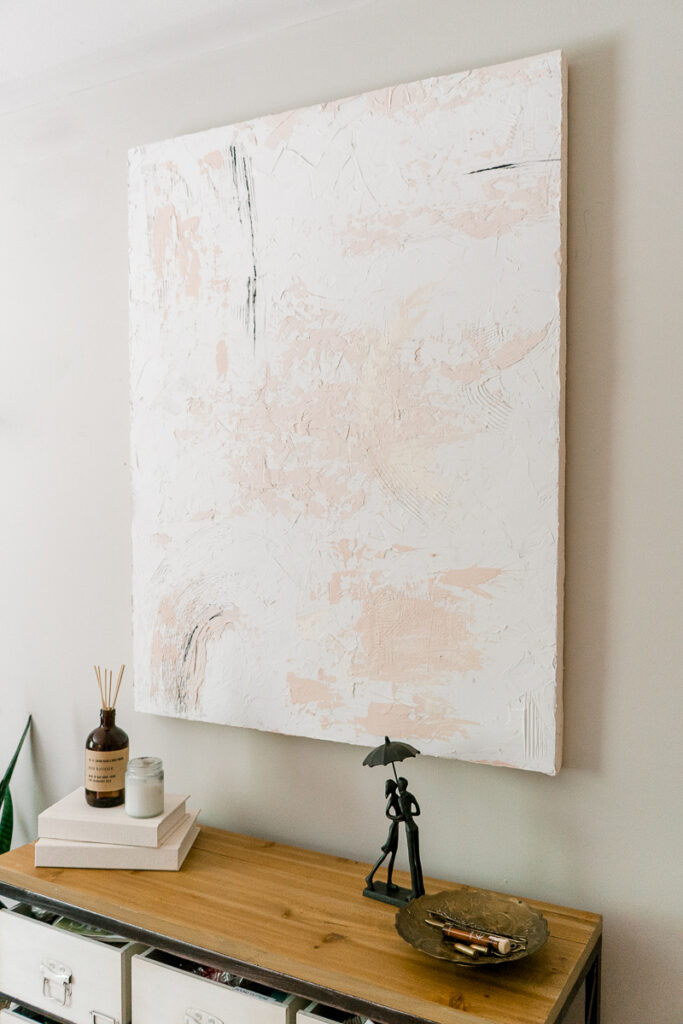
I recently started an impromptu office makeover. Many things had to be changed, but the main problem I was facing is changing the layout for a better video shooting experience. After rearranging some furniture, I got a space above this beautiful industrial storage unit. I decided to fill it with DIY textured art, and today I'll show you how to create textured wall art for your home for less than $30.
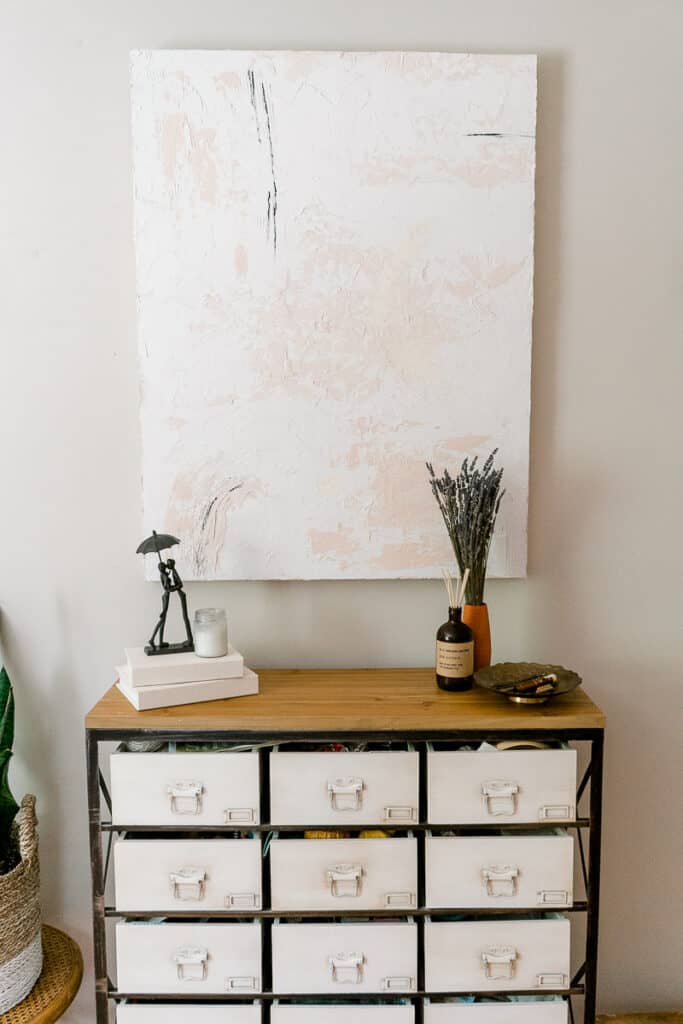
I rearranged all the furniture and made my office a little slice of paradise. And this DIY textured art is definitely the center of it.
Before we continue exploring tips and tricks on how to make textured abstract wall art, make sure to follow me on Instagram, Pinterest and YouTube for more DIYs!
Jump to:
What is textured wall art?
Textured canvas art is an abstract painting, where as a medium is used a material that could be shaped in 3-D.
It's become quite popular because of its neutral tones and interesting unique texture. A lot of high-end stores carry hand-painted textured canvas art.
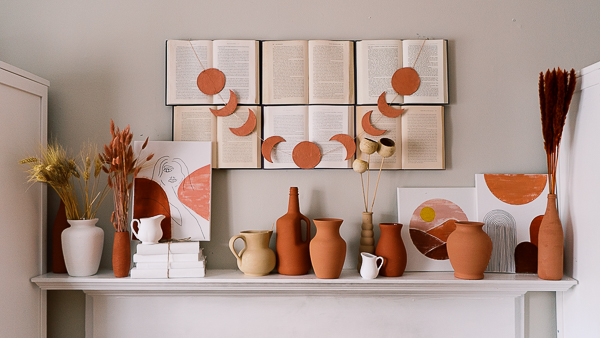
It looks so calming and adaptable to any home. Here are some of my favorite art pieces from different stores.

While this art is so expensive in stores, it's not very complicated to DIY. Moreover, you can customize the dimensions, to perfectly fit your room and color palette.
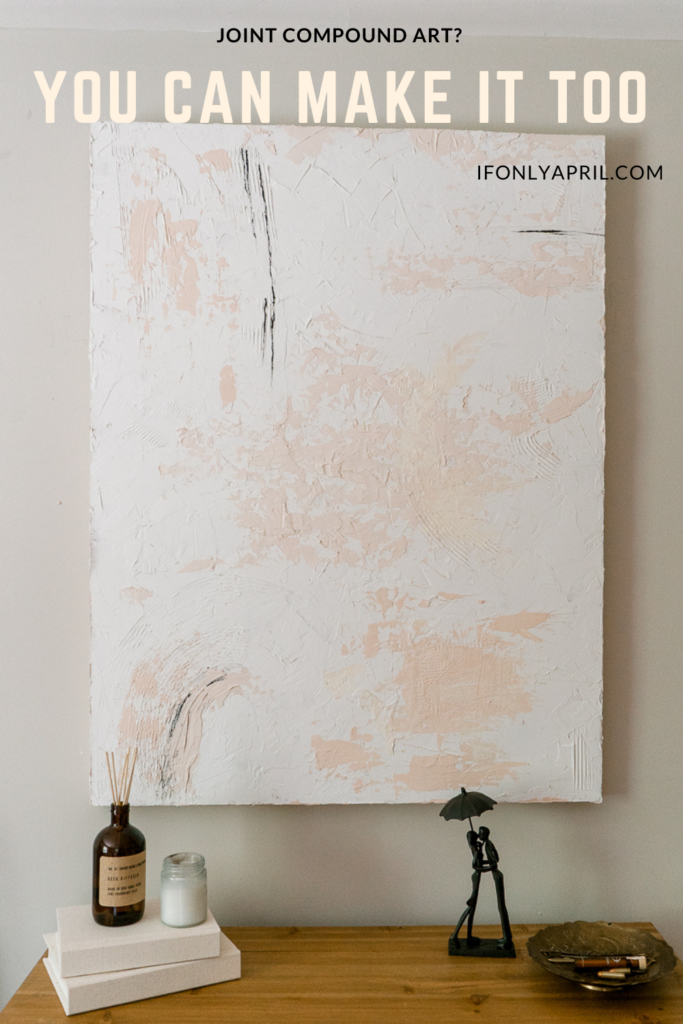
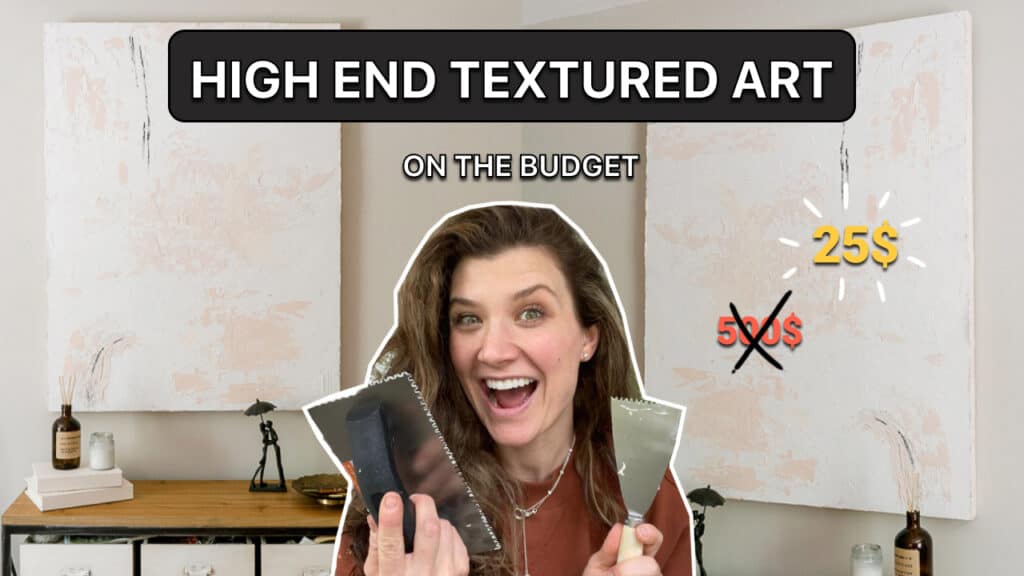
And today I'll show you how to make textured abstract wall art for less than $30.
Time: 2 hours (+up to 24 hours drying time)
Cost: $30
Level: Easy
Materials
- Joint compound
- 1x2" boards and underpayment plywood
- wood glue
- Taping knives (different width)
- square notch trowel (optional)
- V notch trowel (optional)
- Paint (optional)
PIN IT TO MAKE LATER >>>>>>
Steps
Choosing your canvas
There are a few options on the budget you could use as a canvas that I could think of.
Why not buy real canvas, you might ask?
The last time I checked in Michael's, the right size canvas costs $99. In my opinion, that's a bit overpaying, considering that we'll cover the canvas with a joint compound anyway.
If you still would want to go with a canvas route, you could thrift a canvas and make your art on top of it. But I haven't seen too many 3x4' paintings laying around. Although, you might get lucky!
This brings us to the option that I chose which was to make my "own canvas" in form of a box.
How to make a cheap canvas for textured art
You'd simply need (2) 1x2s and an 48x48" underlaymant mat.
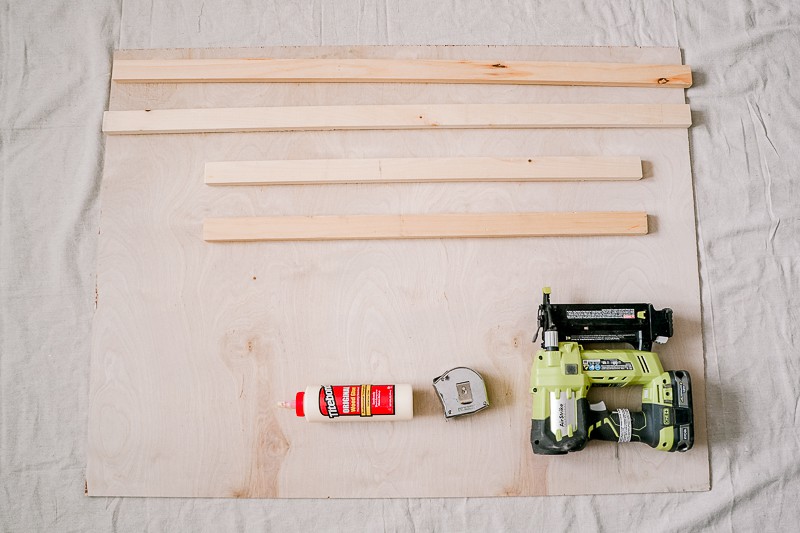
You can ask at Home Depot to cut that for you to the right dimensions.
When you have all materials ready, attach 1x2s to the underpayment using wood glue and Brad nailer. Drive nails from the side of the plywood. I made a mistake first, it's a funny story, you can watch it on YouTube ;D
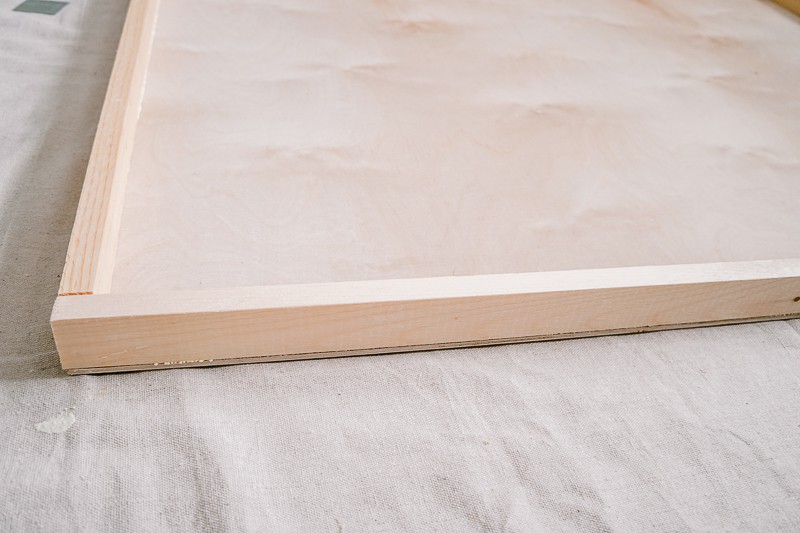
If you don't have power tools you could use a good old hammer with nails or screws. It really doesn't matter since it won't be visible after we apply a few layers of joint compound.
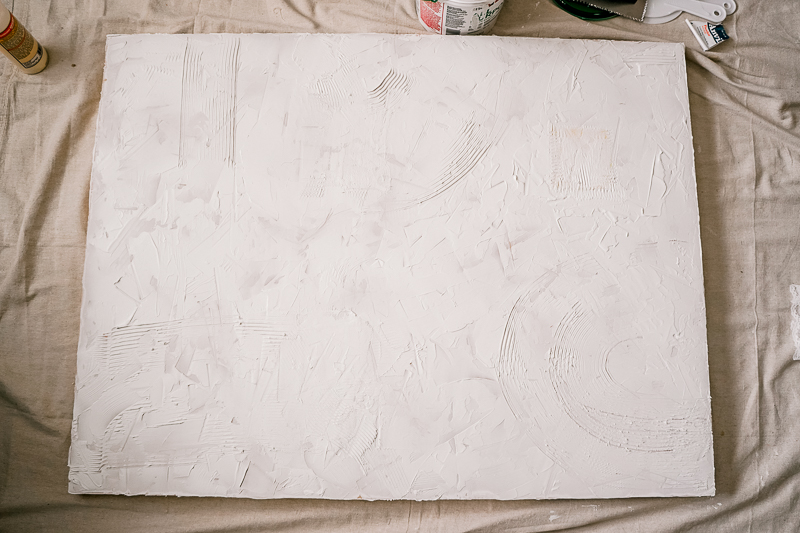
Applying joint compound
Here comes the fun part!! And if you think that it's easy to make, you are absolutely right!
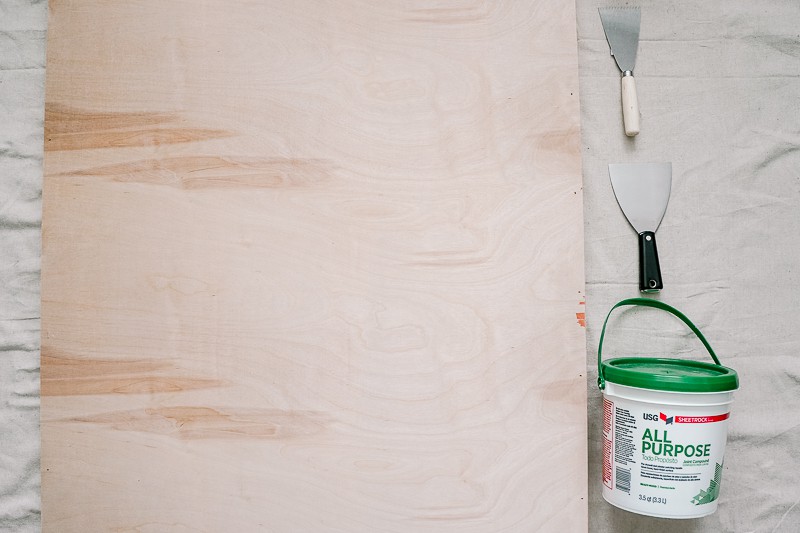
Using your taping knife, apply joint compound to the plywood. You can go in any direction. Use as wide, or narrow a taping knife as you want! There are no rules! And even if there are any, this would be a perfect place to break all the rules!
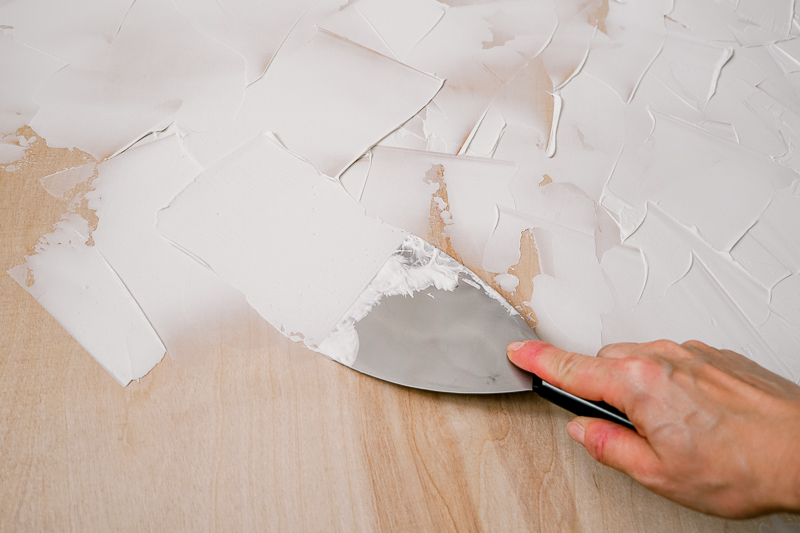
Use different notch trowels to create different textured effects. I really like the effect of texture being a bit smudged but still textured. To archive that, wait for the joint compound to dry a little and then smudge it with a taping knife.
Try different things and see what you like better! And don't worry, the joint compound isn't like plaster of Paris and it won't fry fast. If you make a mistake, you can easily go back and change it.
Applying another layer
I let the first layer of joint compound to dry for almost 24 hours. I think it was already dry after 12.
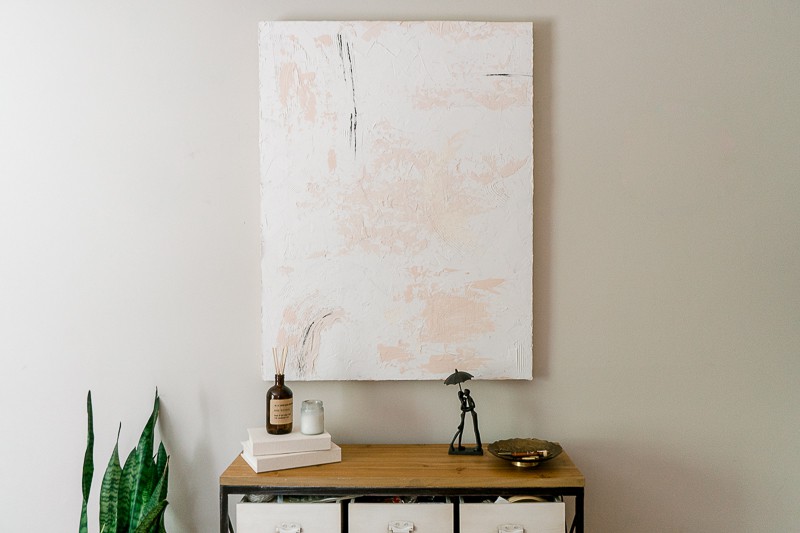
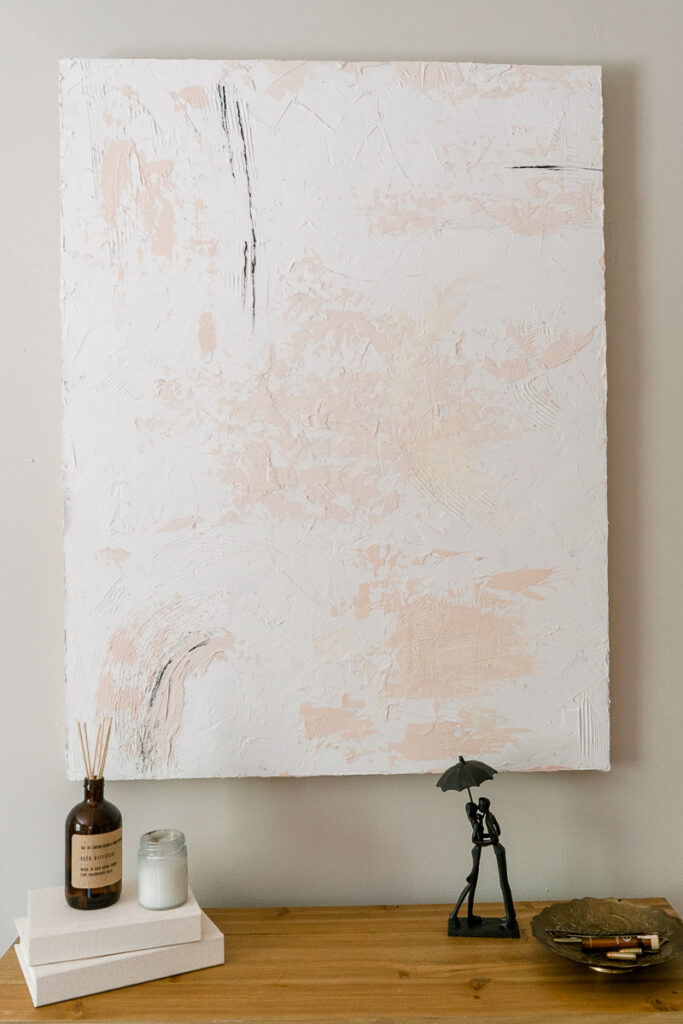
To finish this textured art I mixed a paint sample (Cockleshell by BEHR) with a joint compound and applied it on the surface with chaotic but light strokes. The secret here is to put a little mixture on the taping knife. If you put too much, it will blend together and become a big blob.
In the end I added a few strokes of black acrylic paint. I think it turned out fabulous!
Here are a few ideas to add details texture to your wall art
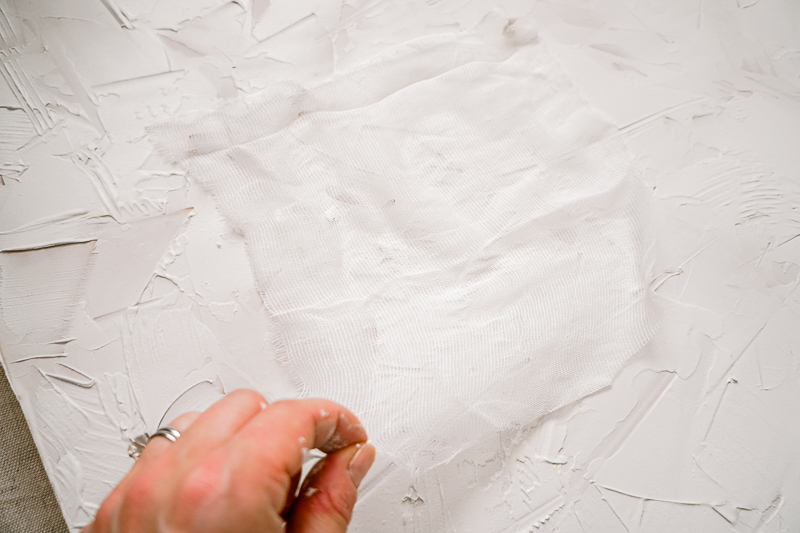
- Add fabric. I tried to add a cheesecloth and it looked fabulous but ended up covered by joint compound too much. I think linen or cotton, perhaps, would perform better.
- Add satin (or some sort of shiny) paint. I added a satin paint sample (Vanilla Paste by BEHR). It was one of those happy accidents! I absolutely love how the color glows.
- Add gold leaf foil paper. I think that could look stunning and I'm looking forward to discovering new possibilities! Will try it out and let you know!
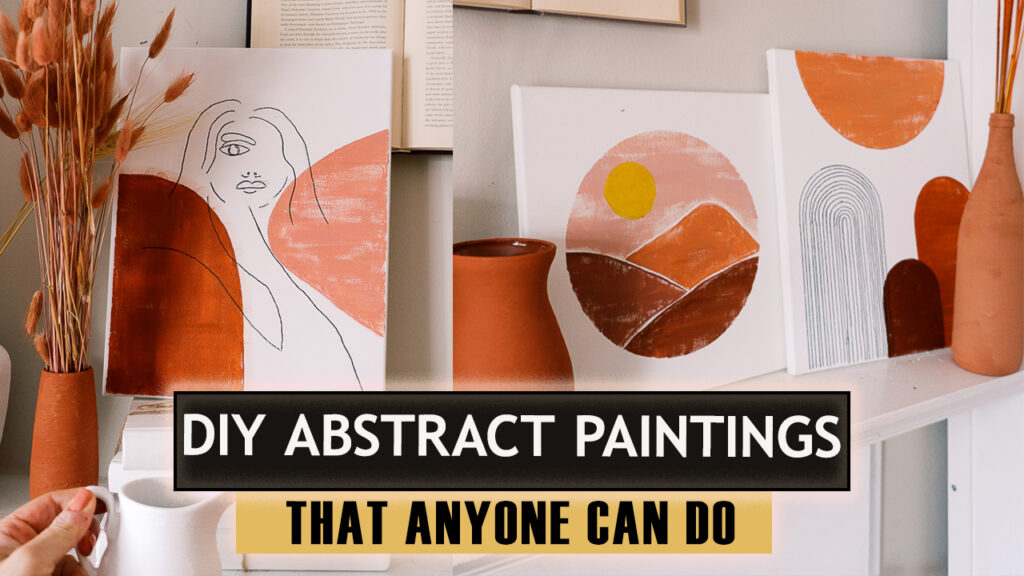
- Paint a silhouette in black. This is something that I'm excited to try!
How to hang heavy art
When your absolutely fabulous DIY textured abstract art is ready to beautify your wall, you need to properly secure it on the wall. The box that we've made isn't too heavy, but definitely weighs more than a regular painting.
To attach wire I used large D-ring hangers and picture wire that could hold up to 40lb. I got mine at the local hardware store, but they are definitely cheaper on Amazon. This picture hanging kit is actually of great value since it has everything you might need to hang multiple paintings.

Visually divide painting vertically into 3 parts and attach d-rings to the ⅓ from the top. Pull the string to another side, making sure that it's very tight.
Make sure to use the right hook for the wall ( that can hold heavy art). I love these hooks. It's better to get a set, especially if you plan to hang more pictures.
These are my tips and trick how to make your own high end DIY textured wall art!
I hope you are going to give it a try! If you do, tag me on Instagram to get featured!
Can't wait to see what you will make!
Watch a video tutorial on my YouTube channel
xoxo,
April
Don't leave just yet, you might also like