• Skip to primary navigation
  • Skip to main content
  • Skip to primary sidebar
If Only April
  • MEET APRIL
  • DIY PROJECTS
    • Kids projects
    • DIY furniture
    • Design plans
    • DIY holiday projects
    • Macrame
    • Transformations
    • Woodworking
  • Home improvement
  • VIDEOS
  • CONTACT
  • SHOP
    • Amazon
    • Etsy
    • Facebook
    • Instagram
    • Pinterest
    • YouTube
menu icon
go to homepage
search icon
Homepage link
  • MEET APRIL
  • DIY PROJECTS
    • Kids projects
    • DIY furniture
    • Design plans
    • DIY holiday projects
    • Macrame
    • Transformations
    • Woodworking
  • Home improvement
  • VIDEOS
  • CONTACT
  • SHOP
    • Amazon
    • Etsy
    • Facebook
    • Instagram
    • Pinterest
    • YouTube
×
Home » How to make a stretcher for painting the easy way

How to make a stretcher for painting the easy way

Please note, that some of the links below are affiliate links and I will earn a commission if you purchase through those links (at no additional cost to you). Thanks for your support this way.

FacebookPinPrintEmail

I've got this gorgeous painting from another country with a beautiful original frame, but when I had to transport it, I had to leave the stretcher behind. It finally sees the light of day, and I decided to reunite it with the original frame. So in today's post, we will see how to make a stretcher for painting the easy way.

There are plenty of ways to do it, and this one is probably not "professionally" correct.

Most of the time, I saw the frame with mitered corners where wood was stapled together. I don't have a strong stapler that could go through wood, at least, I never tried, so I decided to make a stretcher with a Kreg jig. A rectangular is a rectangular, after all, and maybe there is a difference between them, but I don't know about it.

If you know why most stretchers have miter corners, please, let me know in the comments or email me.

Materials

  • (2) 1x2"x6' (it will depend on the size of your painting
  • 1 ¼" pocket hole screws

Tools

  • Kreg jig
  • Level
  • speed square
  • Drill
  • Miter saw
  • Right angle clamp

How to make a stretcher for a painting

Step 1. - measure and cut the wood

Measure your painting and cut the wood according to the dimensions.

Step 2. - make pocket holes.

Read instructions on the Kreg jig and make pocket holes on four sides. Use glue and attach them with screws. Make sure to check for square. Using a clamp helps a significant time.

Step 3. - attach canvas to the stretcher.

Using a stapler, attach canvas to the wooden stretcher, making sure to add staples every 4 inches. You also want to make it tight on all the sides, so the painting won't be saggy when it's hung.

That was easy!

Enjoy your beautiful artwork!

PIN IT FOR LATER

And follow the process of renovations on my Instagram @ifonlyapril to see behind the scenes.

xoxo,

April

Share this:

  • Tweet
  • Print

More DIY scrap wood projects

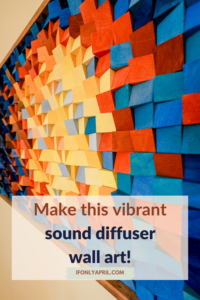
  • "There will be light": unique DIY wood sound diffuser wall art
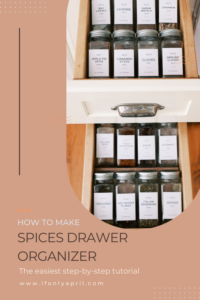
  • Make a simple spices drawer organizer for less than $5
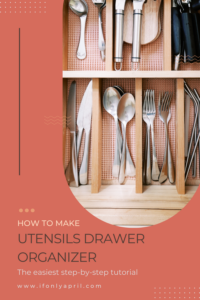
  • How to easily transform your kitchen utensils drawer
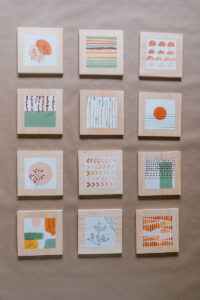
  • Make an easy wall wooden panels art
FacebookPinPrintEmail

Reader Interactions

Leave a Reply Cancel reply

Your email address will not be published. Required fields are marked *

Primary Sidebar

Hi, I'm April! I love woodworking and making things! I hope you will stay and get inspired to create something!

More about me →

Popular

  • Sasha's Fabulous Bedroom Makeover Revealed! (+ budget breakdown)
  • Kid's play office mood board
  • How to make an Anthropologie "Enchanted" dresser dupe
  • How to shop an online auction successfully

Footer

↑ back to top

About

  • Disclaimer

Newsletter

  • Sign Up! for emails and updates

Contact

  • Contact
  • Media Kit

As an Amazon Associate, I earn from qualifying purchases.

Copyright © IfOnlyApril 2024