• Skip to primary navigation
  • Skip to main content
  • Skip to primary sidebar
If Only April
  • MEET APRIL
  • DIY PROJECTS
    • Kids projects
    • DIY furniture
    • Design plans
    • DIY holiday projects
    • Macrame
    • Transformations
    • Woodworking
  • VIDEOS
  • CONTACT
  • SHOP
    • Facebook
    • Instagram
    • Pinterest
    • YouTube
menu icon
go to homepage
search icon
Homepage link
  • MEET APRIL
  • DIY PROJECTS
    • Kids projects
    • DIY furniture
    • Design plans
    • DIY holiday projects
    • Macrame
    • Transformations
    • Woodworking
  • VIDEOS
  • CONTACT
  • SHOP
×

How to make drawers

Please note, that some of the links below are affiliate links and I will earn a commission if you purchase through those links (at no additional cost to you). Thanks for your support this way.

FacebookPinPrintEmail

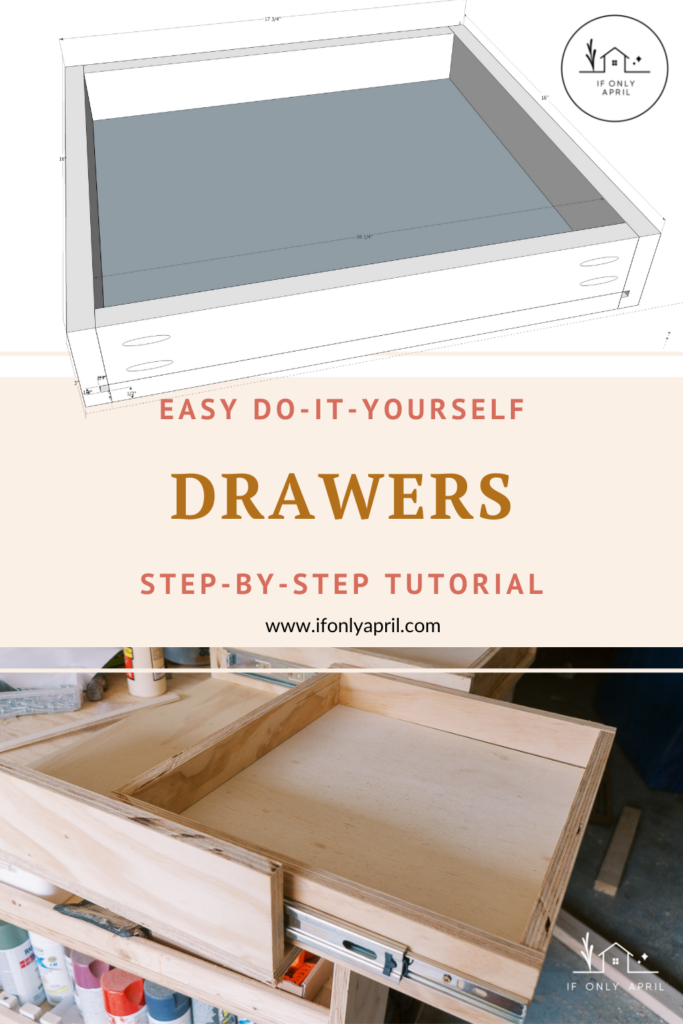
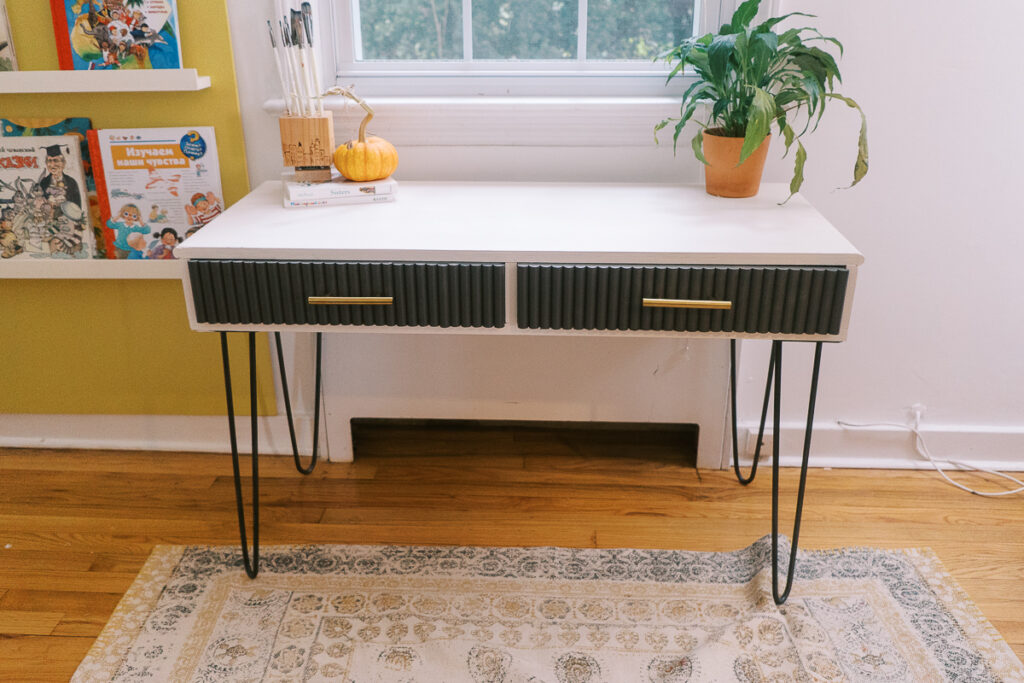
Recently I made this adorable DIY desk with fluted trim for my kids and it was the first time I made drawers. So today I'll explain to you how to make drawers. It's not as complicated as it sounds but involves a little bit of math.

I'll explain to you with dimensions that I used for the desk to make it easier.

I also have plans available for that desk with the exact drawer dimensions that I made. You can find them here.

Contents hide
1 Materials
2 Tools
3 Instructions
3.1 Step 1 - Calculate the size of the drawer
3.2 Step 2 -Cutting wood for the drawer boxes
3.3 Step 3 - Assembling the drawer boxes
3.4 Step 4 - Attaching drawer slides
3.5 Step 5 - Attaching front panels
4 Watch me make it
4.1 Share this:

PIN IT TO FIND LATER

how to make drawers

Materials

  • Wood glue
  • ¾" plywood
  • ½" plywood
  • 16" drawer slides

Tools

  • Table saw (or circular saw with a guide)
  • kreg jig
  • Right angled clamp
  • Speed square
  • Clamps (these are the best)

Instructions

Step 1 - Calculate the size of the drawer

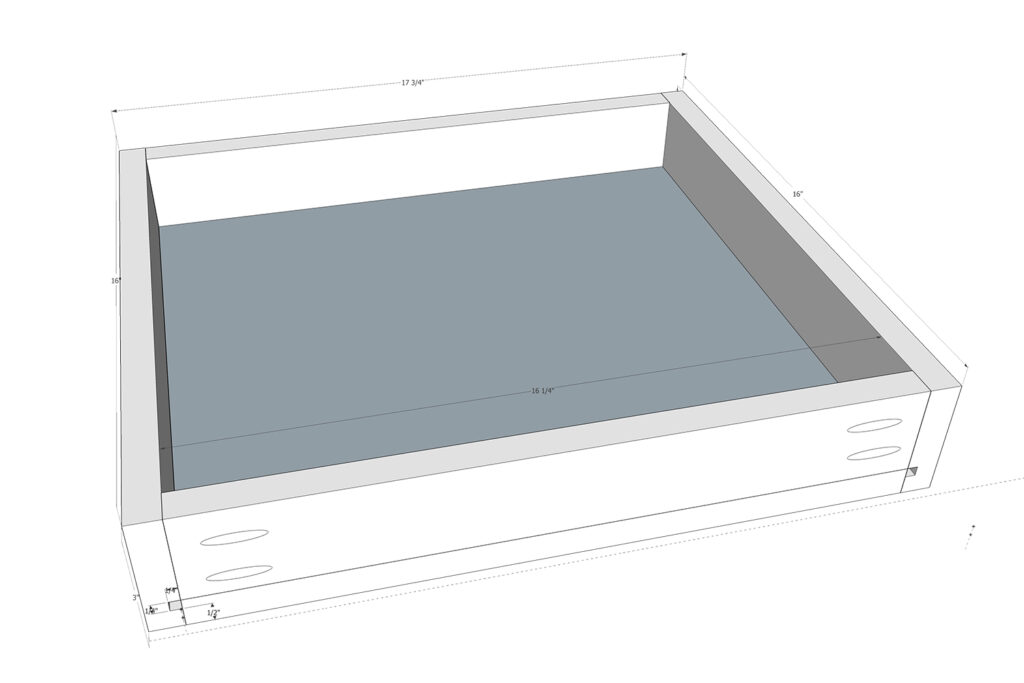
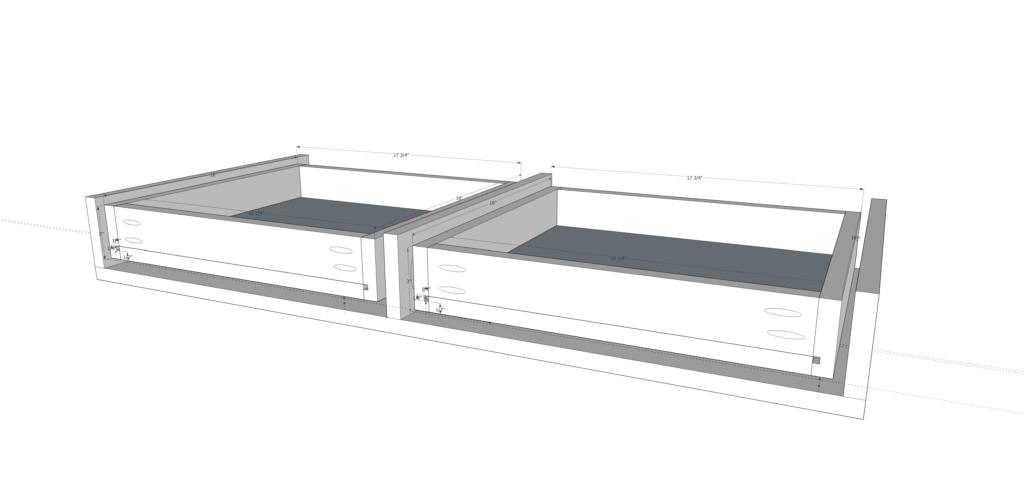
Calculate the size of the drawer. Mine was 16x17 ¾" in total.

To calculate the depth of drawers you need to measure the depth of the desk and decide how deep you want the drawers to go.

To calculate the width is a bit more complicated but not that much. Simply measure the opening for the drawer and take off ½" from each side or 1" total.

So the openings for my desk were 18 ¾" each. Which means the width of the drawer is 17 ¾".

To figure out the height of your drawer, measure the height of the opening in your desk. The height of my drawers is 3".

I decided that the trim would come out a little bit from the drawer front. That meant I had to place the drawer a bit further away from the front. To be precise, further away ½" since that was the thickness of the fronts for the drawers.

Final dimensions of the drawers

Step 2 -Cutting wood for the drawer boxes

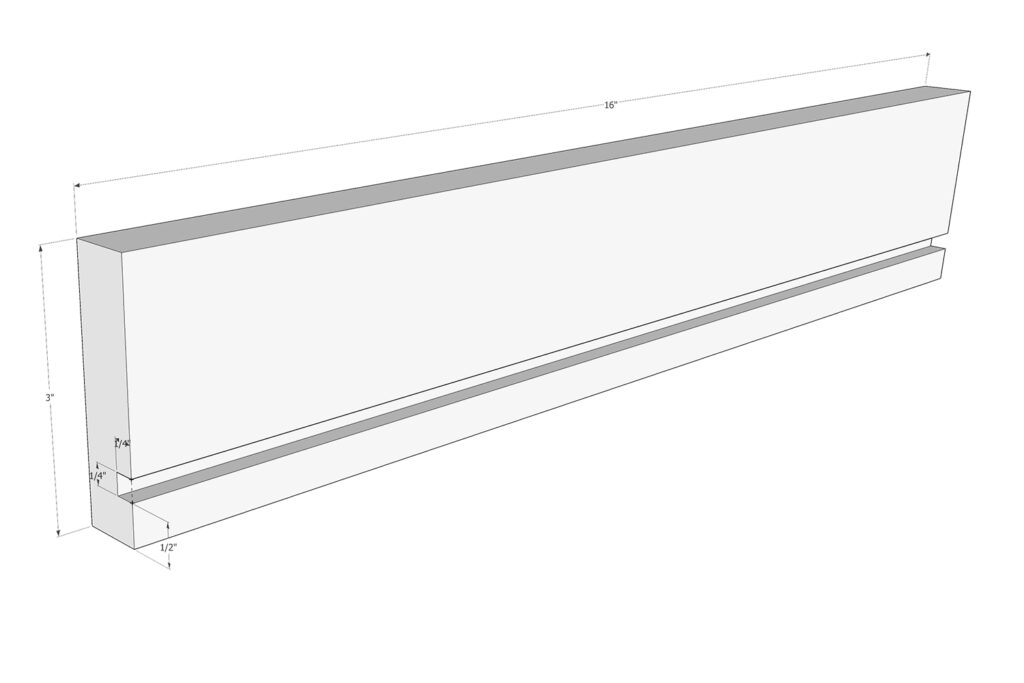
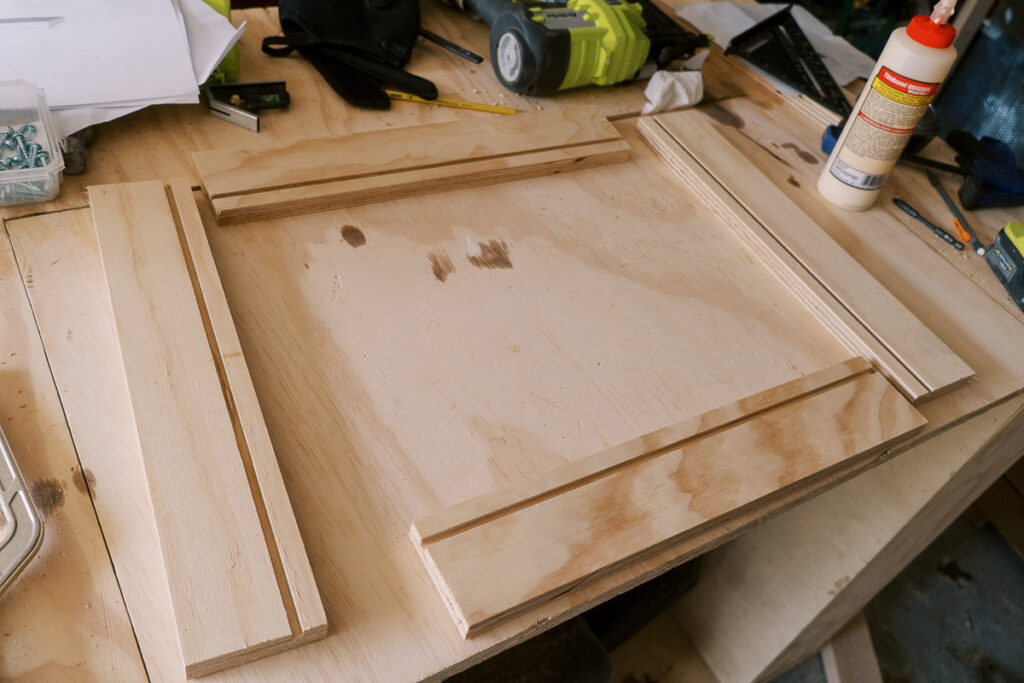
First, cut the plywood in a height of your drawers. Mine were 3" so I cut a long 3" board on my table saw.

Then comes the fun part. Making dado cuts on the table saw. Measure the width of the liner for the drawer (I used ¼" plywood).

Then measure ½" from one side and make ¼" dado cut on your table saw. To do so, adjust the table blade ¼" high. Drive the plywood through the blade once, then adjust the table saw and drive it again.

It should look something like this.

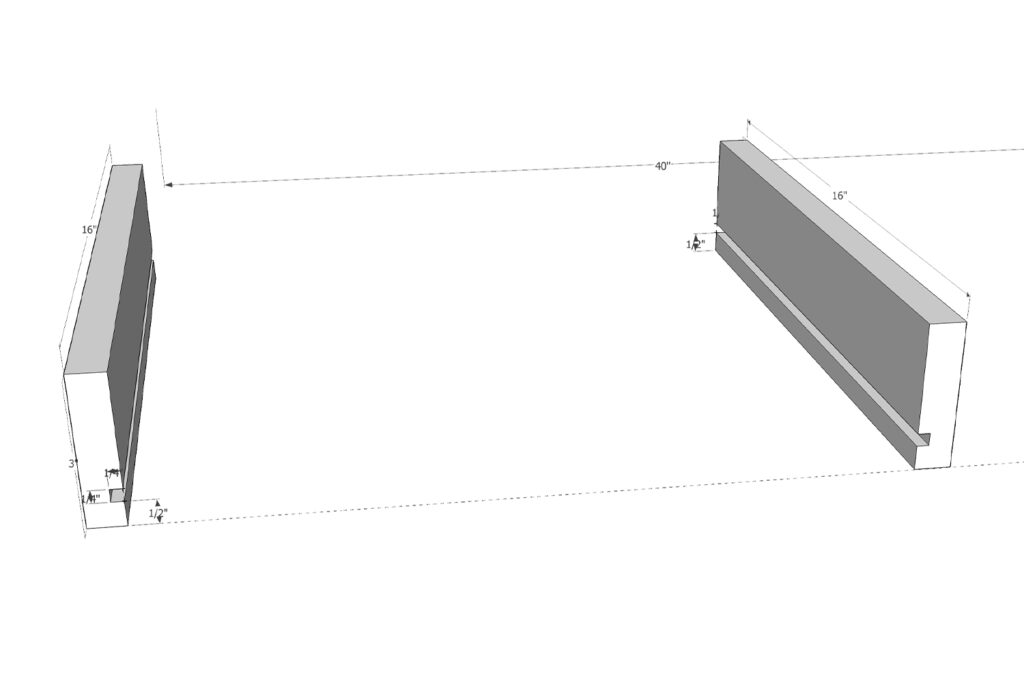
When you have your dado cuts ready, measure the length of the sides for the drawers and chop it on the miter saw to length.

Here are my dimensions for the drawers. If you are making a DIY desk with fluted trim, just use them and you'll be good! It's already tested😁

Step 3 - Assembling the drawer boxes

To assemble the drawers I used a Kreg jig and wood glue. I know, there are more fancy ways to do it, like dovetails, a half-blind tongue and rabbet, but I don't have time to learn it now. Maybe one day 🙂

If you want the pocket holes to be invisible (and you probably want that since why show them if you can hide them?😁), make the pocket holes on the outer side of the front board. This way it will be eventually covered by the frond of the drawer and you'd successfully hidden all the pocket holes.

Let me show you so you can see for yourself.

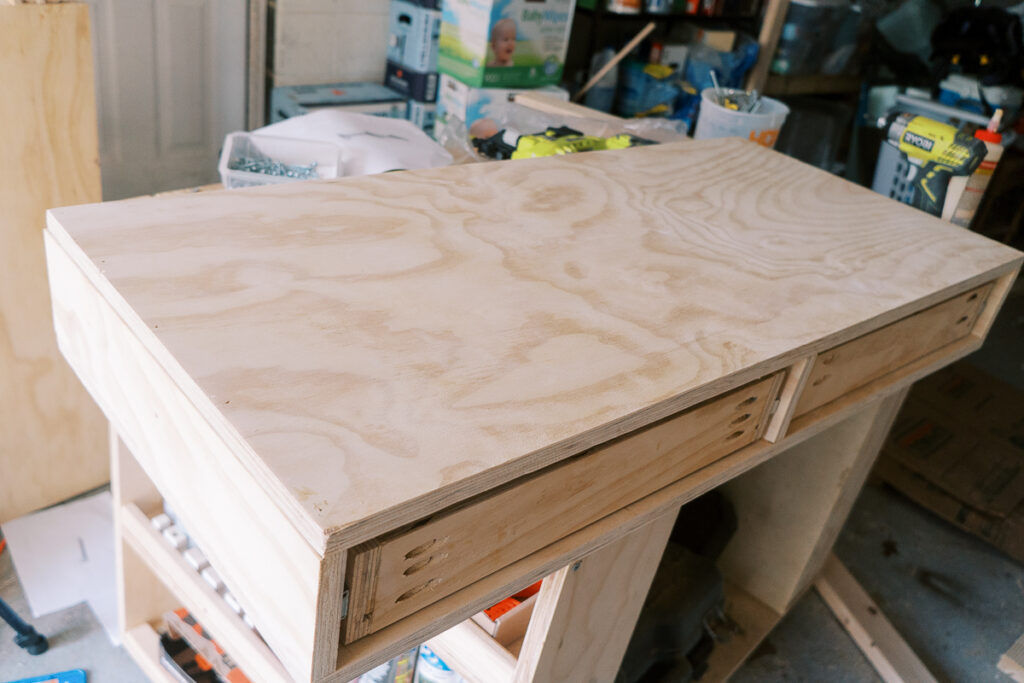
Attach side boards with one backboard. Use a right-angled clamp and always check for squares. Then you need to insert the ¼" bottom of the shelf before moving on to close the fourth side.

Always checlk for square!

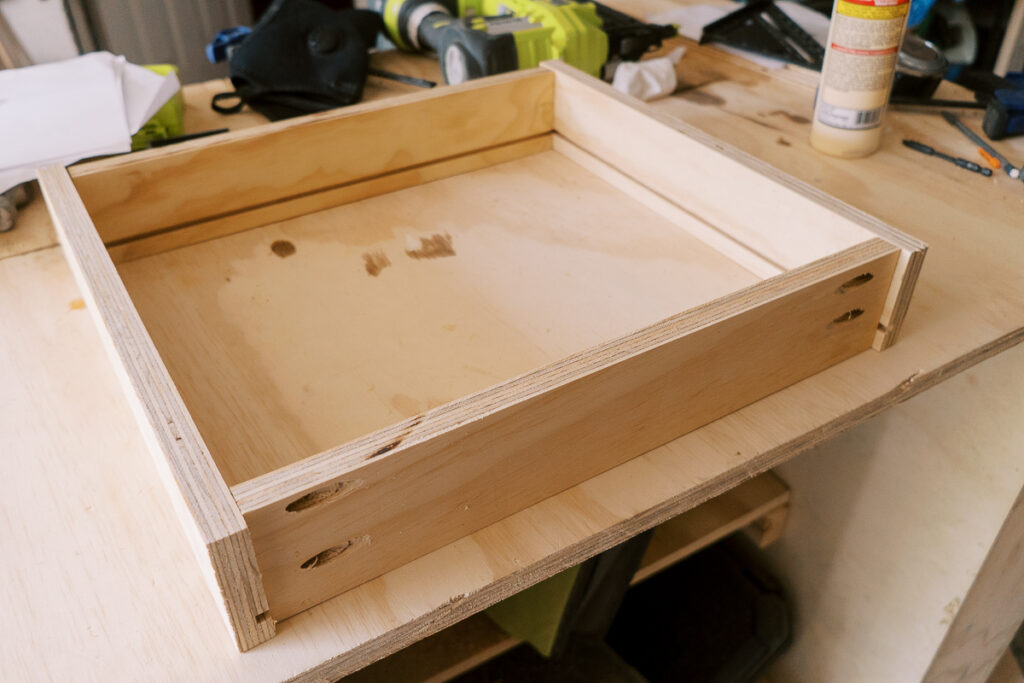
Close off the last side and pray that it fits your desk. 😂 JK I'm sure it will fit!

But let's move on to the next step. you see, to make drawers isn't that intimidating!

Step 4 - Attaching drawer slides

how to make drawers

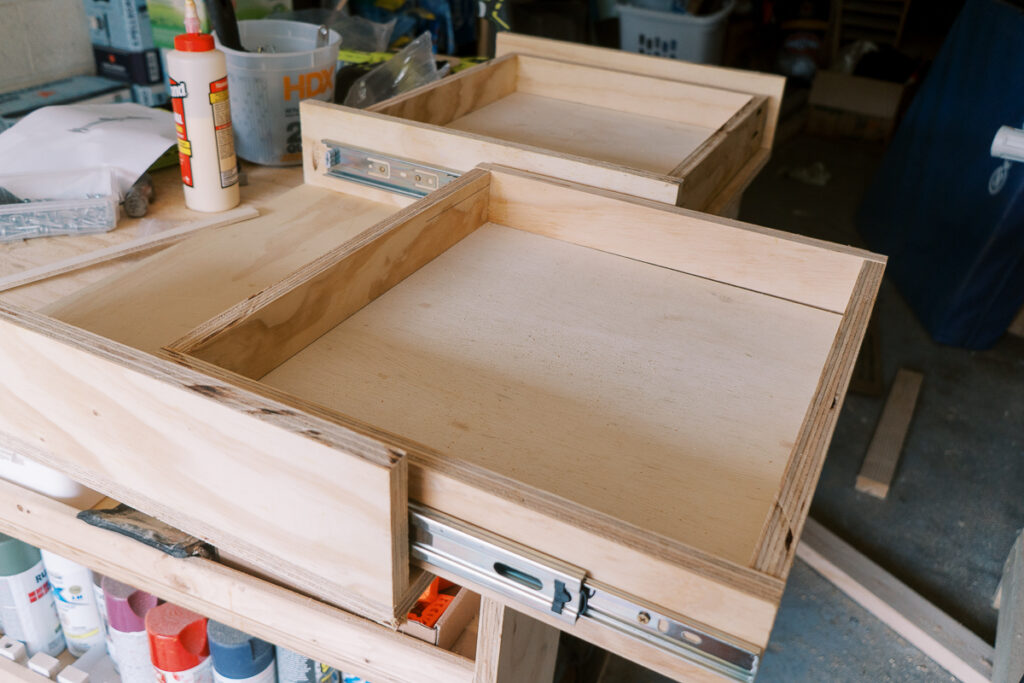
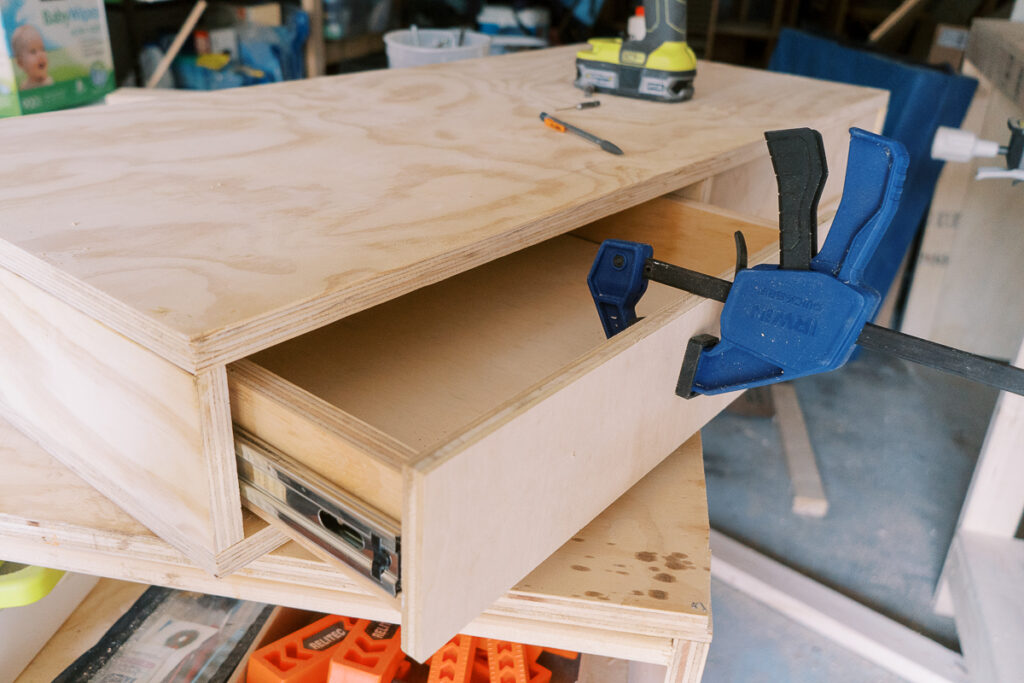
I got two pairs of these 16" drawer slides from Amazon. To determine what size you need is simple - it's the depth of your drawer. Since my drawer is 16", I got the 16" drawer slides.

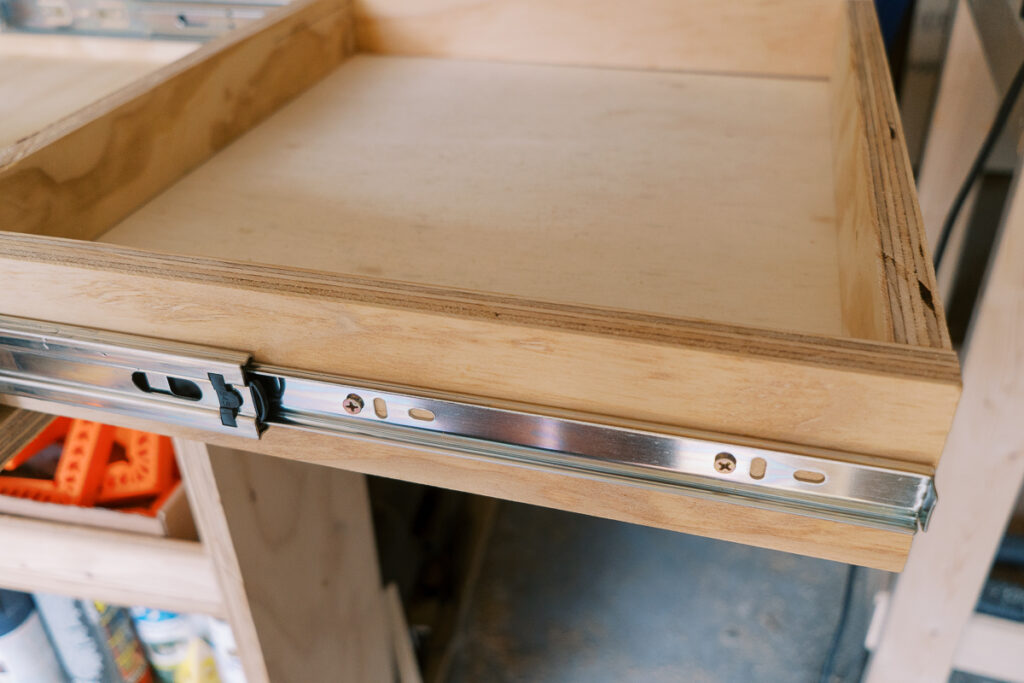
Read the instructions on how to attach them. And use ¼" shims or scrap wood on the bottom to make sure the drawer would have some clearance on the bottom.

Screw them in place. To do so, attach the first part of the slides to the desk, then put your drawer on the shims and screw in the second part.

Then do a happy dance because you just made a drawer that fits!!!!! 🎊

I was so excited at that moment!

Step 5 - Attaching front panels

Attach drawers to the desk using slides
how to make drawers

Measure the board from ½" plywood to close off the front side of the drawers. When this part was ready, I used wood glue and attached the front panel from the inside of the drawer with a screw. I used clapms to make sure it's sturdy.

The only thing I regret not doing at this point is adding edge banding. I feel the best time to add edge banding would be before attaching drawer slides.

Attach ½" front panel to make the desk flush

And that's it! You can add decorative pulls to your draawers or some fun trim. This is how to make drawers.

If you came to read this post from the tutorial on how to make a DIY desk, then continue reading that post to see how to finish the desk with a fluted trim.

how to make drawers

Just go for it! Happy buiilding!

If you ever have any questions, please, don't hesitate to reach out! I'm always here to help!
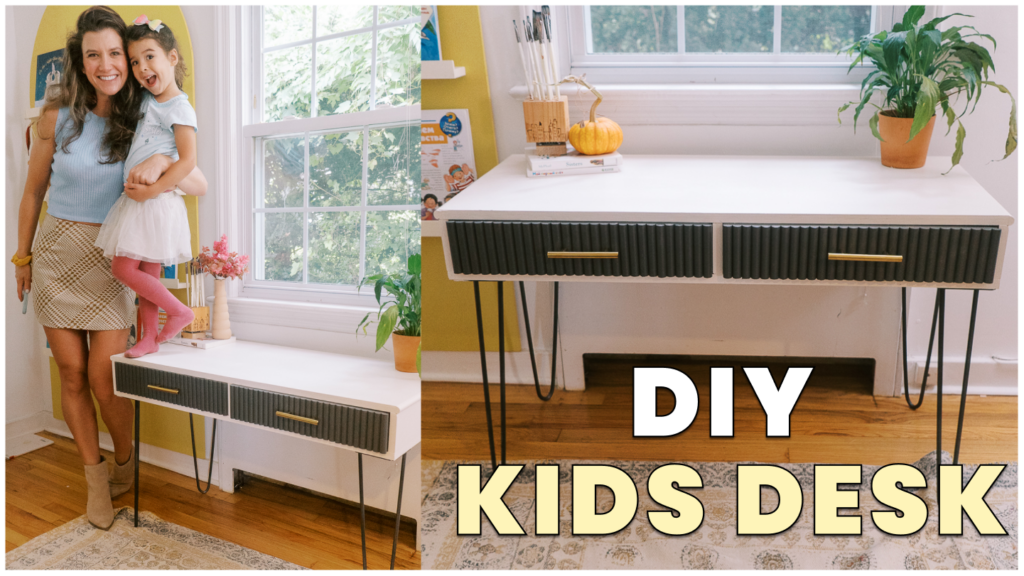
Watch me make it

You can watch me make this desk on my YouTube channel.

Don't forget to subscribe :)

And make sure to check my Instagram @ifonlyapril where I post behind the scenes and everything that goes on in this crazy spectacular fun world of If Only April DIY 🙂

xoxo,

April

Share this:

  • Tweet
  • Print
« 3 years of Halloween decorations for mantle
DIY easy desk with drawers »
FacebookPinPrintEmail

Primary Sidebar

Hi, I'm April! I love woodworking and making things! I hope you will stay for a while and get inspired to make something!

More about me →

Popular

  • Little girl bedroom makeover inspired by spring
  • The progress of Sia's bedroom and my favorite finds for her room
  • 10 LEGO table ideas that kids would be excited about
  • Sia's room makeover moodboard

ifonlyapril

DIY single mom | 📍CT
Drogo has been such a good boy lately. I can't bel Drogo has been such a good boy lately. I can't believe he is only 7 months and will continue growing🤯 but I wouldn't change him for anyone else❤️ 
#dogsofinstagram #singlemoms #singlemomlife #germanshepherd #loveislove #germanshepherds #germanshepherdpuppy #longcoatgsd #doggydrogo #puppiesofinstagram #puppiesofig
It felt good 😁 #singlemoms #singlemomlife #ever It felt good 😁
#singlemoms #singlemomlife #everydaylife #singlemomlife💪 #productivity #funny #chooseyourself
How could I dare to start another room before fini How could I dare to start another room before finishing kids bedrooms first?😂 well, we'll keep you posted😄
#diyroommakeover #gracopaintsprayers #diypanelling #ifonlyapril_house #diyprojects #sherwinwilliams #singlemoms #singlemomlife #roomtransformation
A regular Saturday here🤷🏻‍♀️ Authorit A regular Saturday here🤷🏻‍♀️ 
Authorities are still at loss. 
Channeling my @kaylamariesully but no one could say it better than her😅 
#momcomedy #singlemoms #singlemomlife #momlife #momproblems
Since we moved to this house last summer, I had a Since we moved to this house last summer, I had a vision for a piano in this corner of my drawing room. I've been passively checking FBMP for awhile now, since it's definitely wasn't a priority (haha we didn't even have a couch till few days ago). 

So when I saw this beauty 5 mins away from us, I said to myself it had to be mine! 

I finished 7 years of musical school (I was 15 at the time, and barely played ever since). But I really want to pick it up again and teach my kids how to play (well, who am I kidding? I don't have patience for teaching my kids, so I'll find someone who is more qualified than me). 

Wouldn't it be wonderful to hear my kids play? ☺️ I'd start with Chopin, he's always been my favorite☺️ I hope kids are ready for it😅🤣

#fbmpfinds #singlemomlife #pianoplayer #diylife
One step closer to finish this bedroom😁 This One step closer to finish this bedroom😁 

This is your calling to finish that one project that takes little time but you can never get to it 😁

Forgot to mention that I primed it 3 weeks ago🤣 and left it till the energy came back to me today☺️
#paintingdoors #girlbedroommakeover #bedroommakeover #moodypinkbedroom #bunniesbedroom
Definitely my favorite room in the house so far😍❤️ what do you think?
#roommakeover #transformation #ifonlyapril_diy #ifonlyapril_makeover #librarytransformation #librarylife  #librarymakeover
Will it ever get easy? Or let's say easier? The pa Will it ever get easy? Or let's say easier? The pain, the betrayal, that feeling of being powerless? Some people are simply not good people. And I've done my share. I was in a survival mode for more years I can count. How about switching the narrative and fucking focus my energy on me? To thrive! For me and my kids! That's the only thing I want now. 
It's hard to do, but thriving is the only way to go!
#ifonlyapril_diy #mindfulness #narcissisticabuse #wegogirls #wecandohardthings #womenforchange #narcawareness
Load More... Follow on Instagram

Footer

↑ back to top

About

  • Disclaimer

Newsletter

  • Sign Up! for emails and updates

Contact

  • Contact
  • Media Kit

As an Amazon Associate, I earn from qualifying purchases.

Copyright © IfOnlyApril 2023

Share this ArticleLike this article? Email it to a friend!

Email sent!