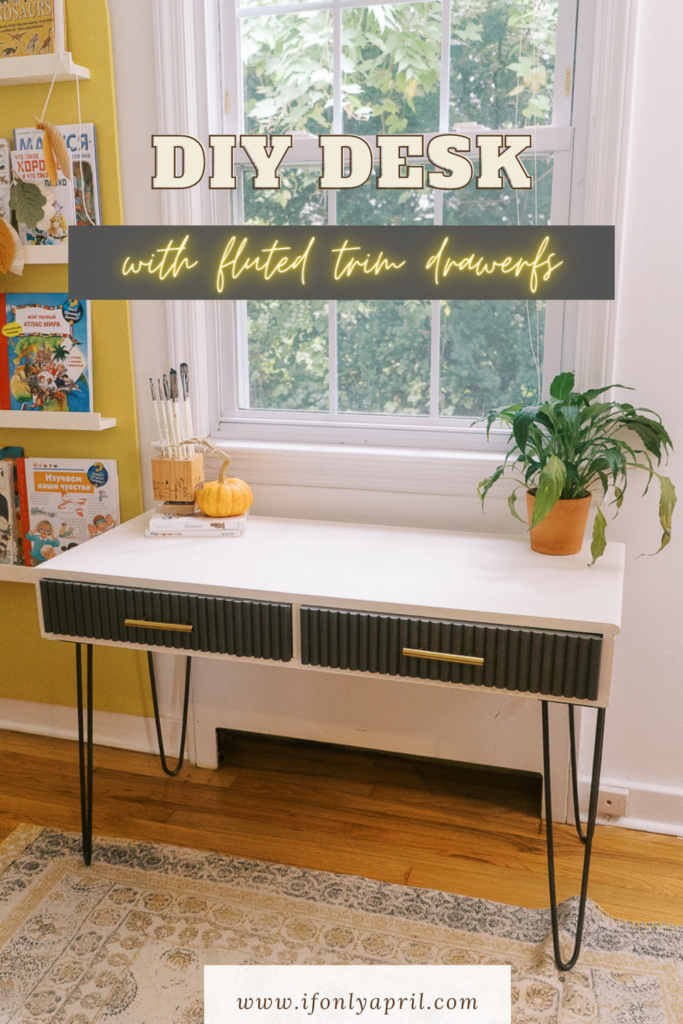
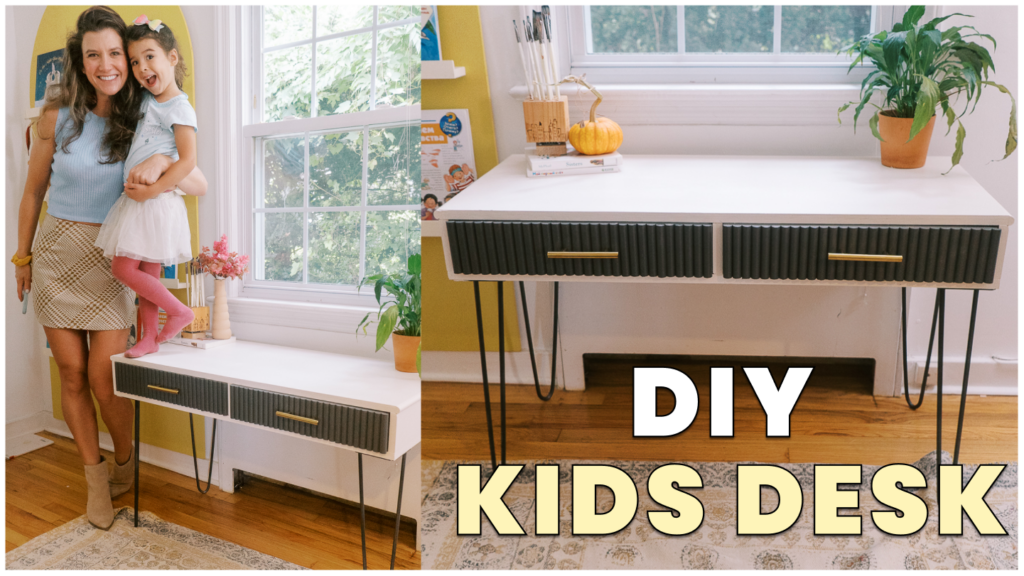
To say that I was procrastinating to start this DIY desk with drawers is an understatement. I was so anxious to make drawers from scratch that it took me a couple of weeks to finish this project. But don't be intimidated! Today I'll walk you through how to build an easy DIY kids desk with drawers and explain how to make the drawers the easy way. And also what I've learned from making my first drawer. Spoiler alert - they fit perfectly!!
As always, I have PDF plans for you in case you want to build the same kids' desk. I have already done all the measurements and you can simply download it and don't have to calculate anything😁
I made this desk from plywood because it was my first project with drawers and I gave myself room for mistakes. But it could also be done with wood. Although since I was going to paint it anyway, it made more sense to use cheaper materials.
To cut the plywood you could use a table saw. If you don't have one available, a circular saw would do just fine. Use the rip cut guide or attach the board to use it as a guide.
I made this desk with drawers for my kid's playroom.
Related:
- Moodboard for kids playroom
- IKEA hack toy shelf
- DIY bookcase
- From trash to trasure
- DIY tassel chandelier
Materials
- 1 - ¾"x4x8' plywood sheet
- scrap of ½" plywood for the front of the drawers (optional)
- 4 - ⅜"x 11/16" x 8' Wood Half Round Moulding
- 4 - 20" hairpin legs
- 2 Pair of 16" Full Extension Side Mount
- Paint - Vanilla paste and Urbane bronze for trim
- wood glue
- 2 ½" pocket hole screws
- 2 - 3" drawer pulls
Tools
PIN IT TO MAKE LATER
Instructions
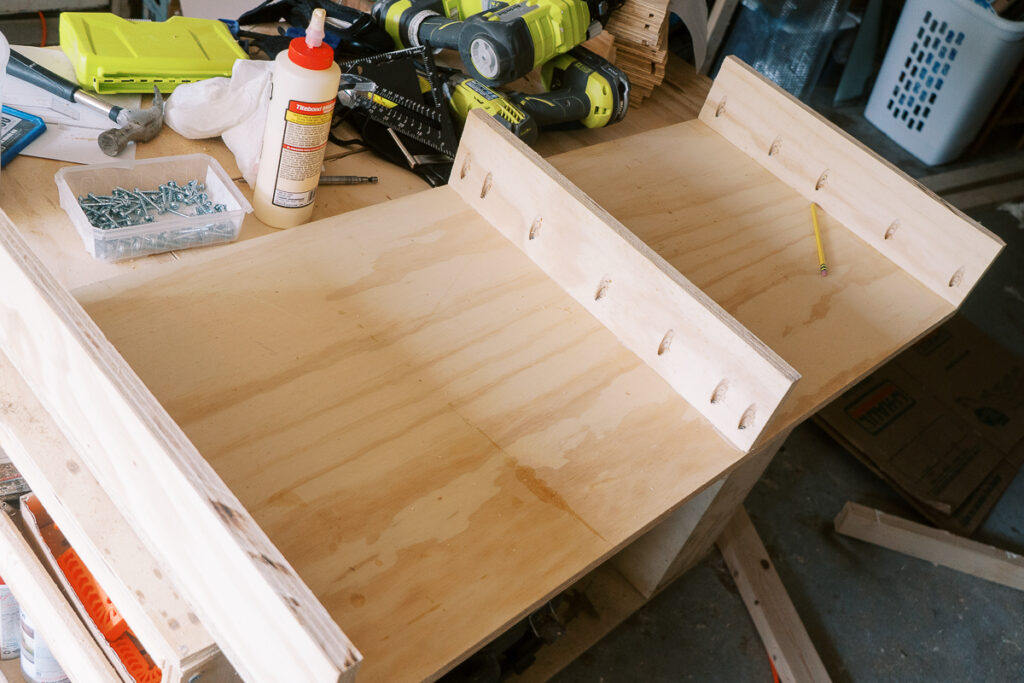
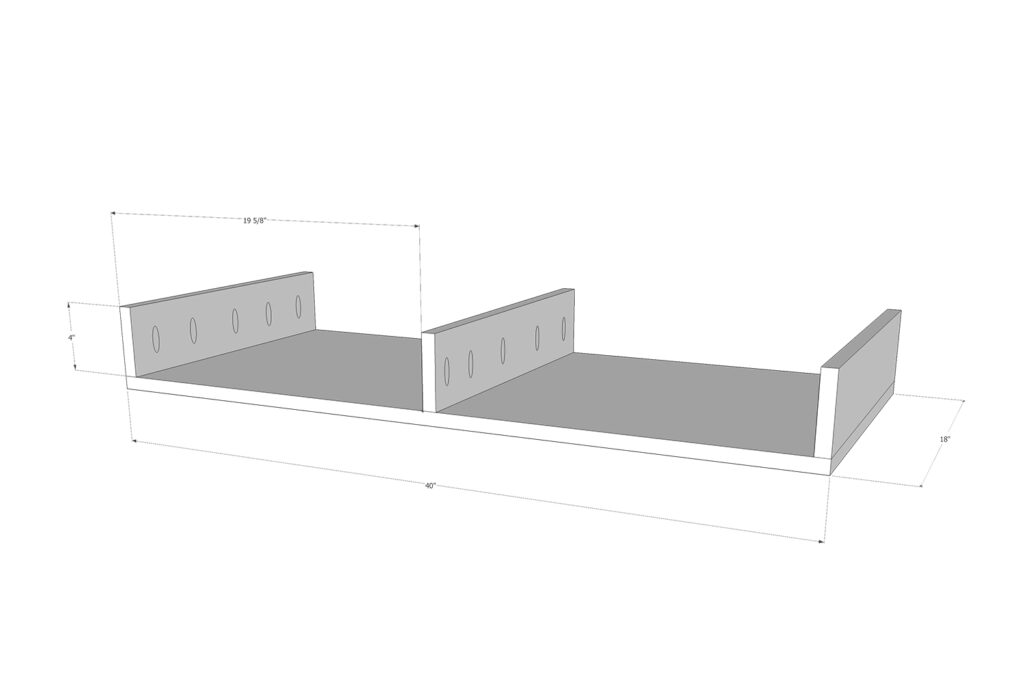
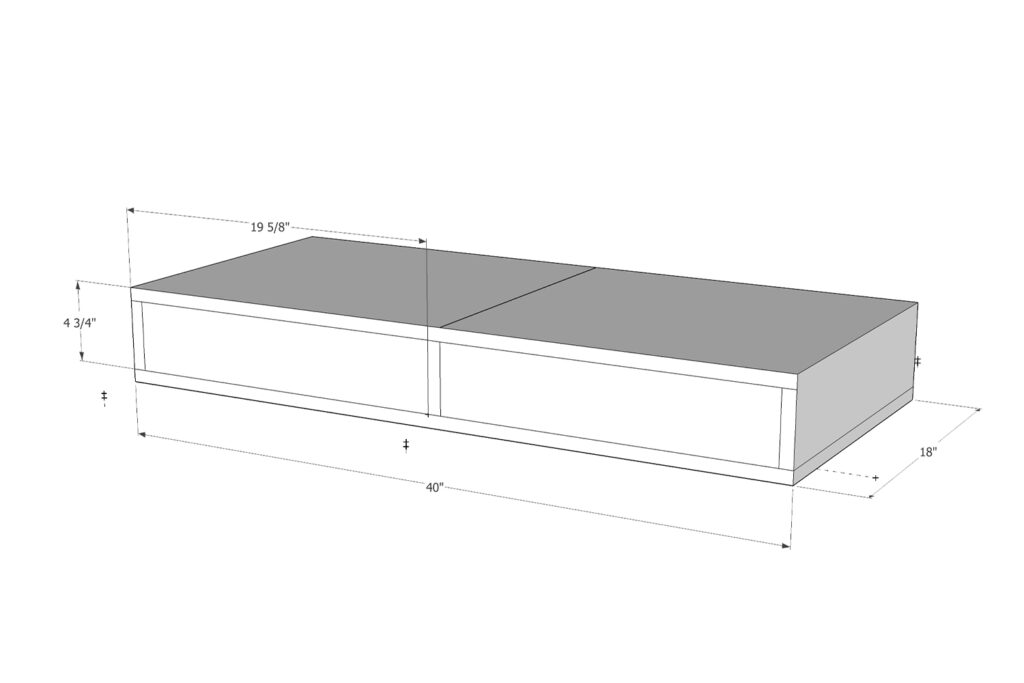
Step 1 - Cut and assemble the base
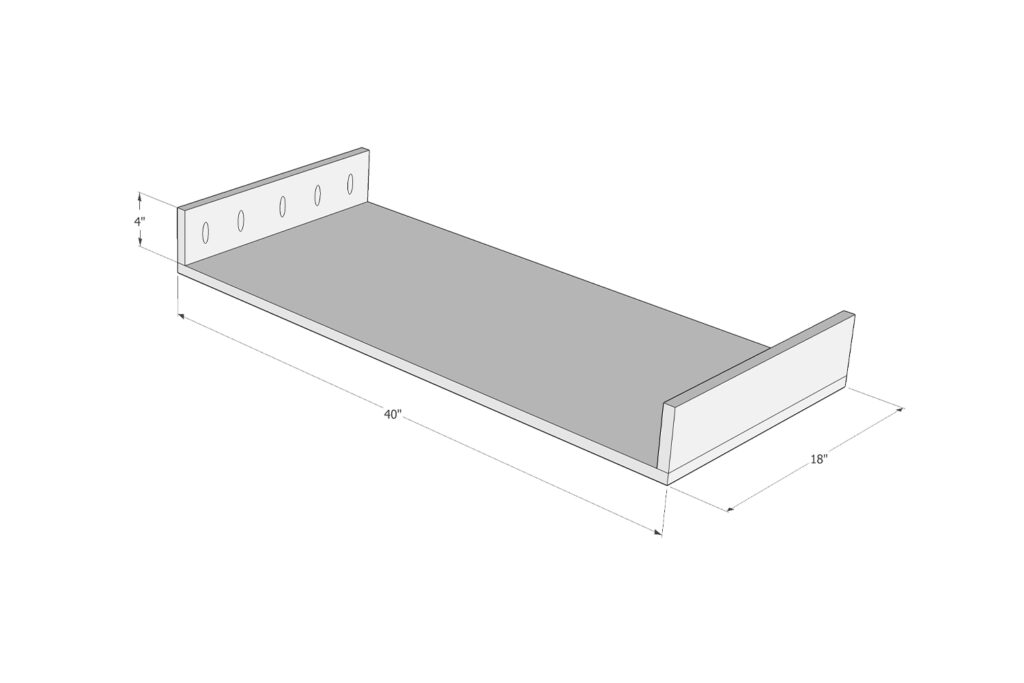
Cut two boards at 40x18" and three parts at 4x18".
Using Kreg jig, make pocket holes on the smaller boards. This is going to be the sides and the middle divider.
When attaching it to the base, use glue and 1 ¼" pocket holes screws.
Calculate the exact middle and attach the middle divider using the same method.
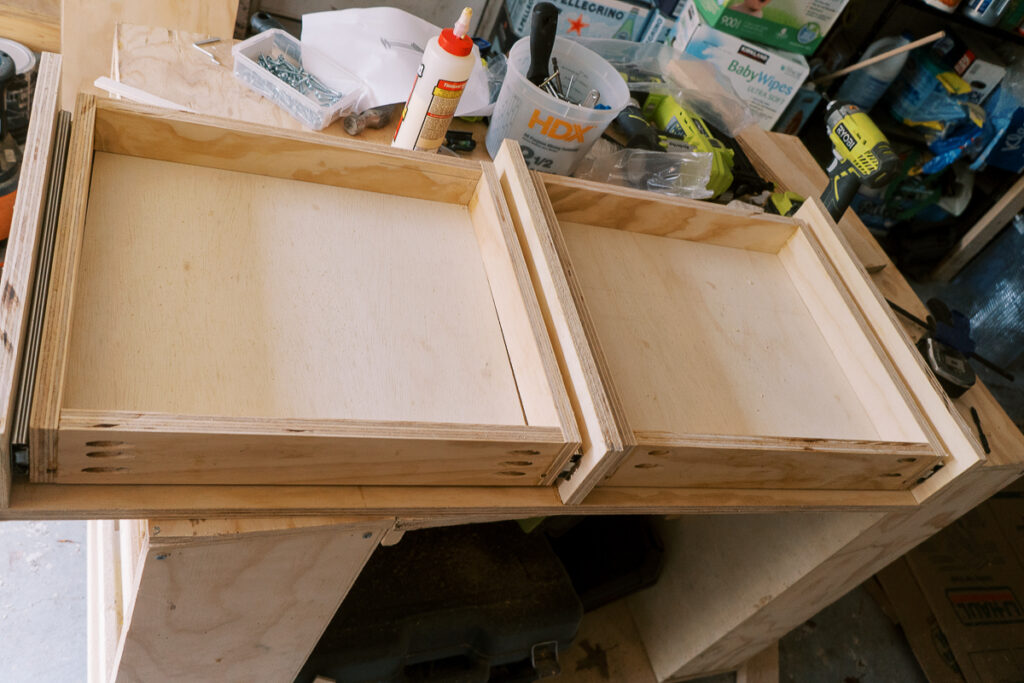
Step 2 - Make drawers
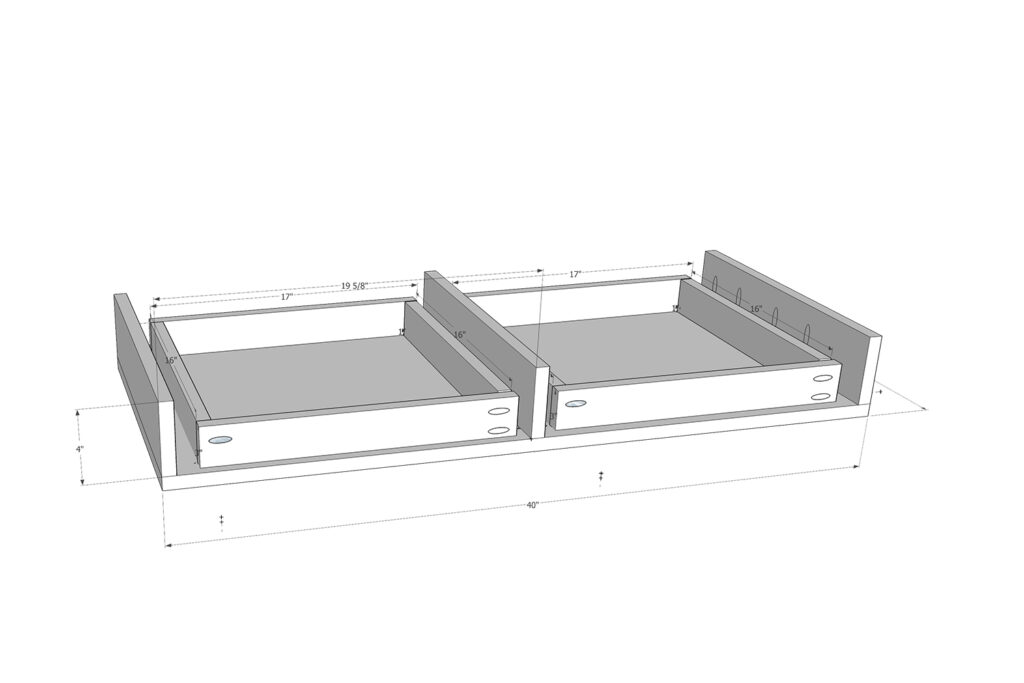
I wrote a very detailed blog about how to make drawers for this DIY kid's desk. Read that and then come back to finish off the desk.
Assemble drawers and install them on the side mounts to the base of the table. You need to do it before you close off the top. I chose these side mounts in 16" and made the drawers 16" deep.
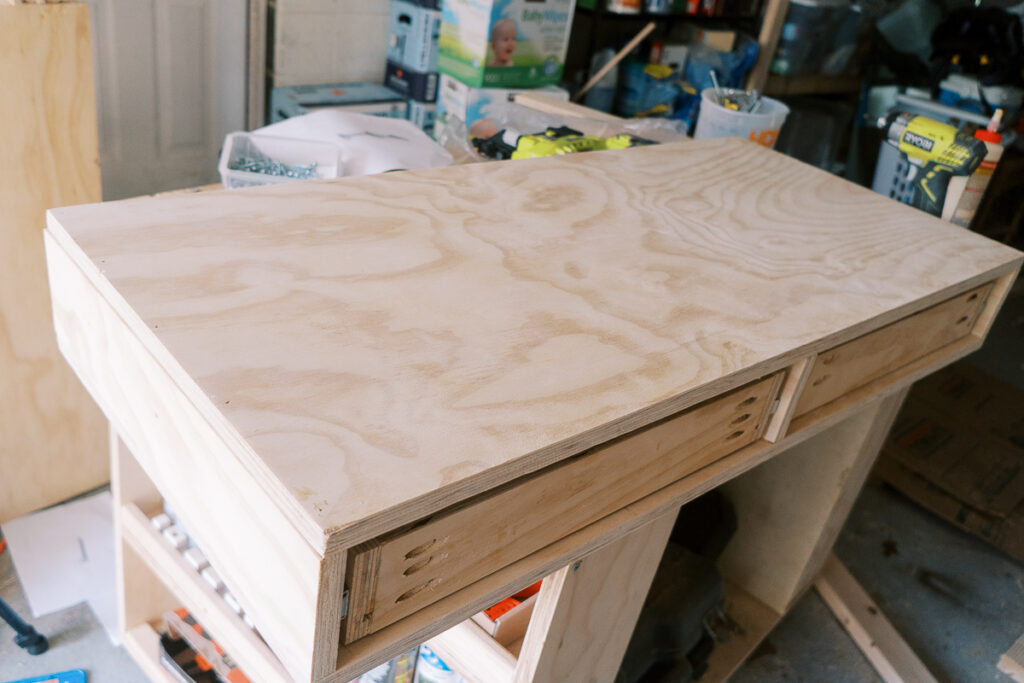
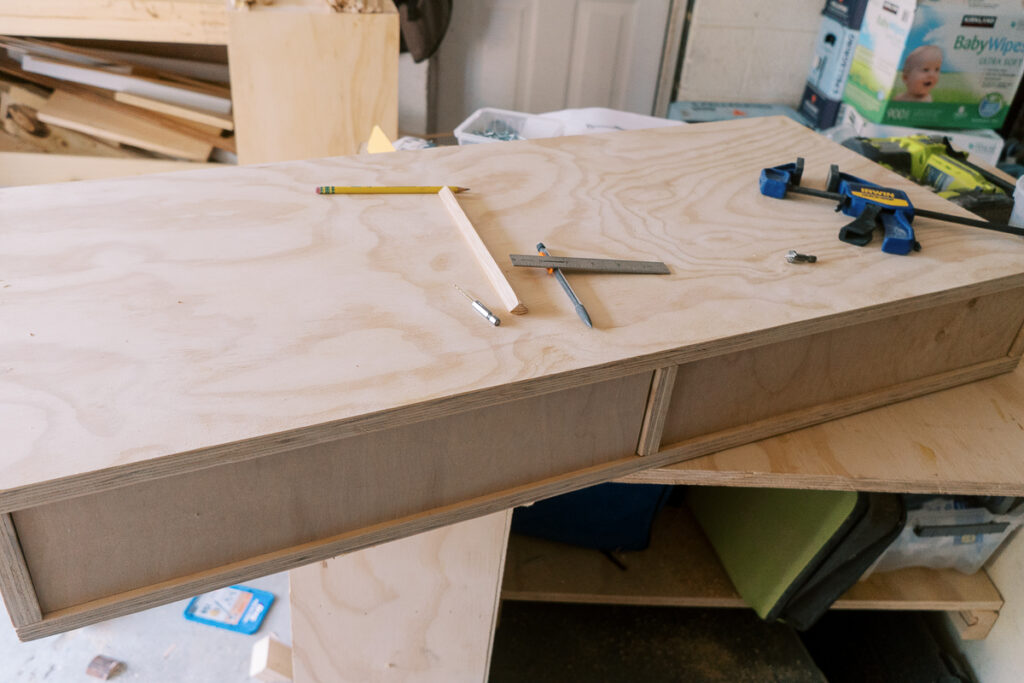
Step 3 - Add the top to the kids desk
Lay the top of the desk to the base and using Brad nailer and wood glue attach the top. Lightly sand the whole thing to make sure there are no splinters.
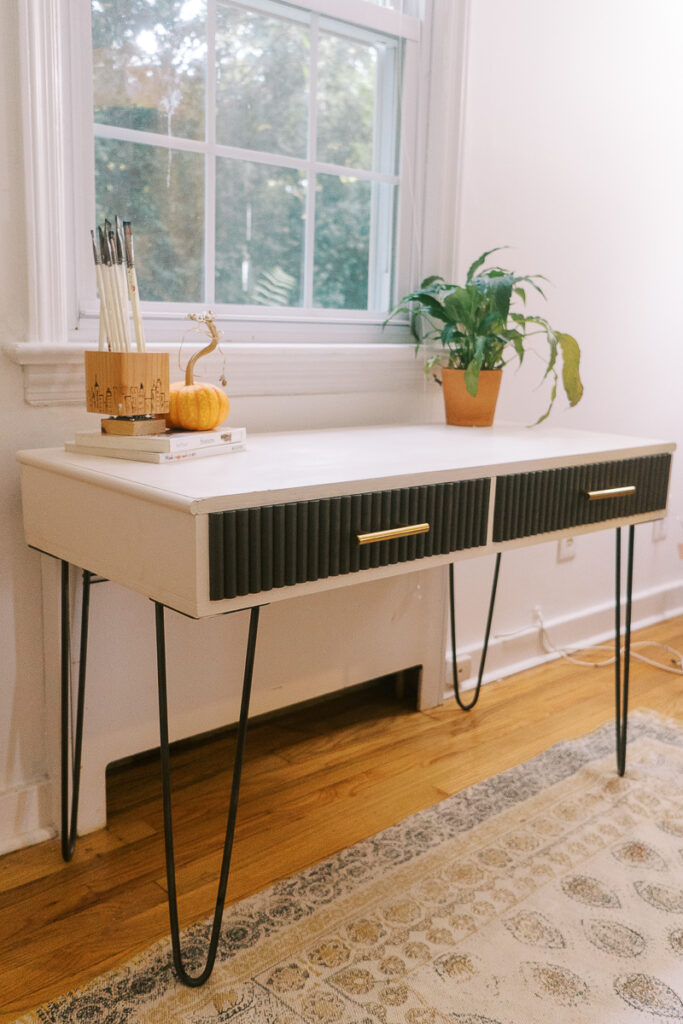
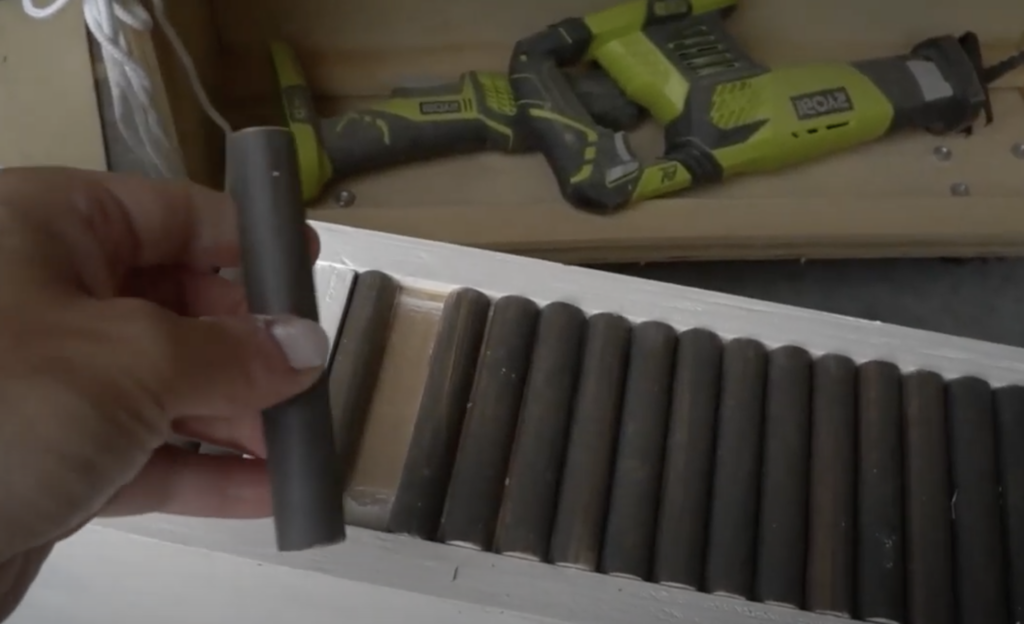
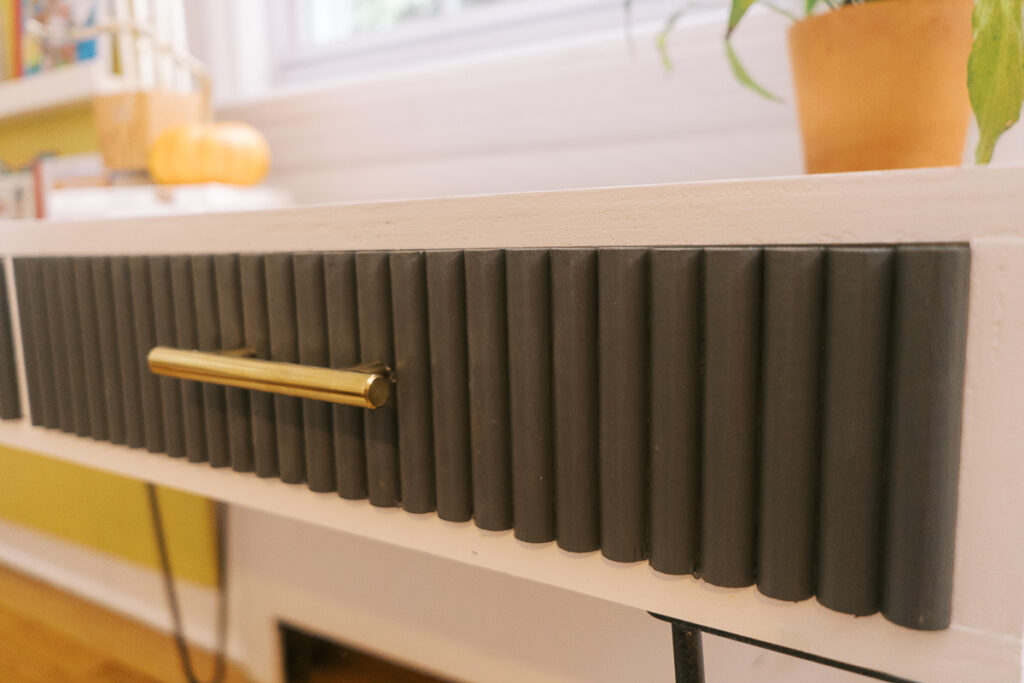
Step 4 - Adding flutted trim
Here is the fun part! So far we've made a very basic DIY kids desk. Oh, it's spectacular, don't get me wrong! But we'll take it to a whole new level.
Inspiration for a flutted trim
Fluted trim became quite trendy recently. And no wonder why. It looks stunning and adds such an interesting visual effect to the furniture pieces. See for yourself. Look at this gorgeous desk from West Elm.

For this little but magnificent detail, we will need a half-round trim. It wasn't easy to find it in the home improvement store but finally, I found a few left at Lowes. Not sure what everyone is doing with the half-round trim. 😃 probably the same thing as me 🤣
Measure the height of your drawers and make the cuts on the trim. I used a miter saw and taped off the edges with masking tape to avoid chipping the edges. Use a fine miter blade, although I used a regular one and it worked perfectly fine.
I'd recommend cutting trim as you go. On one side the trim was a bit shorter than on the other and if I just cut it all the same length, you'd see the difference. It's better to cut them separately and line them up to fit before using glue.
Starting one by one, glue trim to the drawers. To secure the first piece of trim you can use a Brad nailer. This way it will stay in place and won't be moving.
Make sure it's leveled at all times.
Work your way all the way to the end of the drawer.
Don't forget to add some weight to the trim to make sure it's glued.
Boom! It's ready!
Step 5 - Paint as desired
I chose 2 colors to paint this beautiful desk. Both colors are by Behr. "Vanilla paste" for the main color and "urbane bronze" for a flute trim. Urbane bronze was a color of 2021 and I was so desperate to try it on something. I am in love for sure!
I painted trim sticks before I started cutting them. This way it was easier to paint it with the second coat. Although I went even for the third one, to make sure it's fully covered.
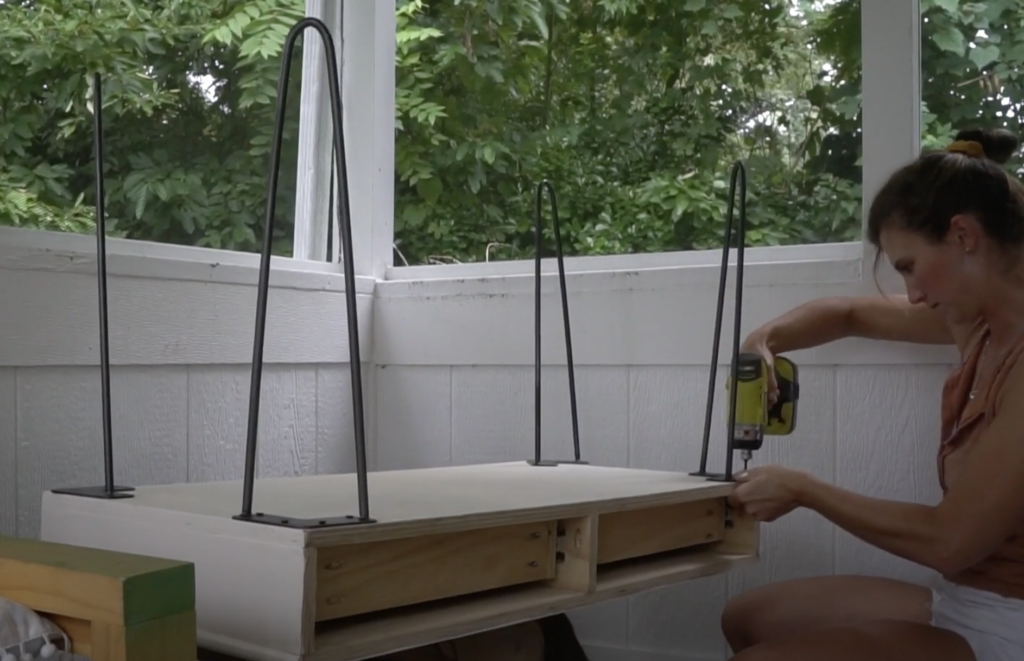
Step 6 - Add hairpin legs
I chose hairpin legs for this DIY kids desk for a few reasons. First, they look stunning. Second, since this is the desk for the kids there is room to grow. I can always take them off and replace them for a longer version when kids grow taller.
I chose these legs from Amazon. They were black which was not the look I was going for. So I simply painted them with bronze spray paint to make them look more cohesive with the "urbane bronze" in the trim.
I think it looks great! But a little voice inside me tells me that perhaps I should paint them gold-ish color. I don't know. What do you think? Let me know in the comments below.
Step 7 - Add hardware
The last step that is so transformative is to add hardware. I chose these think 3" drawer pulls from Amazon and I think they fit perfectly.
Follow the instructions on the pack before the install and go for it!
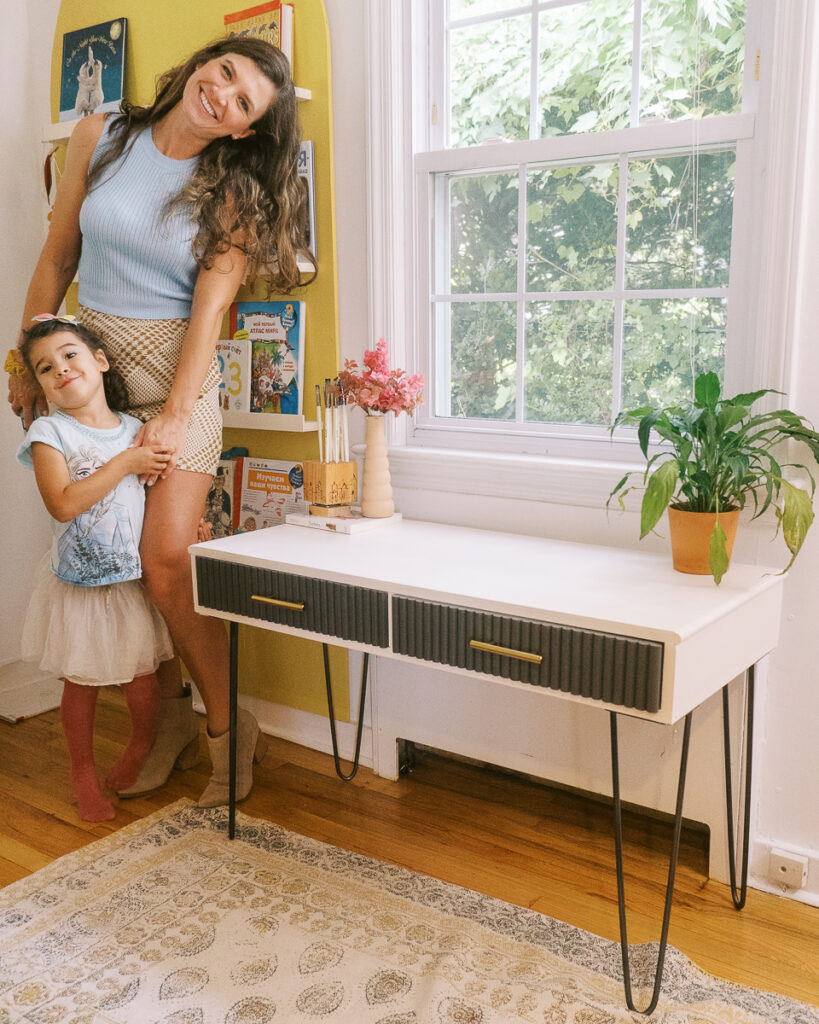


My kids were so happy when I showed them this desk. They brought their notebooks and pencils and put them into the drawers that I made. It was the most adorable thing I've ever seen!
Watch me make it
You can watch me make this desk on my YouTube channel.
Don't forget to subscribe 🙂
I'm sure you can do it too!!! Follow my easy step-by-step plans on how to build a DIY desk with drawers for your kids or yourself. And tag me on Instagram @ifonlyapril when you are done so I could look at your beautiful work!
Xoxo,
April