
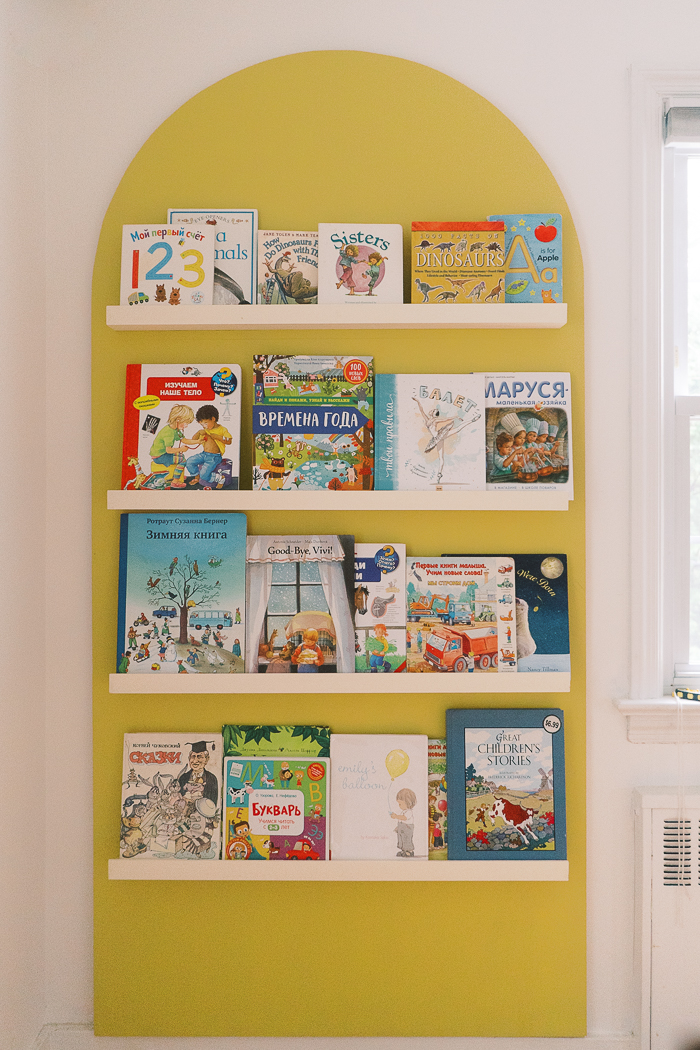
I'm currently in the process of renovating our kid's small playroom. Last week I finished this EPIC IKEA hack using two TROFAST storage units. And this week we'll be tackling the book situation. Basically, we'll be building a DIY book display. To be completely honest, I had a hard time naming this project since it's not really a book display, but neither a bookshelf. We can say that it's a DIY wall-mounted bookshelf or a DIY arched bookshelf wall. And guess what, all of those things are kind of correct. Because this fabulous arched goodness is a book display, a shelf, a book wall, but first of all, it's just amazing! So let me show you how to build a bookshelf wall.
In our previous playroom, which to be correct we never had, but rather in our previous play space, we used these 4 ledgers for book display.
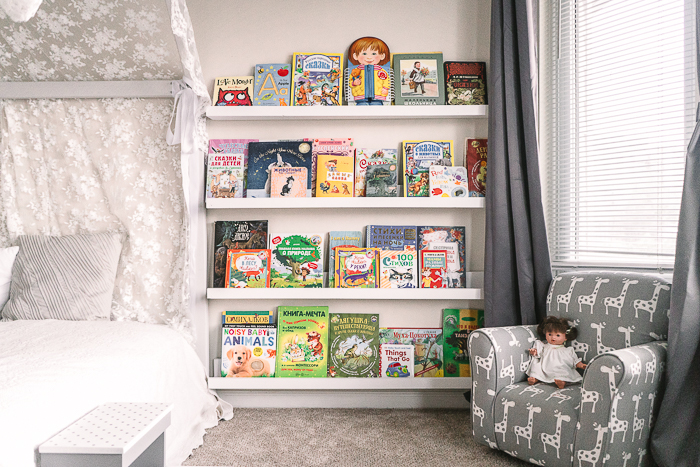
I built them a few years back when I decorated my toddler's bedroom. They worked great! And I was very inclined to use them again, but then everything changed...
I saw a video on YouTube of this beautiful arched magazine stand that super talented DIY Danie made. And as she always likes to say about Pinterest, I just HAD to make one for myself! *khe khe, I mean for kid's playroom of course"
I decided to make it a bit wider than Dani's and I'm not sure how tall is her magazine stand, but I feel that mine is a bit taller. I also plan to make a cubby under it to fit more books, but more about it later.
But let's get to the weeds and see how to make this fabulous thing for your home.
Materials
- ½" plywood sheet
- (2) - 1x3"x8'
- (4) - ¼" thick poplar hobby boards
- screws
- paint (optional)
Tools
- jigsaw
- any saw to make straight cuts
- sander
- drill
- level (this is not what I have but it's so cool because it folds)
- Swanson tool
- stud finder
Instructions to make this DIY book display
Cutting the base
Since the plywood sheet that you need is quite large, you'll need to ask your home department store to cut it to length. You can choose any length and width that you want, just make sure to measure your car before you go, to avoid a situation where you stand on the parking lot confused about how to fit the whole thing inside your car. (Yep, it happened to me before). This was one of those cases where the size of my car determined the scale of this project haha I'd go probably for a bigger size of the arch.
After I measured my car I decided to make this book display 40" x 80" so it could perfectly fit into my car. Well, it didn't go as smooth as I'd hoped and you can watch my Instagram stories (I saved it in highlights) what could be done better.

Cutting an arch
A few months ago I already made half arches for my pegboard room divider and you can read there how I used a thread to trace a perfect ¼" of a circle. The thing is, it didn't come out as perfect as I wanted. I didn't have a proper thread to nail to the middle so mine was making inaccurate rounds.
So this time I decided to make a simple jig for it. I took scrap wood and measured the distance from the center of the board to the edge. Then I drilled a small hole on the scrap board at exactly halfway distance. And I put a nail loosely in the center. This way the pencil could trace a perfect half-circle without wiggling off.
Then I took a jigsaw and cut the half arch. Try to go slow with the jigsaw to make sure it's staying on track.

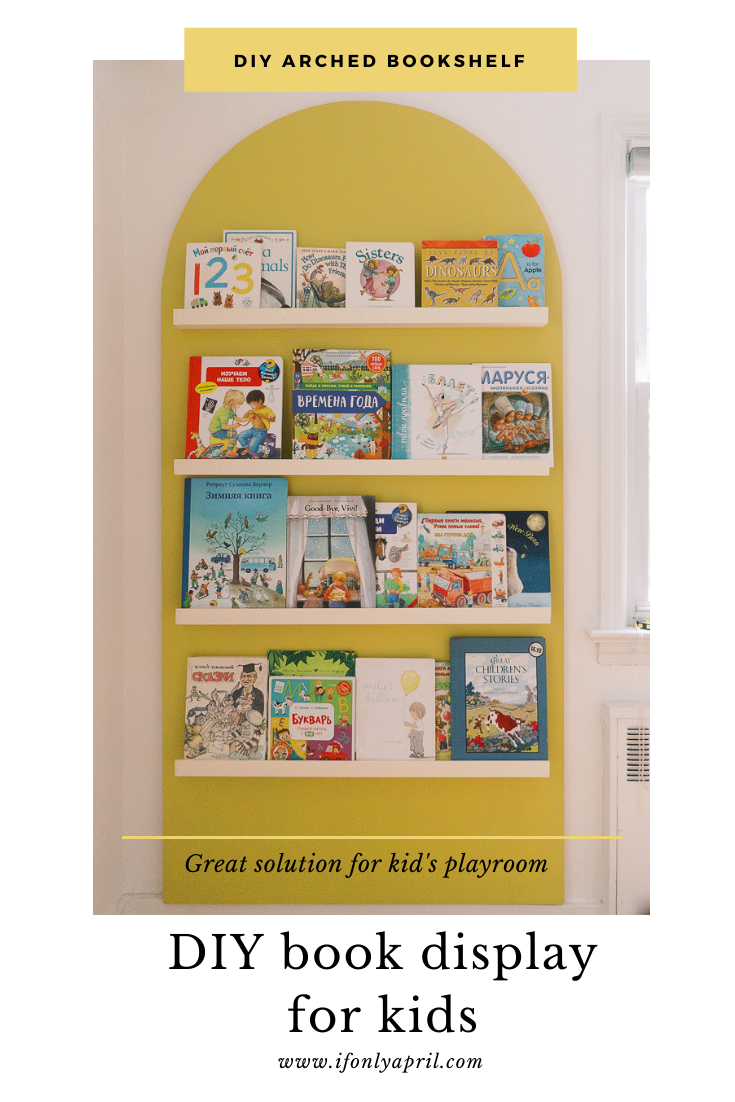
PIN TO MAKE IT LATER >>>>>
How to make shelves
Determine the positioning
Place 1x3"s on the arch and decide on how long you want the shelves to be. I measured 2" from both sides which brought me to 36" wide shelves.
Then you need to decide how large of the spacing you want for the shelves.
If you make this DIY arched book display for kids then take the tallest book that you have (assuming it's not THE only big book your kids own) and use it as a spacer. The spacing between our DIY bookshelves is about 14". It gives enough space for books to wiggle.
Assemble the shelves
When you know all the numbers, cut the boards to size.
Use glue and brad nailer to attach the hobby board to the 1x3". The nail gun in this case acts as a bonding effect for the glue to start doing its magic. Obviously, don't skip the glue (like I once did when I made a farmhouse-style produce stand last year). That's a fun story, you can watch it here!
Leave the glue to cure and fill the tiny holes with wood filler so they are not visible when you paint it. If you are planning to stain it, use a wood filler that can be covered with stain.

Paint
This is the most fun part! I'll talk more about my color choices in my blog about my mood board for this playroom. But let me tell you that I chose a "Dandelion Wish" by Behr as my yellow and "Vanilla paste" color for the shelves. I think they go so well together and give out this retro vibe.
I used samples for both and was very confident that the sample would be enough to paint the arch. Unfortunately, I didn't have the right roller in the beginning and I felt that I could swing it with a big roller for walls. Well, not so fast. Most of the paint was soaked into the big roller till I was forced to go out to my local hardware store and get a smaller roller. I could've used a brush, but oh well, good ideas always come later. It took me longer than expected to paint this arch and I almost ran out of the paint sampler. But if you'll attempt to make the same one just use the right size roller from the start and the paint sampler will be more than enough. Noted for the future.
While the paint on the arch was drying, I painted shelves (or you can also call them ledgers). This unit has so many names hahha. I applied two coats. And if you watch a smooth finish, make sure you sand it between coats.

Assemble
To assemble this adorable bookcase you'll need clamps, screws, and wood glue. I measured where the shelves will go, and drilled 4 holes throughout. Then I added wood glue to the shelves and clamped it to the arched plywood back. After that, I flipped the whole thing over and drove screws through the previously predrilled holes. Easy peasy! Clamps in this case are your best friends! I absolutely love these clamps by Irwin. They are so easy to use!!

Mounting bookshelf to the wall
Ta da!! The DIY bookshelf was ready but since it's for the kids, I couldn't just lean it against the wall as Danie did. I had to attach the whole structure to the wall.
There were a few options to do it. First, simply screw it to the wall (to the studs). But in this case, we'd end up with the screws on the front.
Another option was to use French cleats. And here is where it gets exciting!!
What are french cleats?
A French cleat is a way of securing a cabinet, mirror, artwork, or other objects to a wall. It is molding with a 30–45 degree slope used to hang cabinets or other objects. French cleats can be used in pairs, or with a cleat mounted to the wall and a matching edge cut into the object to be hung.
Wikipedia
Basically, you need 2 boards cut at 45-degree bevel cut. One will be attached to the wall and another one attached to the bookshelf. When they both are secured, you "hang" the bookshelf to the board on the wall.
You can buy aluminum french cleats online or make it yourself. I chose to make it myself.

How to make French cleats from plywood?
I think that if you choose ¾" plywood, it will have a stronger connection but I decided to use a ½" plywood since I didn't want it to be bulky and too visible on the wall.
I researched what's the best way to make French cleats and it seemed the most accurate way is to make it with a table saw.
Adjust the blade on your table saw to 45 degrees and rip the plywood sheet in half. Both of my boards are approx 8" wide. I guess I could go for a smaller width but I thought it will be more secure if I use a wider board.
When you have two boards, attach one to the bookshelf and another one to the wall. Find the studs on the wall to make sure you are not driving your screws into the hollow. Always level at every step of the way, to make sure it's not skewed.
When you attach both boards, take the bookcase and hang it on the board on the wall.
Well, it worked like a charm😁

When this step is done the only thing you have left is to put the books on it and let your kids scream in excitement!
I'm still planning to add a bookcase on the bottom of the arch so we could fit more books in the playroom but it's a whole different story!
Watch video tutorial on YouTube


xoxo,
April


Leave a Reply