
Related:
- Moodboard for kids playroom
- DIY pinboard with butterflies
- DIY desk with flutted trim
- DIY bookcase
- From trash to trasure
- DIY tassel chandelier
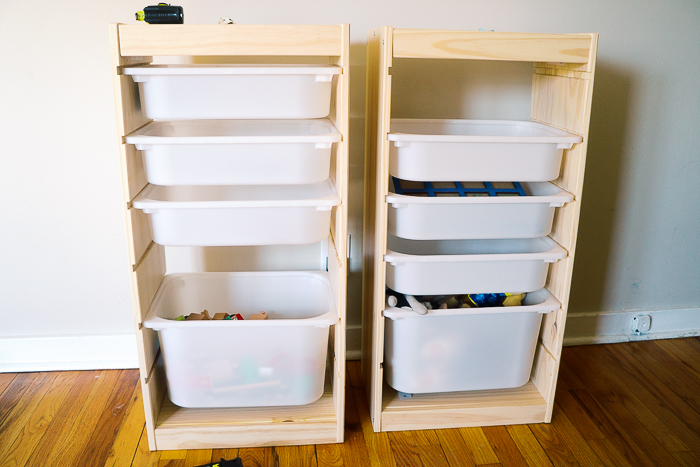
I'm currently doing a makeover of our playroom. When I thought about must-haves it included functionality, a lot of storage. I feel that IKEA TROFAST units are so functional, especially if you add a few tweaks to them. So let me introduce to you this IKEA toy storage hack, aka TROFAST the fabulous! 😀
As much as I love TROFAST, I don't like the look of plastic containers. It screams IKEA to me but I wanted it to look like a piece of furniture, not just an Ikea unit.
Watch me make it on YouTube
If you'd like to watch me make this IKEA toy storage hack, you can watch it on my YouTube channel here

Deciding on design
I was thinking about two options for how to approach this problem.
1. Make shelves
2. Make doors
You can see that I chose the latter. Making shelves on the places of containers would also look cool but I'd have to get matching containers or bins for it to look good. I didn't want to go that route and decided to build doors. Yay! The only problem was I've never made doors before. You can see all my struggles in the YouTube video or on my Instagram. I have it saved in the highlights.
For the overall look of this storage unit, I had only one wish in mind - for it to look like a piece of upscale furniture instead of looking like IKEA. I was inspired by Jennifer from "Making pretty spaces" and what she did with the same TROFAST units. It looks amazing! She used four TROFAST units but for my IKEA toy storage hack, I decided to use only two units.
Materials
- (2) TROFAST IKEA storage units
- ¾" plywood
- (4) ½x2"x4 poplar boards (also called a hobby board)
- (4) 4' trim
- cane
- cabinet door knobs
- (4) legs
- paint (optional)
- ¾" edge banding
- wood glue
- screws (I'll go into detail what size screws for what parts below)
- staples ¼"
Tools
- circular saw (or any kind of saw to make straight cuts)
- Japanese saw or another hand saw to cut trip at 45-degree angle
- sander
- drill
- Staple
- spray painter (optional but makes your life easier)
- clamps
How to do this IKEA toy storage hack?

How to make custom cane doors
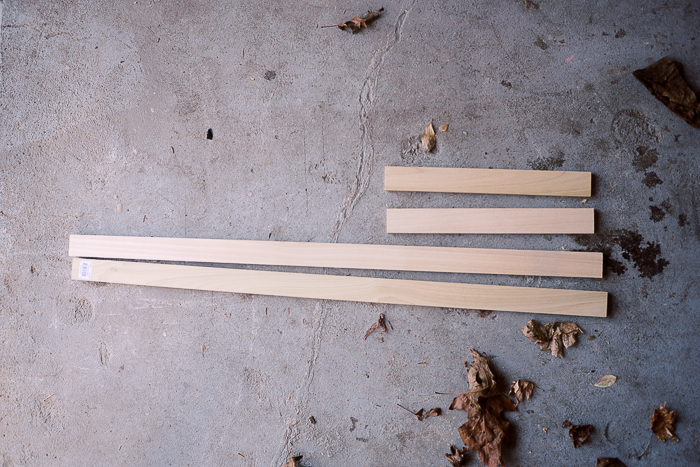
I picked up four poplar boards from Home Depot. I'm not entirely sure why I decided to make the doors with ½" thick wood. I wanted doors to look delicate, especially since their cane involved so regular 1x2" didn't work for me. And in the end, the thickness of the wood got me into trouble.
I had to make a frame for the doors first and then add trim on the inside to create a finished look and use trim as a place to staple cane on.
First, I measured my TROFAST unit and established how long each board should be, then I used my miter saw to make all the cuts.
At first, I went with my usual joining method and tried to use Kreg Jig. While Kreg jig is amazing, for this particular project, it was a complete disaster. I used 1 ¼" pocket hole screws, which were the right size for this thickness of the wood. Unfortunately, in the most important moment, when I drilled the pocket hole screw in, the board failed on me and cracked.
PIN TO MAKE IT LATER>>>>>>
My sappy story of getting a tool I won't use
I panicked. I tried to do a speed search of other joinery that I could use. It seemed at the time that the doweling joining method could actually work, considering that the wood is quite thin. I tried on the scrap wood to make 2 perfectly aligned holes but realized that it's really hard to make 2 perfectly located holes without a special jig. I started searching online and found ways to make a doweling jig. But I was too impatient to actually put any serious thoughts into it and decided to drive to my local hardware shop and purchase the doweling jig.
After my detailed explanation of what I need the jig for (I brought a sample of my boards), a very nice old man at the store showed me the location of my desired doweling jig. It wasn't quite what I was looking for and it seemed that I still had to figure out where to place the holes by myself. "I'll take it", I said. "Are you sure?", said this obviously quite experienced man. "You don't need too many tools lying around and if you need it only for one project, maybe you could figure out something else?". I heartfully convinced an old man that I need it all the time and this is exactly what I was looking for. HA ha. The jokes are on me.
I came back home and tried my new precious dowel jig. A few minutes later I realized that this is definitely not going to make my work easier, but hopefully more precise.
Long story short, it was way better than drilling holes freehand but still, my skills weren't there. After I aligned 3 corners of the door frame, the 4th didn't want to come together. I pushed it a little, just a little, and the terrible thing happened - the dowel broke inside.
I was terrified, I felt that I should start from the beginning, but I was too lazy to drive to Home Depot again. So I decided to just glue that side together. And basically, test my theory if wood glue is indeed more potent than any joinery. I'm really hoping it will work since the boards are so thin. I guess the time will show.
But enough of my sad soppy story, let's continue with the project.
How to add trim inside cane doors?

I didn't leave the frame bare like this, so I added a trim inside.
To cut the trim I tried miter saw, but the first piece went flying in the air, I felt the safer option would be to cut it by hand. The miter box would be super helpful for that, but I didn't have one and just cut with my Japanese saw by hand.

I used wood glue to attach it to the door frame and masking tape to hold it together till it dries. Leave it to dry overnight before adding some wood filler to the cracks. I had plenty of cracks. But hey, as I always say, the wood filler will save us all! When the wood filler dried, I sanded the whole thing down to a smooth finish. I used 220 grit paper to get the smoothest finish ever.
Adding cane to a door frame
If you are at this point, you can pat yourself on the shoulder! You are halfway through!
I purchased cane online from an online fabric store. I like the small weaving and it felt it's perfect for this IKEA storage unit hack.
It turns out to working with a cane is easier than I thought. If the cane doesn't want to cooperate, which happened in my case, put it to warm water for 10 minutes and let it soak. It will be way more friendly after that.

When the cane is ready to work with, take scissors and cut it to the size of the door. My plan was to staple cane to the trim from the inside and it worked! I mean almost, with some alterations.
The problem with cane when you cut it is that the edge frays a little. It was a bit of a problem so I used coil on top of the cane. I got it from the same Online fabric store.
Before you start attaching cane with the staple, do a test on scrap wood to make sure it won't go through to the front. I used ¼" staples, and they were perfect for the job.
That's how I continued to do it. Cut the coil to the right length, align the edge with the trim and staple it. Try to make it as tight as possible so it doesn't get soggy in the middle.
My doors were done!!!
It doesn't look perfect everywhere on the back but certainly looks fabulous on the front.
How to attach doors
This was another problem that I knew I'd face, but it turned out better than I expected. The key here is to choose the right hardware. And by proper hardware I mean hinges that are ½" so they could fit on the edge of this TROFAST unit.
The rest is easy, just attach doors as per instructions and you've got your TROFAST unit covered!

How to transform the IKEA TROFAST unit into a piece of furniture?
I found a few ideas on how to make TROFAST look like a legit piece of furniture but as I mentioned before, I got my inspiration from Jennifer from "Making pretty spaces".
Basically, shelves and legs can elevate this IKEA toy storage hack to a whole new level.
Building shelves and top
Cut plywood at 11" wide since this is the width of the TROFAST unit (unless you want the top to hang from the sides a little). I already had precut plywood so decided to go with the flow.
Measure the distance between units and how wide you want the shelves to be. Cut the shelves, I tried my new multi saw by Dremel and it worked fantastically.
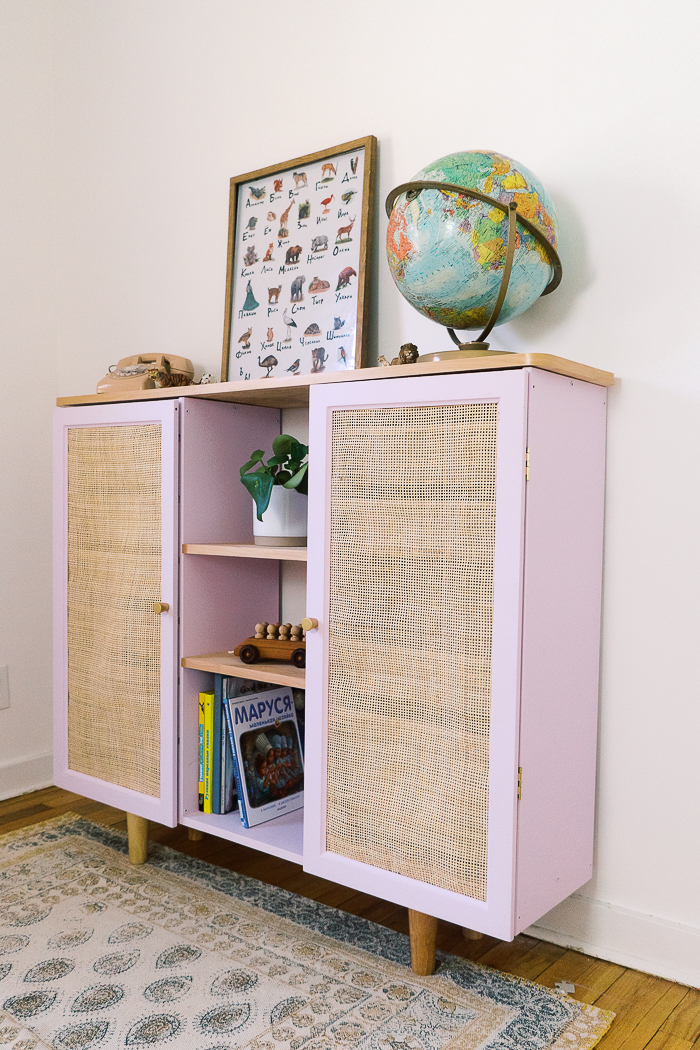
When you know the length of the shelves, you can cut the top. I gave my top nice rounded edges since it felt a bit too square already and I wanted to soften it up a bit so tapered legs that I chose would go nice together. To make rounded edges I turned to my jigsaw and it did rather a fine job!
When the top and shelves are ready it's time to paint and stain!

Painting doors and TROFAST units
Before you paint in color, put a layer of primer. If you missed my saga about how things can go wrong with painting the TROFAST unit, you can read it here or watch it here when I made a LEGO table for my nephews. The lesson was learned, always use a primer with pre-treated surfaces!
To apply primer I used a brush since the last time I used spray painter it got clogged, and I spent most of the time cleaning it. You can read about it here.
When the layer of primer is dry, take fine sandpaper and lightly sand it down to remove all the brushstrokes. It will ensure a super smooth finish.
Spray painter is probably your best friend at painting with acrylic paints. My spray painter is a good one but I'm thinking to upgrade soon. Spray paint the doors and TROFAST units in a well-ventilated area. I went outside for it and used plastic sheets to cover all the surfaces.
For the color, I chose Monologue by Behr and got it in a scuff-resistant finish. It supposes to last longer and as the name says, scuff resistant.
I applied two layers of paint and let it dry completely and painted the bottom shelf for this IKEA toy storage hack.
Assembling revamped IKEA toy storage
First, I attached the bottom shelf. I simply turned it over and used 1 ¼" screws to attach two units together.
I did the same with two other shelves, making sure it's all leveled at all times.
For the top, I used the same screws and attached it from the bottom.
Then I flipped the whole thing around and added legs. I attached it to 2x4"s squares that I cut prior. This way the legs are more secured. I used 1 ¼" screws instead of the ones that come in the package.
I also added an edge banding to cover the ugly plywood side.

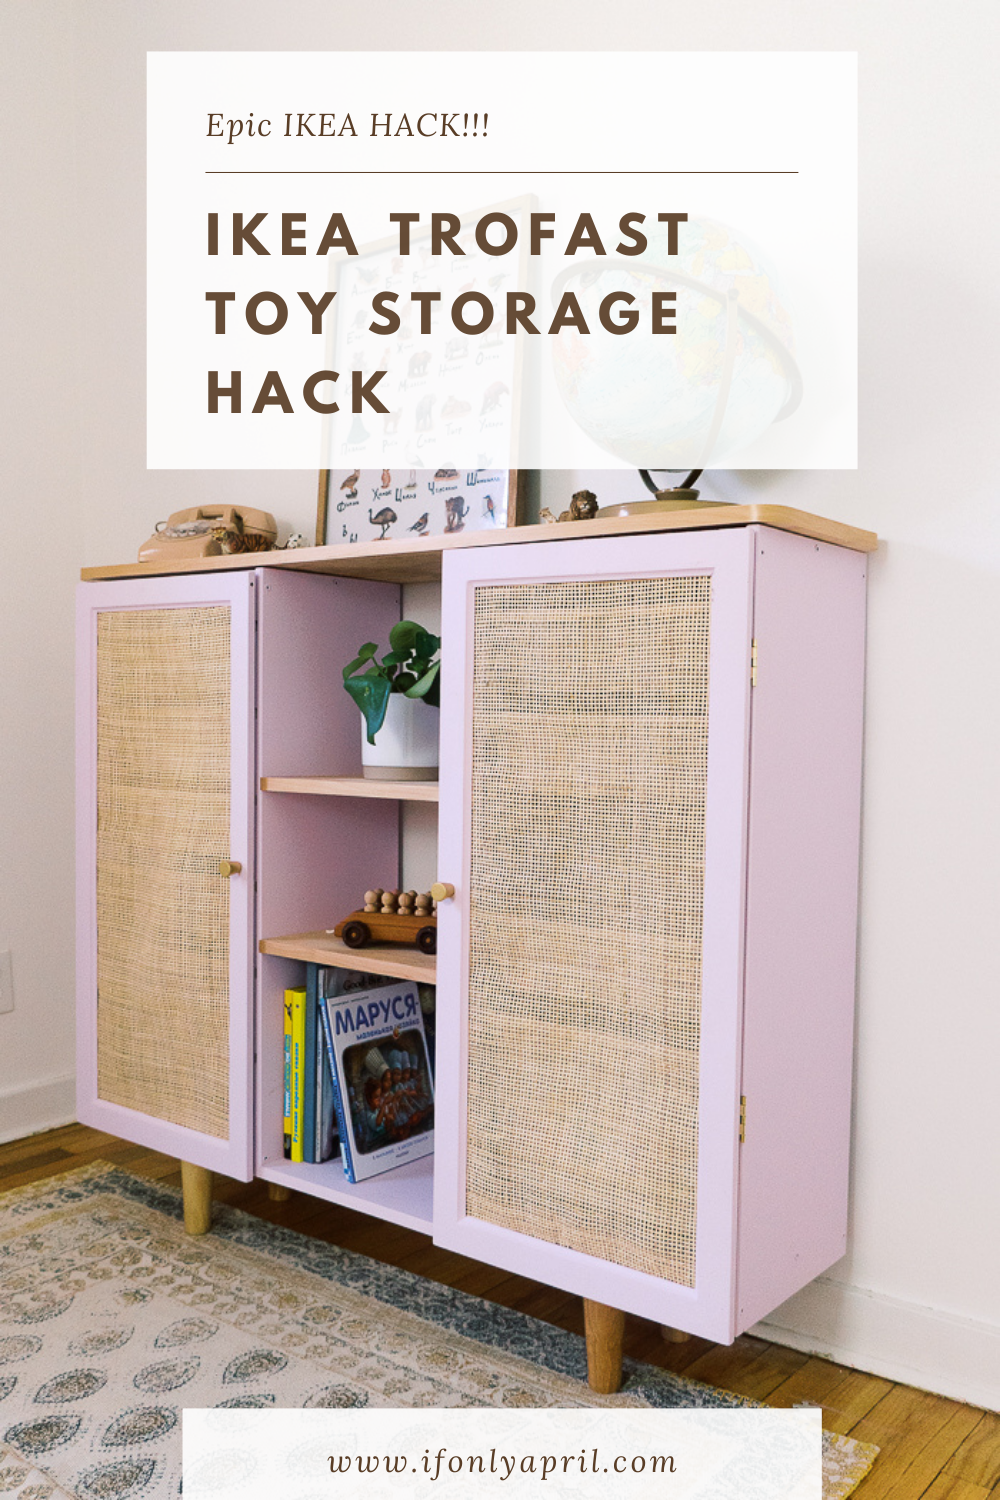
And that was it! This fabulous piece of furniture is one of my favorite IKEA hacks!
It still has the functionality of TROFAST but at the same time, you can't see the clutter inside!
What is your favorite IKEA hack? Let me know in the comments below!


xoxo,
April


Jess says
Hi! How is the wood glue holding up? Thinking of skipping pre-drilling altogether for my Ikea trofast and a tabletop!
April says
Hi Jess, it's still holding up great!