• Skip to primary navigation
  • Skip to main content
  • Skip to primary sidebar
If Only April
  • MEET APRIL
  • DIY PROJECTS
    • Kids projects
    • DIY furniture
    • Design plans
    • DIY holiday projects
    • Macrame
    • Transformations
    • Woodworking
  • VIDEOS
  • CONTACT
  • SHOP
    • Facebook
    • Instagram
    • Pinterest
    • YouTube
menu icon
go to homepage
search icon
Homepage link
  • MEET APRIL
  • DIY PROJECTS
    • Kids projects
    • DIY furniture
    • Design plans
    • DIY holiday projects
    • Macrame
    • Transformations
    • Woodworking
  • VIDEOS
  • CONTACT
  • SHOP
ร—

A homemade natural reed diffuser in a cool amber bottle

Please note, that some of the links below are affiliate links and I will earn a commission if you purchase through those links (at no additional cost to you). Thanks for your support this way.

FacebookPinPrintEmail

Recently I got so hooked on the essential oils magic. They smell delicious, purify the air and serve a purpose (calm/energize/clear your mind). And of course, I decided to try and make a homemade natural reed diffuser. I think it could be a great present under $5 for Christmas. It's natural, recycled, and purely delicious.

We have an essential oil diffuser that I turn on every morning as soon as I get up. I can say with 100% certainty that it's responsible for my elevated mood. This and probably coffee ๐Ÿ˜„

We get up at 5 am in this house and I need a boost of energy.

I love it so much that even debated to buy another one for a different room, but with my 2021 resolution to buy less and make more, I decided to make it myself. And oh, my! It's been such a fun project!

The hardest part of this project is to choose what essential oil blend to use. Since it's made from the recycled jar and other materials you have on hand, it comes down to cost you just a couple of $. You can literally make one for each room. You can experiment with different blends, different carriers and choose something that you like.

Let me share with you tips and my experience on how to make a homemade natural reed diffuser that is even better than from the store.

Materials

  • Essential oils or a premade blend. I have this set from Amazon and love to combine sweet orange with rosemary. 
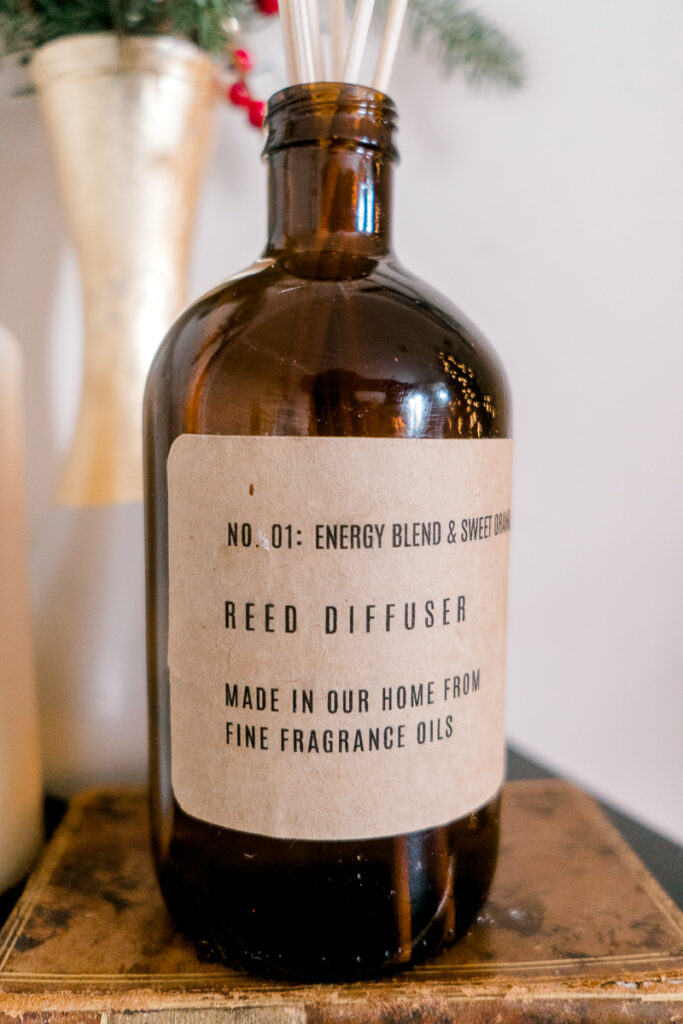
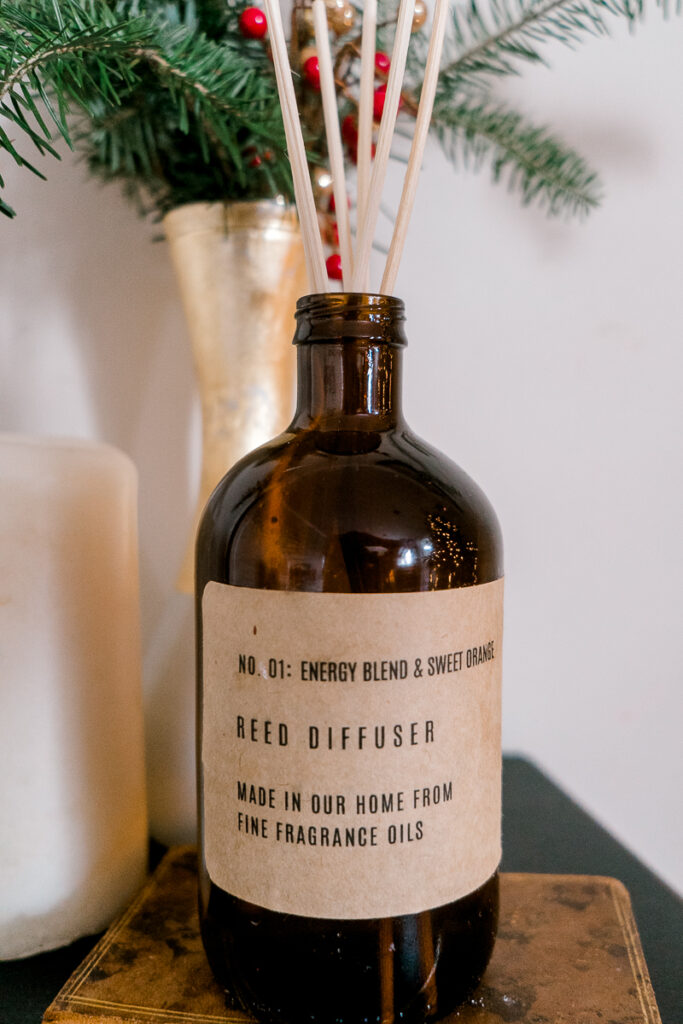
  • Empty jar. I'm using the apothecary-inspired amber glass bottles that are recycled Kombucha bottles from Trader Joe. (Am I the only one who buys products in good-looking bottles to repurpose them later?๐Ÿ˜„. ) Keep in mind that the bottle should be with a narrow opening at the top - to prevent the liquid inside from evaporating quickly.
  • 5-6 reed diffuser sticks (these are the ones I bought) OR bamboo skewers
  • ยผ cup light carrier oil (sweet almond oil, fractionated coconut oil,  or avocado oil). I'm not an expert but you can read more to learn about carrier oils. OR you can use vodka for a carrier. I tried both of them and will let you know below which one I prefer.

Instructions on how to make a reed diffuser

Step 1 - clean your recycled bottles

The best mixture to remove stickers is to use baking soda with cooking oil and rub the glue off. 

Step 2 - choose your carrier

There are 2 ways of doing it. First, you can use a light carrier oil. The second option is to use vodka.

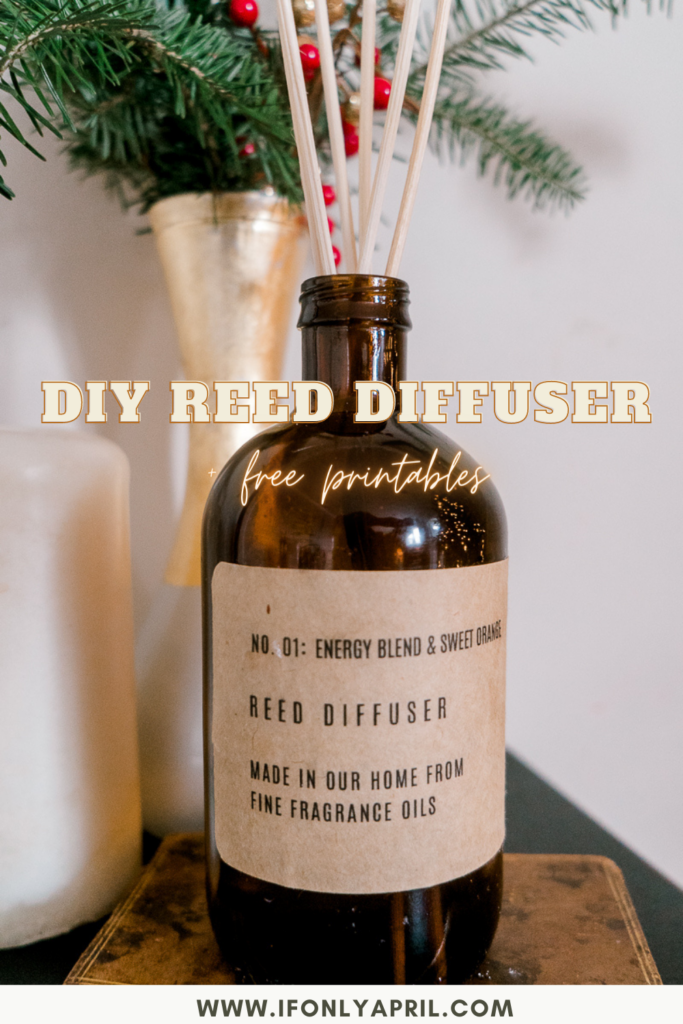
PIN TO MAKE IT LATER

Step 3 - add essential oils

I usually add 30 drops per ยผ cup. You can experiment with a quantity and choose the intensity of the aroma. Personally, I feel that it can't hurt to add more.

Step 4 - put reed sticks inside

If you don't have it on hand, you can use bamboo skewers, but I find them not as useful since they don't have too many pores. Leave your sticks in for an hour to soak the oil and turn upside down. 

Step 5 - experiment with different oil blends

This is such a fun part! You can try all the different kinds! I'm giving you suggestions below for the combinations to try.

Step 6 - put a label

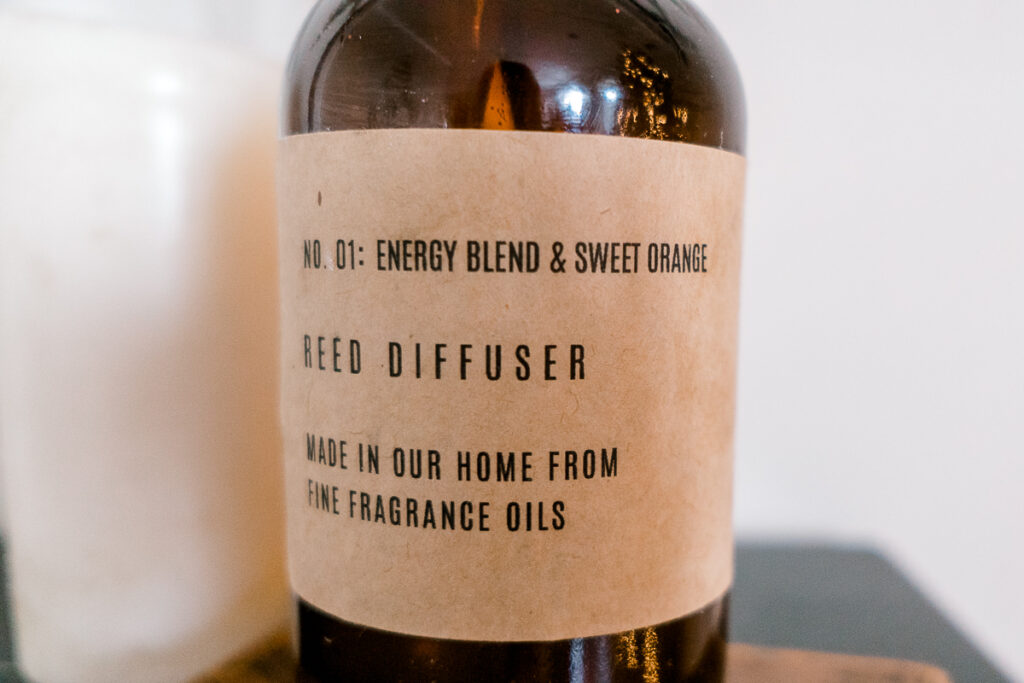
Using sticker paper, print out a label. You can download my label from here.

A list of combinations to try

  • lavender, lemon & peppermint
  • lemon & orange
  • bergamot, lavender & frankincense
  • peppermint & orange
  • clove, cinnamon & orange

NOTE: make sure to keep the diffuser far from kids and pets so they don't knock it over. That's one of the reasons I prefer vodka as a base instead of carrier oils. 

To refresh the scent, flip the sticks every few days. You'll need to change the sticks as they become saturated with oils and stop being effective. Also, more sticks you have - more often you'd need to replace them.

That's it! Homemade natural reed diffusers could be a great DIY gift to your friend.

Check my Instagram @ifonlyapril where I post behind the scenes and everything that goes on in this crazy spectacular fun world of If Only April DIY ๐Ÿ™‚

Xoxo,

April

« Entryway closet makeover plans and ideas
How to make shoe cubbies »
FacebookPinPrintEmail

Reader Interactions

Leave a Reply Cancel reply

Your email address will not be published. Required fields are marked *

Primary Sidebar

Hi, I'm April! I love woodworking and making things! I hope you will stay for a while and get inspired to make something!

More about me โ†’

Popular

  • 5 Simple Mistakes To Avoid Getting Into DIY
  • How to DIY a gold Parisian mirror frame
  • How to make a Montessori floor house bed (full size)
  • 12 IKEA Alex drawer hacks that will inspire you (must see)

ifonlyapril

DIY Lifestyle Mom | ๐Ÿ“CT
New week, new build๐Ÿ˜Š I was so excited to replic New week, new build๐Ÿ˜Š I was so excited to replicate my first build ever that I made 3 years ago for one wonderful girl this week.

Plans are available on my blog ๐Ÿ˜Š
#ifonlyapril_diy #diyfloorbed
A friend of mine today told me that as a "not a DI A friend of mine today told me that as a "not a DIYer" she can't fully appreciate what I did to this closet. To her it doesn't feel like this transformation is so magical. 

So my DIYer friends, let's take a moment and appreciate what I did with this closet!! 
Swipe to see the "before"๐Ÿ™ˆ
#diymakeover #diyclosetmakeover #ifonlyapril_diy #diyyoutuber
Christmas decor video is live on YouTube ๐ŸŽ„ Swi Christmas decor video is live on YouTube ๐ŸŽ„

Swipe to see my almost successful experiment with epoxy and wooden rounds๐Ÿ˜„ watch the video to see what went wrong and how I think you could fix it. 
Details are on the blog and YouTube.
#diychristmas #diychristmaswreath #diychristmasdecor #christmaswithapril
This year I decided to update our stocking holder This year I decided to update our stocking holder and create this beautiful village.

The problem occurred when I couldn't decide how to finish it - to leave the wood as is or paint cute details in traditional Christmas colors.

So I made both ๐Ÿ˜
Which one would you choose?

Find full tutorial on the blog and YouTube.

#diychristmasdecor #diychristmas #diyyoutuber #christmaswithapril
Guess what?๐Ÿ˜๐Ÿ”ฅ It only took me about 6 month Guess what?๐Ÿ˜๐Ÿ”ฅ

It only took me about 6 months but I finished the playroom! ๐ŸŽ‰๐ŸŽ‰๐ŸŽ‰

EVERY piece of furniture is made by me over the course of last 6 months๐Ÿ˜ and decor tooโ˜บ๏ธ are you excited to see it?

I'm so excited! There are no words to describe it! 
The reveal will be on YouTube tomorrow at 10am est. Subscribe and turn on notifications to not miss it!!! It's epic!๐Ÿ˜๐Ÿ”ฅ 
#diymakeover #playroommakeover #ifonlyapril_makeover
NEW video is live on YouTube ๐ŸŽ‰ Last week I mad NEW video is live on YouTube ๐ŸŽ‰

Last week I made this Pottery Barn inspired bulletin board and I'm in love๐Ÿ˜ it turned out so much better than I imagined๐Ÿ˜
Read about all the details and material list on the blog.

And now to the real question - should I put it in the kids playroom (as intended) or keep it to myself?๐Ÿ˜๐Ÿค”

#ifonlyapril_diy #makersgonnamake #makersofinstagram #diyhomedecor
Witch wears Louboutin ๐Ÿ˜‚๐Ÿ‘ป @louboutinworld #d Witch wears Louboutin ๐Ÿ˜‚๐Ÿ‘ป

@louboutinworld #diyhalloweendecor #diyhomedecor #diyhalloween
Oh my! If someone told me 2 years ago when I just Oh my! If someone told me 2 years ago when I just picked up some power tools that eventually I'll be able to make drawers I'd think they were joking!!
But here we are! This day came when I can proudly say that I built a desk with DRAWERS!!! 

I was so so intimidated by drawers that I felt I'd never be able to make them.

Well, here we are! I'm presenting my new furniture design - kids desk with flutted drawers โ˜บ๏ธ

Watch my kids reaction in stories :) and official video will come live to YouTube on Monday. ๐Ÿ˜Š

Plans will be available in 2 weeks on the blog. Since I'm traveling ๐Ÿ˜… watch stories for that too!
Kisses ๐Ÿ˜˜๐Ÿ˜˜๐Ÿ˜˜

#diydesk #diykidsdesk #diyprojects #ifonlyapril_diy #makersgonnamake #ryobitools #diyfurniture #trendyfurniture #girlsehobuild
Load More... Follow on Instagram

Footer

โ†‘ back to top

About

  • Disclaimer

Newsletter

  • Sign Up! for emails and updates

Contact

  • Contact
  • Media Kit

As an Amazon Associate, I earn from qualifying purchases.

Copyright ยฉ IfOnlyApril 2022

Share this ArticleLike this article? Email it to a friend!

Email sent!