
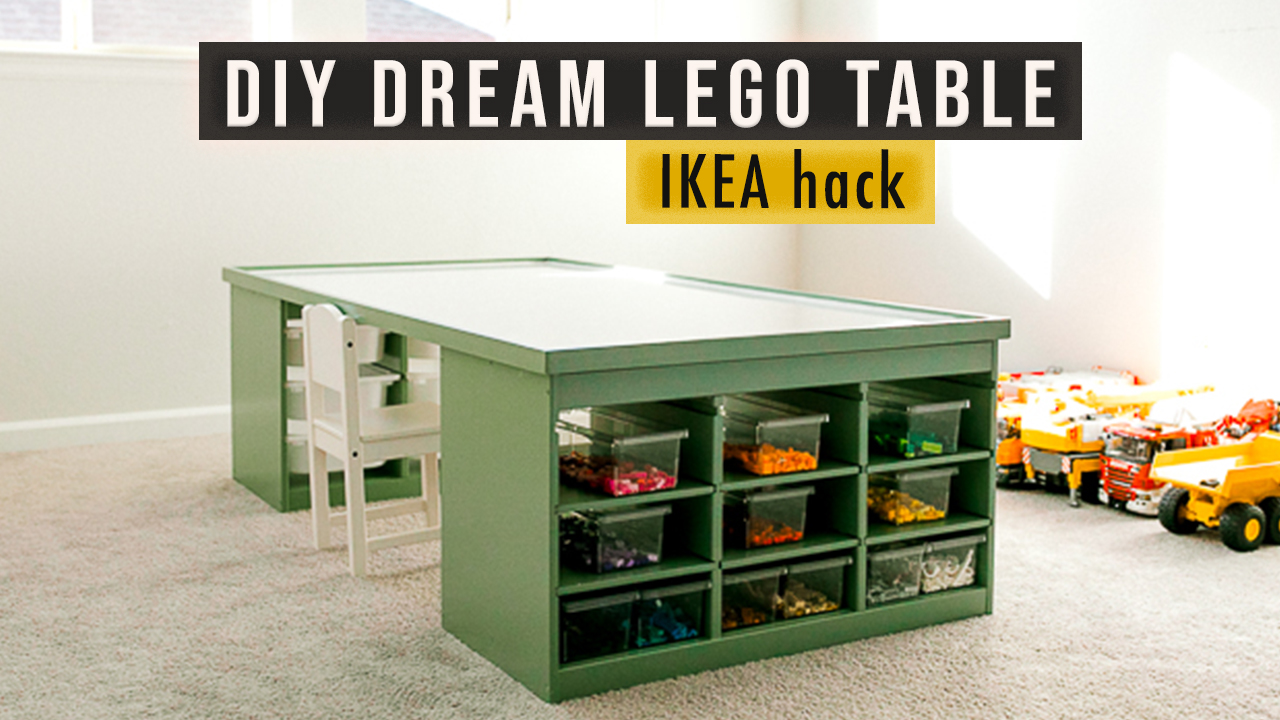
As you know, I have two girls who are mostly interested in dolls and Paw Patrol. They love to play with LEGO but perhaps didn't reach that age when you get obsessed over it. It's a completely different story at my sister's house, where she has three boys - one big one and two small, haha. During my last visit, I built them a DIY Lego table that could also be any other activity table. It's an IKEA hack, an extra-large kids' activity table. I'm still not sure to whom it belongs - to my brother-in-law or my nephews, but one thing is certain - their family is super happy with the new addition to their playroom 😉
If you prefer a video version of this DIY LEGO table tutorial, you can watch it on my YouTube channel
Subscribe to get notifications!
A few words about the design of kids activity table
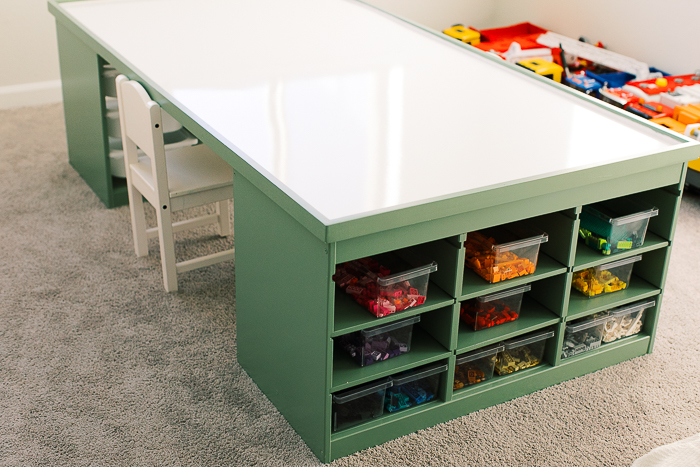
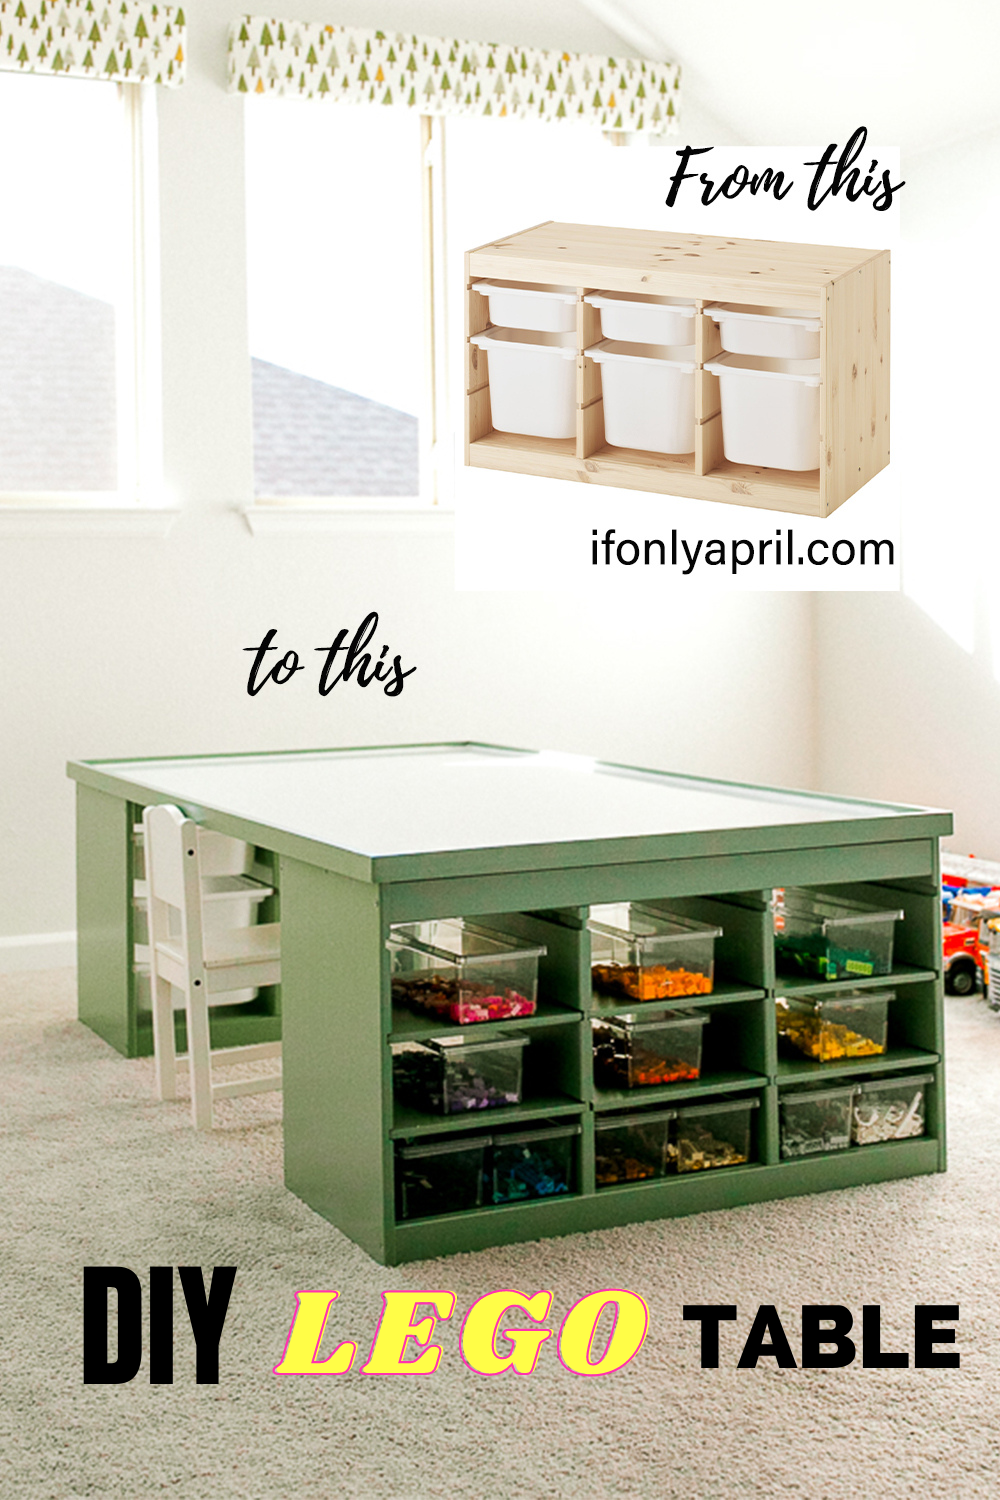
This Lego table turned out so functional and stylish (the last feature was very important to my sister, who didn't want to stare at some ugly large construction every day). To build this DIY Lego table, we took two TROFAST units and added a large tabletop with beautiful trim. The trim added some charm and a finished look to the table.
The tabletop's overall dimensions for the LEGO table are 37 ½"x 73 ½", including trim.
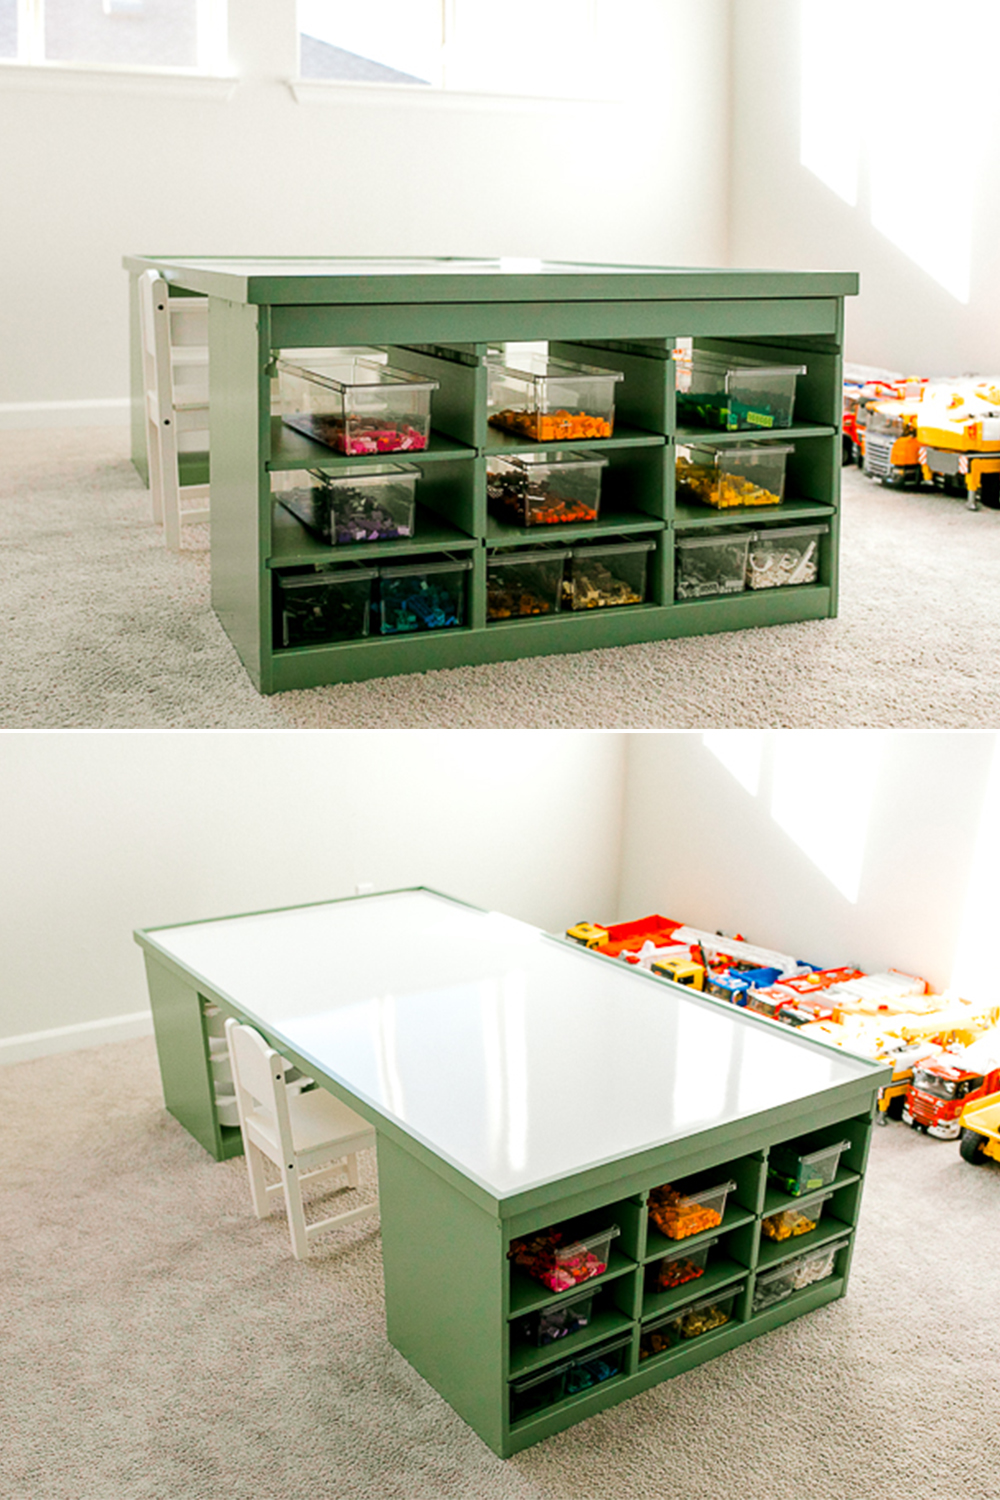
The extra storage adds functionality to any playroom. My sister wanted shelves instead of IKEA containers on one side, so I made her six dividers that created nine frames. Then, we used clear acrylic containers to sort all the LEGOs by color! This DIY LEGO table is a dream come true!
We used THESE clear containers for this DIY Lego table.
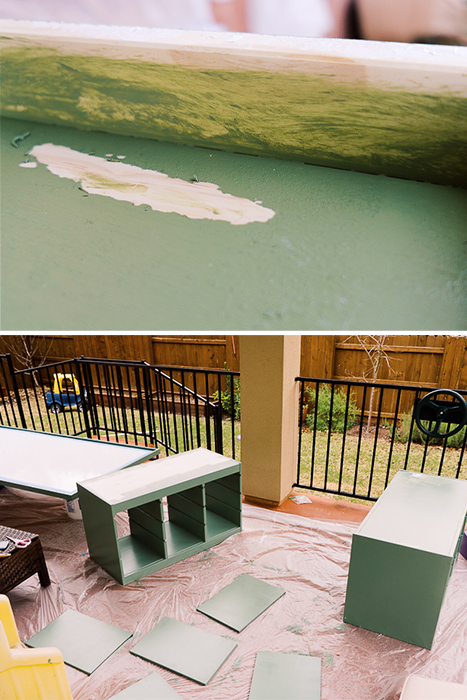
When deciding on the finish of this table, keep in mind a few things. TROFAST storage units are already STAINED! I got myself into quite a situation when it was suggested that we stain this beautiful pine with a new Minwax solid colors stain. My sister was all over this idea and got Minwax solid color stain in a beautiful olive color. When I applied it to the TROFAST storage unit, it didn't work! The stain wouldn't soak into the wood grain. AT ALL! I even sanded one side to see if it would help, but had no luck! I decided to paint it over. Only now, while writing this blog I see on the IKEA website that this unit was treated before!! "IKEA - TROFAST Storage combination with boxes, Light white stained pine/white." I guess that's why the stain didn't want to hold!
So always check the unit's treatment before you decide on the finish for any IKEA hack.
We ended up painting this DIY Lego table with SW Privilege green color, but let's take it step by step.
Ways to use this large DIY play table
Even though I labeled it a DIY Lego table since my nephews needed a functional table with various storage for their LEGOs, it could be anything. The concept is quite simple but very functional. Those shelves could be perfect for all your craft equipment, making it an ideal IKEA hack craft table.
So let's see what we could use it for:
- lego table
- craft table
- play table
- train tracks table
- Science table (for that one, you probably need to cover the top with some durable protective layer)
This IKEA hack kids activity table can be whatever you want it to be 😁

Dimensions
When you use TROFAST storage units, your LEGO table should be at least 37" wide. The length could be customized to your needs. We chose 6 feet so there would be a space between storage units that could fit two small chairs on each side. Four kids would be comfortable enough to play next to each other without bumping into storage units.
To determine what length of the activity table you need, take a good look at your space.
Lay out a masking table on the floor with dimensions that you think would work the best! Consider the size of the room and how much clear space you'd have on the sides. It should be enough for kids to move freely around it.
Materials
- (2) TROFAST Storage combinations with boxes for one side
- ¾"x4x8' Plywood (doesn't have to be a nice grade, it will go underneath anyway)
- ½"x4x8' Plywood sheet (for shelves- optional)
- Smooth wall panel with a prefinished white coating
- (3) 1x2"x8' select pine
- 1 ¼" brad nails
- Wood glue
- Superglue
- Caulk
- Wood filler (optional)
Lumber cuts
- ¾ x 36 x 72" (tabletop)
- 36 x 72" - white panel (tabletop)
- (2) 1 x 2 x 73 ½" - mitered on both ends (trim for long sides)
- (2) 1 x 2 x 37 ½" - mitered on both ends (trim for short sides)
- (6) ½ x 17 x 11 ¾" (shelves)
Layout for cutting wood suggestion
Tools
- Sander
- Brad nailer
- Miter saw
Tips for assembling IKEA furniture
As I mentioned in my Instagram stories, I'm obsessed with assembling IKEA furniture and with IKEA hacks. I seriously considered being a professional IKEA furniture assembler as a gig during my student time. I've learned a thing or two over the years. So here are some tips on assembling an IKEA Trofast for our DIY Lego table.
- Read the instructions. One tip that is so obvious so often overlooked. Don't skip this step
- Use a hammer to tap the dowels lightly into the holes. A hammer is also helpful when putting the sides together. Do yourself a favor and get one ready.
- Take out your power tools. I don't have to explain that using a screwdriver can make the process so much more painful than it should be. If you use an electric screwdriver, it makes the whole thing so much easier! I've got a Dremel electric screwdriver and love that little powerful thing! I've been using it so much lately, on different house projects, it's super convenient! (Disclosure: It was gifted by DREMEL, but the opinion is mine)
- PRO TIP: When you have three screws in a row, always start with the middle one and never drive it in. Instead, drive all screws halfway in and then go back to finish it off. It will make assembly more even.
- And if you want to save time, always double-check your work!
How to make a tabletop for a large kid's play table
To make the tabletop you simply need to cut the plywood sheet and plastic sheet to size. It seems easy and straightforward, but there are some hidden snags.
You can ask your home improvement store guys to cut it for you. This is an obvious move since it's highly unlikely the full 4x8' sheet will fit into your car unless you have a pickup truck. This is the easy route, and we, of course, went with it the first time. Unfortunately, after the guy finished cutting it turned out that a plastic sheet is ¼ inch wider on one side and ¼ inch shorter on the other. Ugh! At first, I thought I could cut it off with a circular saw, but when I tried, it chipped terribly, and we had to go to get another wall panel to make it work.
Tips on cutting a wall panel
Ask your improvement store to cut a ¾" plywood sheet to length (it's hard to mess it up). Cut your wall panel 5-6" bigger than your dimensions (so it could fit into a car).
At home, lay a plywood sheet and a wall panel on top. Mark exact lines on the wall panel to make it flush with the plywood. Add masking tape on top of that line. Cut it with a circular saw or another saw of your choice.
The masking tape will prevent the wall panel from chipping on the edges.
If you still mess it up a little, don't worry; you can always paint that spot with white paint or use caulk to hide some imperfections.
I also found that if you make a guiding line with a box opener or utility knife before taping it over, it could help with the cutting process.
PIN IT TO MAKE LATER>>>>>>

Step-by-step tutorial
Let's get down to business and break down step by step how to make this activity table
Time: 6 hours
Level: Intermediate
Cost: approx $260 ($170 - TROFAST units + materials)
STEP 1
Assemble two IKEA TROFAST storage units as per instructions.
STEP 2
Cut ¾" plywood and a wall panel to length. In my case, it was 3x6'.

STEP 3
Using gorilla glue, attach the wall panel to plywood.

STEP 4
Make a trim. Cut 1x2s to length. Attach them to the plywood board and plastic sheet using wood glue and a brad nailer. Use wood filler to hide the cracks (if you have any, haha) and cover holes in the brad nails. Sand it all smoothly.
STEP 5
Make shelves for one side. This step is entirely optional. My sister wanted clear acrylic containers on one side, so I made her six shelves. I used ½" plywood that would fit perfectly to the shelf sections of the TROFAST storage unit. Dimensions of the shelves are 17x11 ¾".
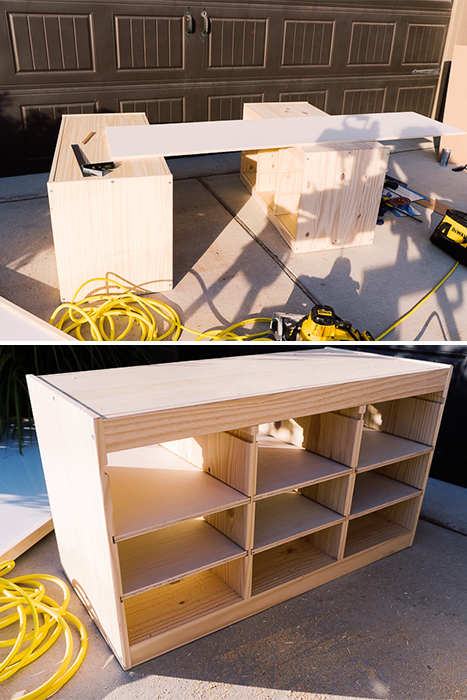
TIP: Always buy an extra wood so you don't have to run to the store if you mess one plank up ;D
STEP 6
Paint the table and trim. First, I covered the whole area with a primer, and only after that painted with color.
STEP 7
Attach the tabletop to the TROFAST storage units. I used 1 ¼" screws, and they were a perfect length for this project.

STEP 8
In the end, we used caulk to hide all imperfections on the sides of a tabletop 😉

Conclusion
This DIY LEGO table is such a fun, easy IKEA hack! I'm pretty positive any kid in your life will love to have it! So what are you waiting for? Go and make something!
What do you think about this LEGO table? Leave me a comment below and tell me what's your favorite IKEA hack 🙂
xoxo,
April
WE THOUGHT YOU MIGHT ALSO LIKE
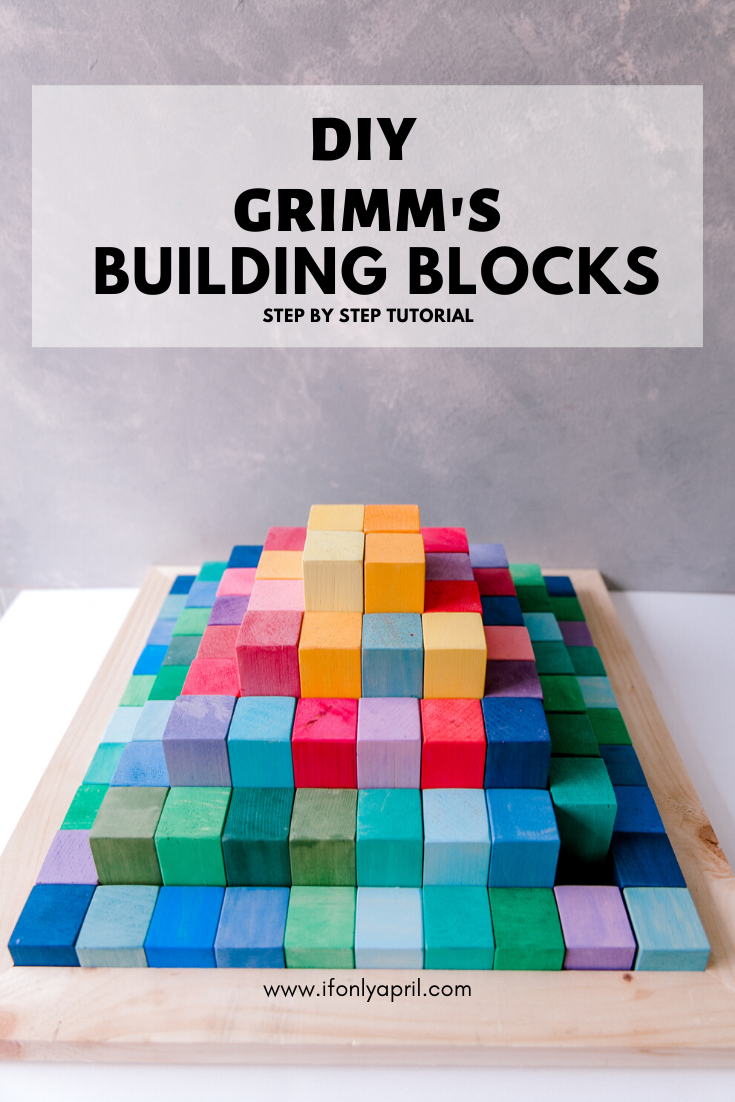
DIY Grimm's building blocks dupe (for way less $$)
DIY backyard playground with a slide ( FREE PLANS)

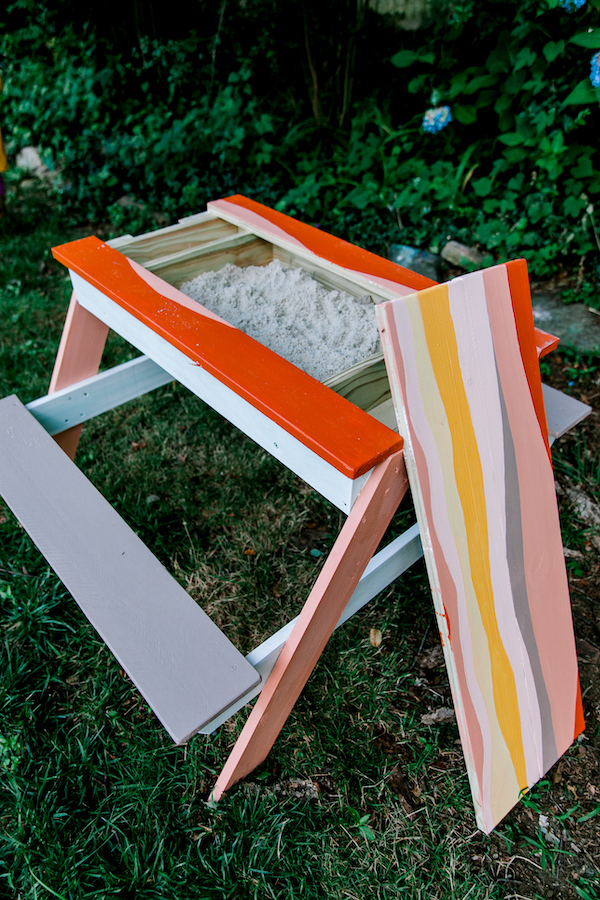
Fun sandbox picnic table for kids with free plans


Annie says
Love it!!! Such a fun idea 😍
April says
Thank you so much! I hope you’ll try it in your home😁
Jori says
I've been dreaming up a cool train table for my son with the use of the Ikea trofast. This is fantastic, and totally going to use your plans!
April says
Yay! I'm so happy you like it and find it useful, Jori!
Trista says
Can I ask why you opted for shelves instead of the traditional trofast drawers? Love this table, and the color is perfect!!
April says
Hi Trista! That was a project for my sister and nephews and my sister wanted for shelves so they could put clear bins there. It's a matter of preference I guess!
Jason says
How did you attach the tabletop to Trufast units? Did you go from under the Trufast and up into the plywood, or down from the tabletop into the Trufast?
April says
Hi Jason! I went from the bottom to the plywood with screws
Julie says
We are venturing to make this for toy storage in our playroom. Beautiful job and thank you for the plans! I am wondering what chairs (or the sizes) your sister put at the table? They are cute! Thank you so much!
April says
Thank you Julie! The chairs are from IKEA if I'm not mistaken!
Catherine says
Love the paint color you chose- any chance you remember the name?
April says
I think it's "Hunter green", but I can't be sure. It's been awhile
Joey says
Great idea and so helpful. I used the Trofast shelf in finished white instead of the stained pine. I wanted to avoid painting. I also used white pvc for a trim and it worked great. Last note is that IKEA now makes shelves for the Trofast unit, so you can just purchase instead of making them. One important note is to truly measure out the LEGO base plates to make sure they will fit to your table measurements. Measure them before you decide on the cut for your tabletop. My son is so excited about his table.
April says
I'm happy it worked out for you, Joey! Thanks for the feedback!
Sarah Miller says
We love this idea and are so thankful for
Your post! I’m not sure if they’ve changed the Trofast since you made this, but we followed the measurements listed and it is about 2 inches less wide than the Trofasts. So my suggestion to anyone making this moving forward: measure your Trofast before cutting your tabletops!
Megan says
I love this! I’d like to actually make it a lego and a craft table. So I would love it if the height could end up being 28”-30” tall. How would you recommend to do this project, but make a table for adults to craft at too?
April says
Perhaps stack two trofast units?
Erika S says
Your link for the ikea cabinets doesn’t work. Do you have the exact measurements of them so I can find them on the website. There are so many options in the trofast line.
April says
Hi! I think this is the one https://www.ikea.com/us/en/p/trofast-storage-combination-with-boxes-light-white-stained-pine-white-s39574865/?gad_source=1&gad_campaignid=11022531043&gbraid=0AAAAAD27g7ypEbm6neG520ufwdeR416Oe&gclid=CjwKCAiAw9vIBhBBEiwAraSATrTqq_Zt2nVoAY671XjbdzHOavHLZfyt9oV3lJUPGvJWD6XXDU-BWRoCB3MQAvD_BwE
Erika S says
Thank you! I’m excited to make this!!