

 In our last house, we had a small entryway, where we couldn't put any table to simply throw our keys or mail as you walk in. I found this cool entryway organizer on Etsy but wasn't willing to spend $90 for something that I could easily make myself.
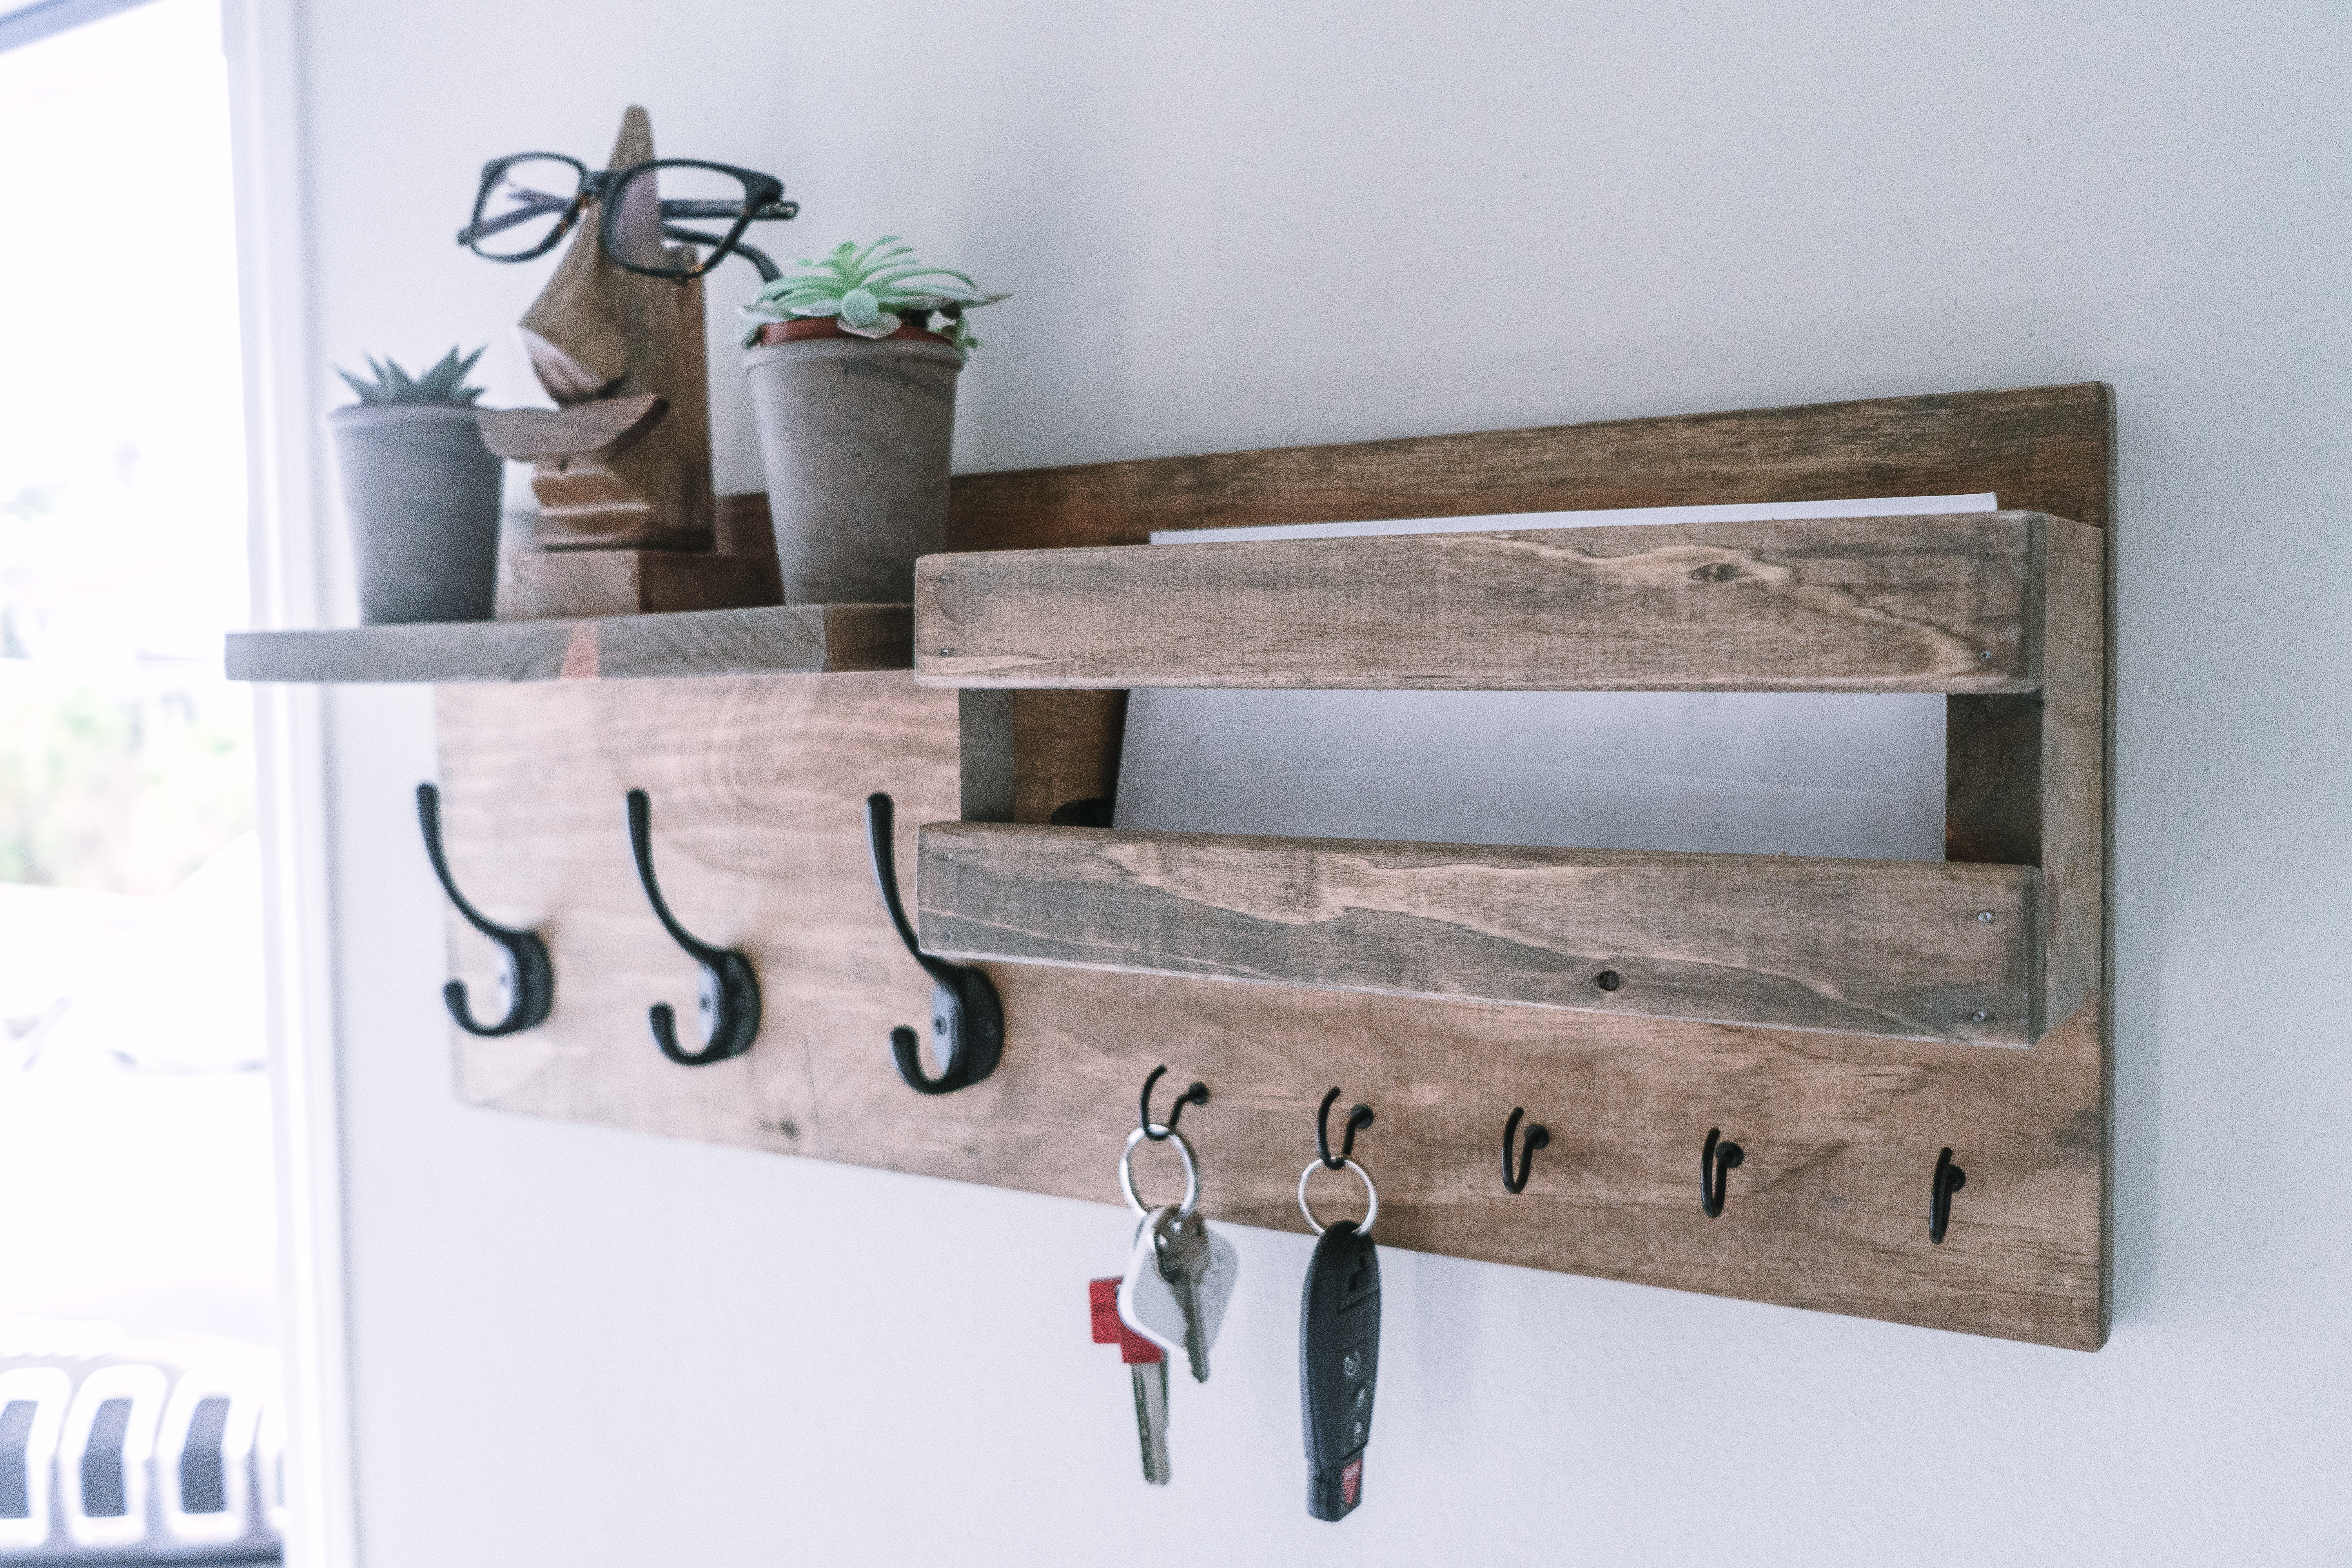
The rustic look of this DIY entryway organizer fits perfectly with our interior. Another benefit is you can customize it to your needs. I opted for few hooks for keys, hooks for hats/bags, little shelf for a plant (that ended up with my husband's wallet so the plant had to go) and space for letters/bills that has to be paid.
Disclaimer: Please note, that some of the links below are affiliate links and I will ease a commission if you purchase through those links (at no additional cost to you). Thanks for your support this way.

Materials:
- Common board (in my case it's 1x8x...)
- Scrap planks
- Ceiling hooks
- Wall hooks
- Minwax stain (as usual, I mixed Provincial and Weathered Oak in 70/30 proportion)
- Screws and nails
- Sanding block
- A nice plant or a cactus if you don't want it to die fast 😉

I found this awesome glasses holder on Amazon here.


Instructions:
- Measure the scraps. You'd want to measure your wall first to make sure it fits and you make it the right size.
- Align the scraps, play with a layout and choose best for you
- Cut wood to adjusted length
- Sand the boards. I started sanding with P80 but then realized hand sanding is better for this project.
- Put parts together with screws and nails.
- Set up hooks
- Stain organizer. You can stain before you assemble it but I prefer to do it as the last step to make sure all pocket holes from screws are also dark.


DIY Entryway organizer is a super easy, less than an hour project. I really hope you will try it. Let me know in the comments how it went and send me pictures! I love to see what you created!
If your space is narrow and horizontal organizer won't fit, check out my Vertical Entryway Organizer here.
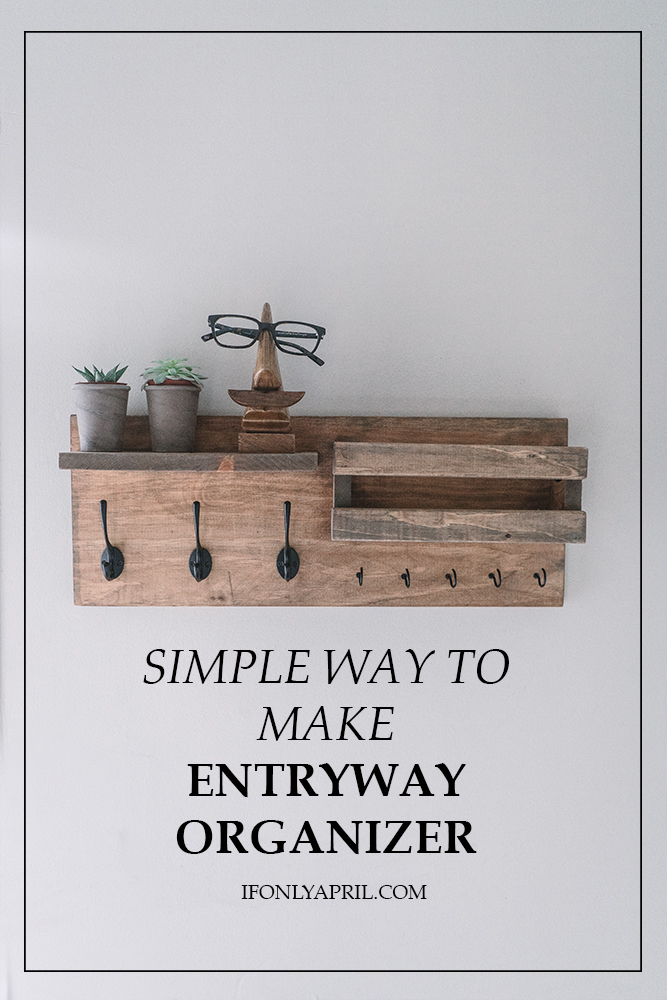
PIN FOR LATER>>>>>>>>>
xoxo,
April


Leave a Reply