
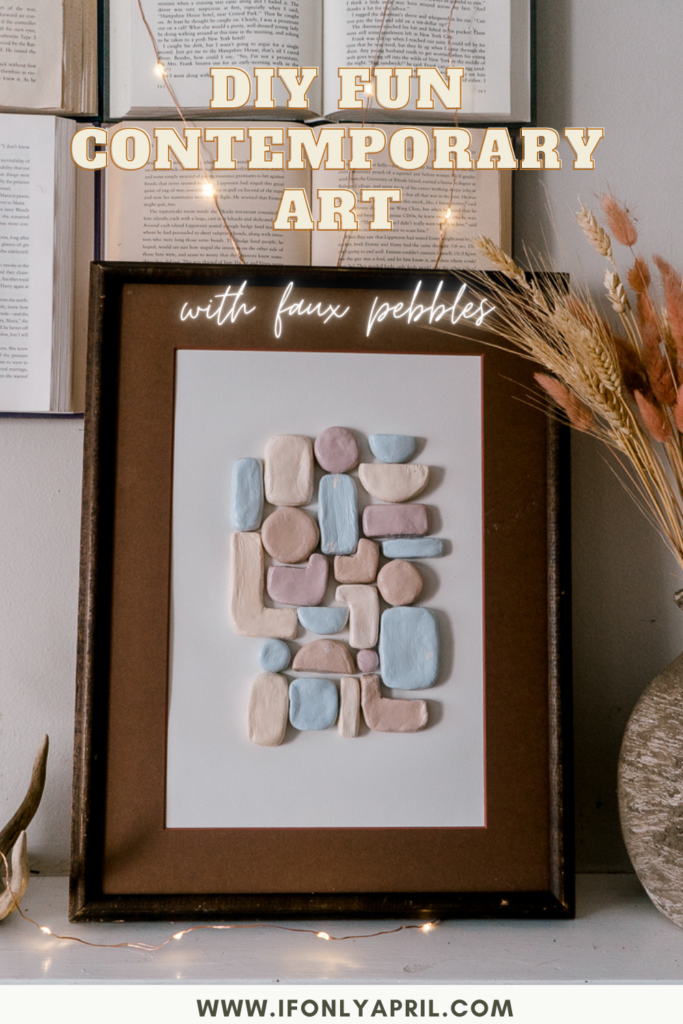
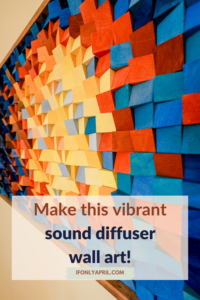
I'm sure you've seen the adorable pebble art that is wildly available around. I decided to make my version of it and DIY contemporary art "faux pebbles" from... wait for it...
Clay!
It was such a fun little project. Perfect for a cold winter day when I can't get into my garage and make something from wood. Also, this week my kids are off from pre-school due to Covid and I felt to make this art would be a perfect project for such a week.
And it's so easy to make. It's also very budget-friendly and could be customized to the interior of your home.
So let's dive in and see what you need for this project.
Materials
- Air dry clay
- Frame
- Textured board
- Acrylic paint
- Brushes
- E6000 glue
- Pen and paper
Instructions
Step 1. Prepare the frame
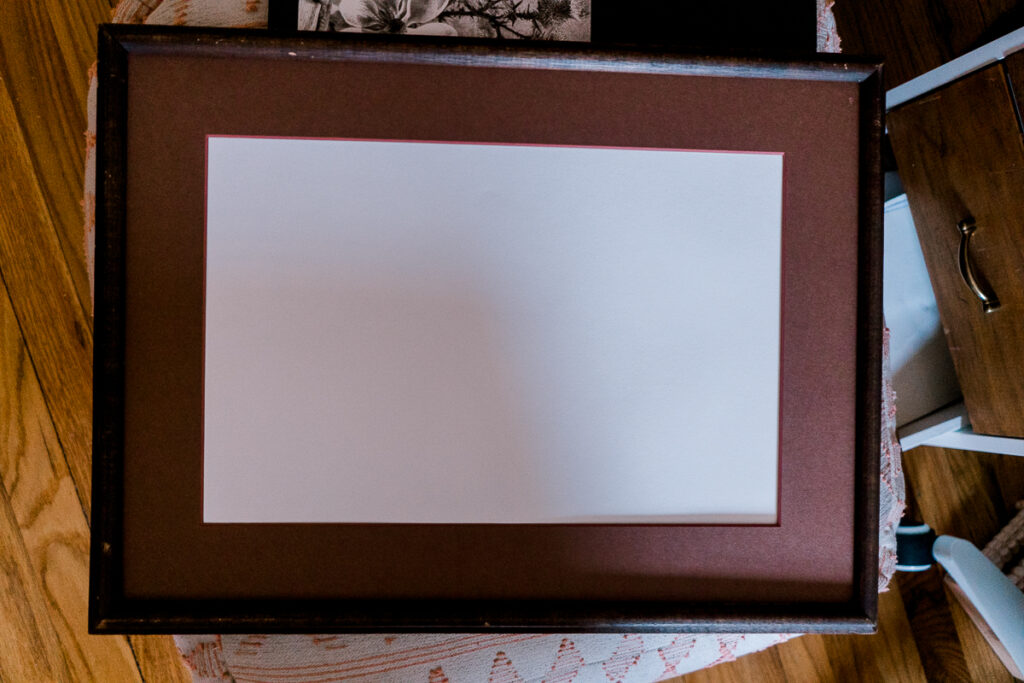
I used a frame that I found in Goodwill for this project but you can use any decent frame that you find at home. Or, if you feel adventurous, make your own frame. I made one for the pinboard and you can read a full tutorial on it here.
How to make a pinboard with butterflies from epoxy
First, prepare your frame. Take a textured board (or in my case I used a drawing paper since I like the texture and it was the only paper in the right size). Take out the backing board and add white paper on display. I removed the glass from the frame since we'll be making 3-D art.
Put it aside.
PIN IT TO MAKE LATER
Step 2. Draw a template
Take a piece of paper and draw shapes on it. I wanted my art to be in the middle and have a lot of negative space. But you can also cover the whole frame with it. It would also look good, but different.
I chose simple geometrical shapes for this project - circles, squares, etc. but let your imagination go wild.
Step 2. Make pebbles from clay
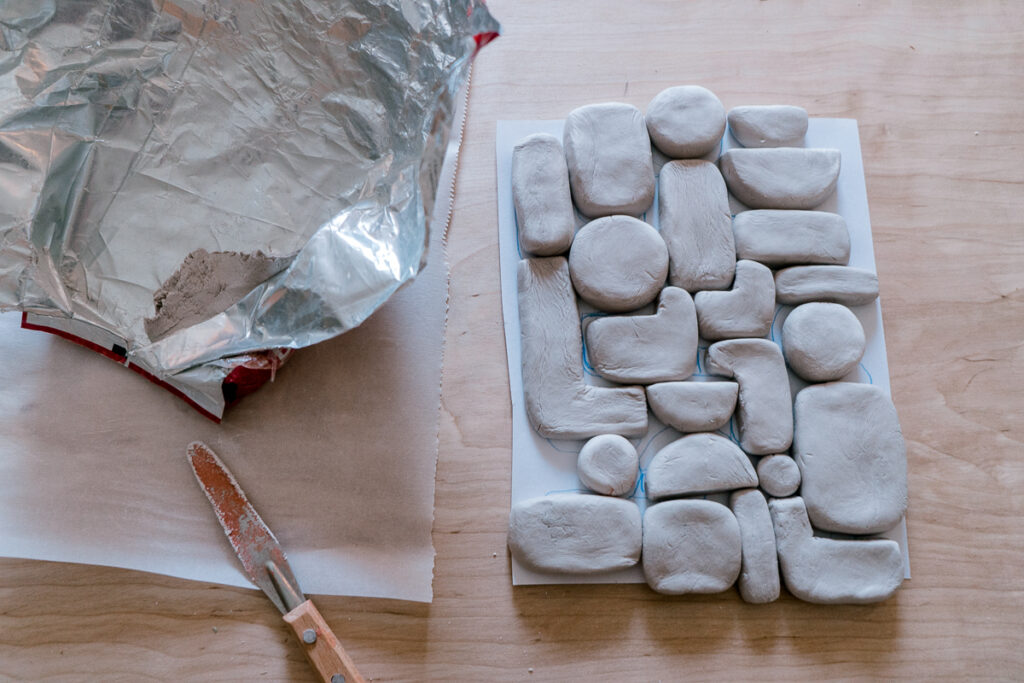
I used air-dry clay but you can also use oven-baked clay. It depends on your preferences. I like the texture of air dry clay so I went with it.
Take a small piece of clay and make a ball out of it. Smooth out all the wrinkles and cracks. You can use water to smooth it out. When you have a perfect ball, shape it according to the shapes that you chose.
The hardest part was to make those cutout shapes. For them I used a clay cutting knife, making sure to smooth all the edges.
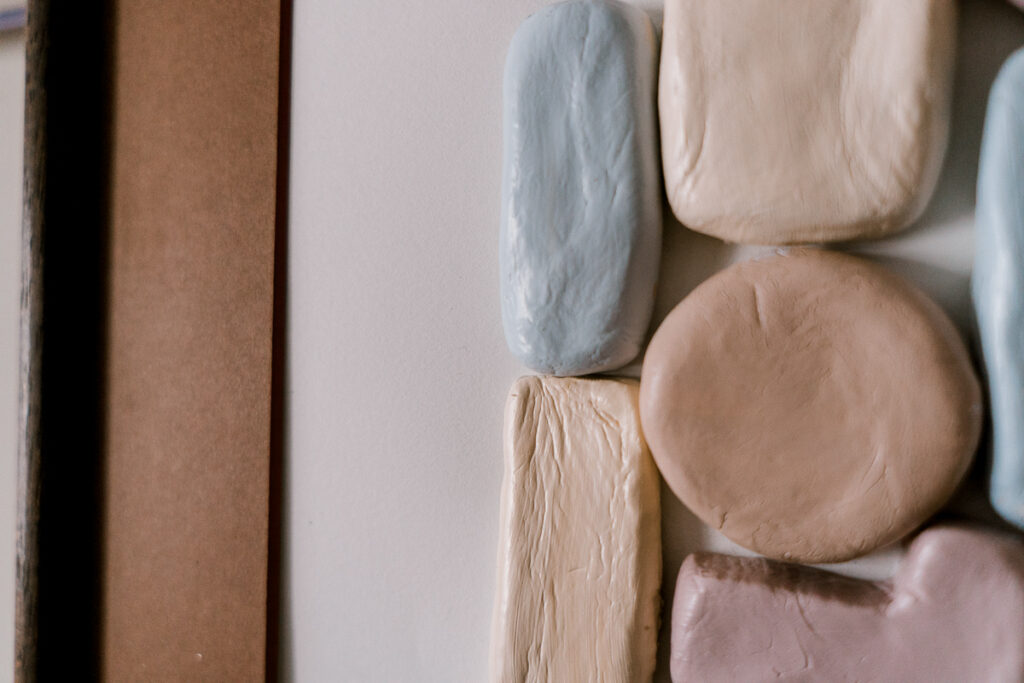
All of the shapes are approximately ½" thick. But you can also make them more or less flat.
When you finish making all the shapes, let the clay dry. I left mine for 24 hours.
When I got back it wasn't fully dried but it still was dry enough to move to the next step.
Step 4. Paint the pebbles
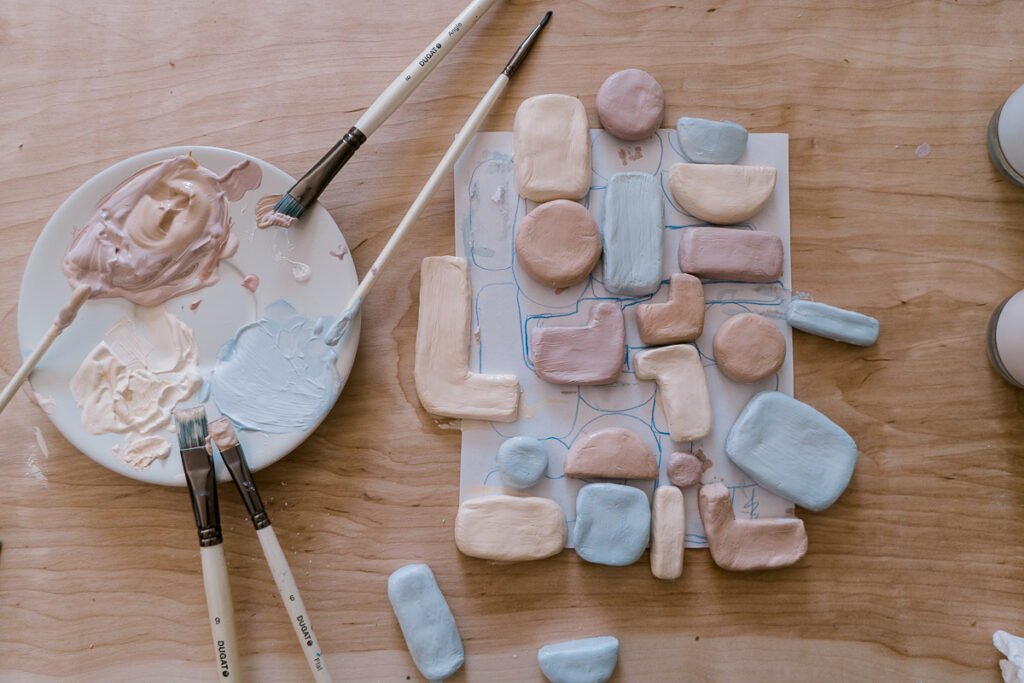
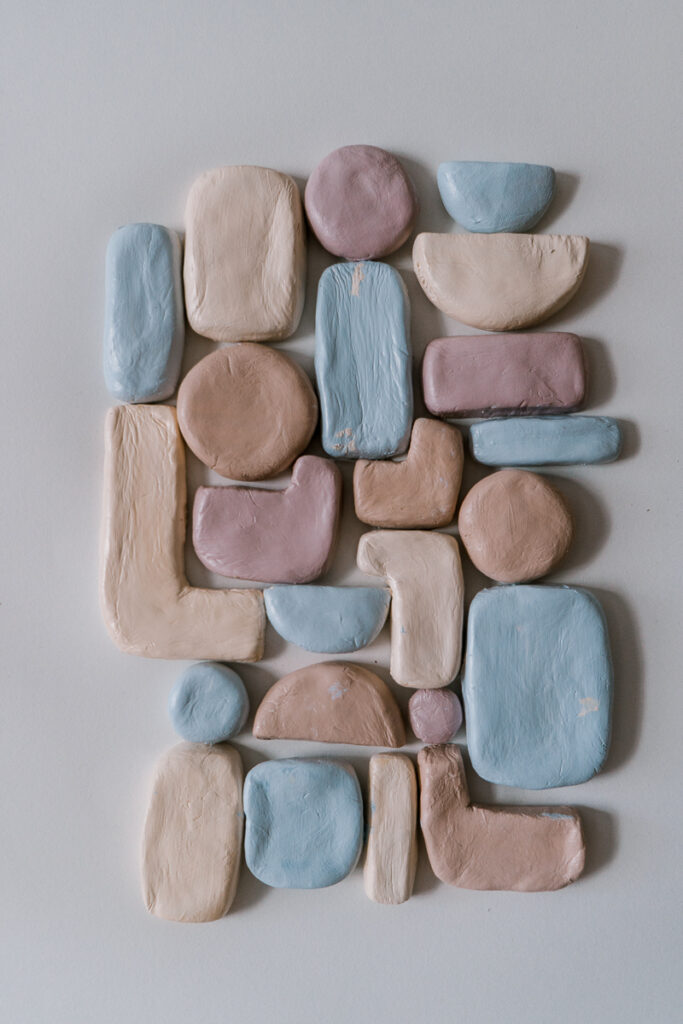
In the end, we have these "faux pebbles" that we can either leave the way they are or paint. Of course, I chose colors and decided to paint them in these soft pastel colors.
I used my favorite acrylic paints which I use for most of my projects. Here are also my "go-to" brushes that I always use.
Paint the edges of the pebbles and the top. And then let's move to the next step.
Step 5. Glue the shapes
When the paint dried, I used E6000 glue to attach our faux pebbles to the paper.
E6000 is an industrial strength glue and it practically can glue anything together.
So I had high hopes it would work perfectly with clay and paper. And I was not disappointed!
So here is the final result!!
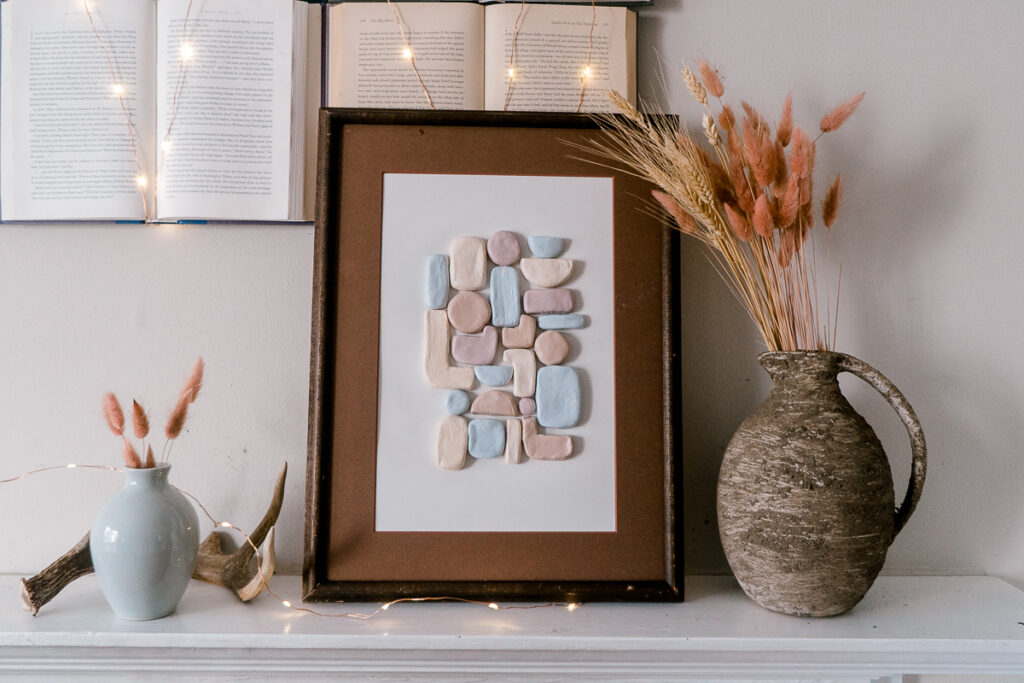
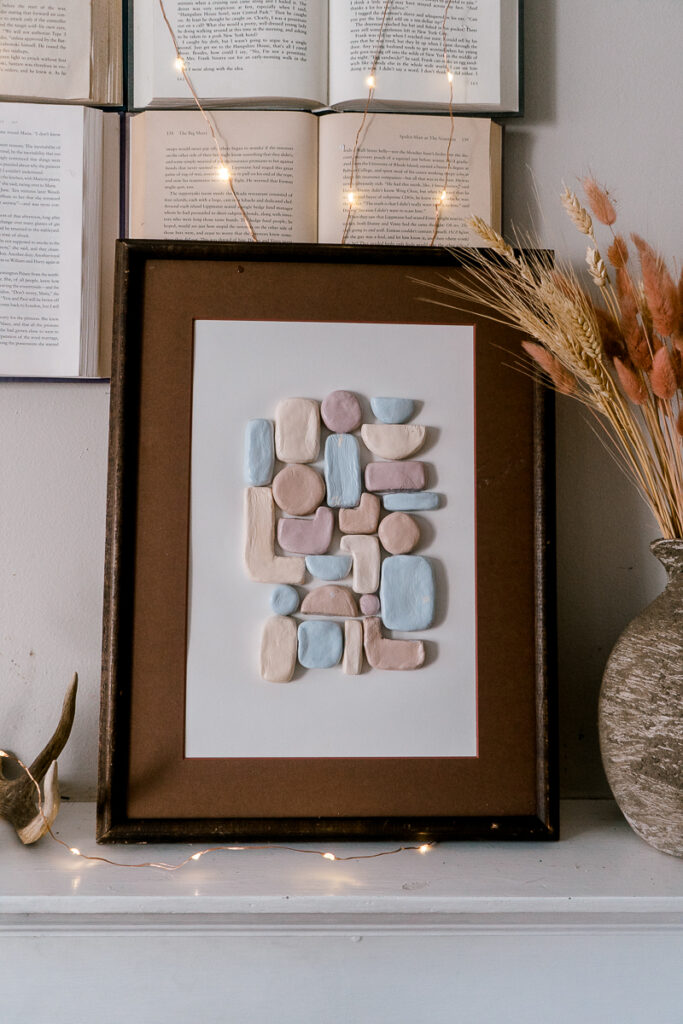
What do you think?
If you want to watch a video tutorial, you can do so on my YouTube channel.
What is your favorite art project? Over the years I've made quite a few, like these abstract paintings here or this simple large abstract art.
Xoxo,
April


Cheryl says
This is really cute! I think the pastel colors are perfect for this project. I have been wanting to make something with air dry clay and I believe I will do this. I'm not much of an artist but I think I can do it! I'm glad I found this, thanks for sharing it.
April says
I'm very happy to hear that Cheryl! This project is super easy and turns out so cute!! Have fun!