
Cement and epoxy resin are two fun mediums that are so interesting to work with. Last Christmas I made these gorgeous DIY trinket tray and got to experiment to combine cement and epoxy resin. The end result exceeded my expectations.
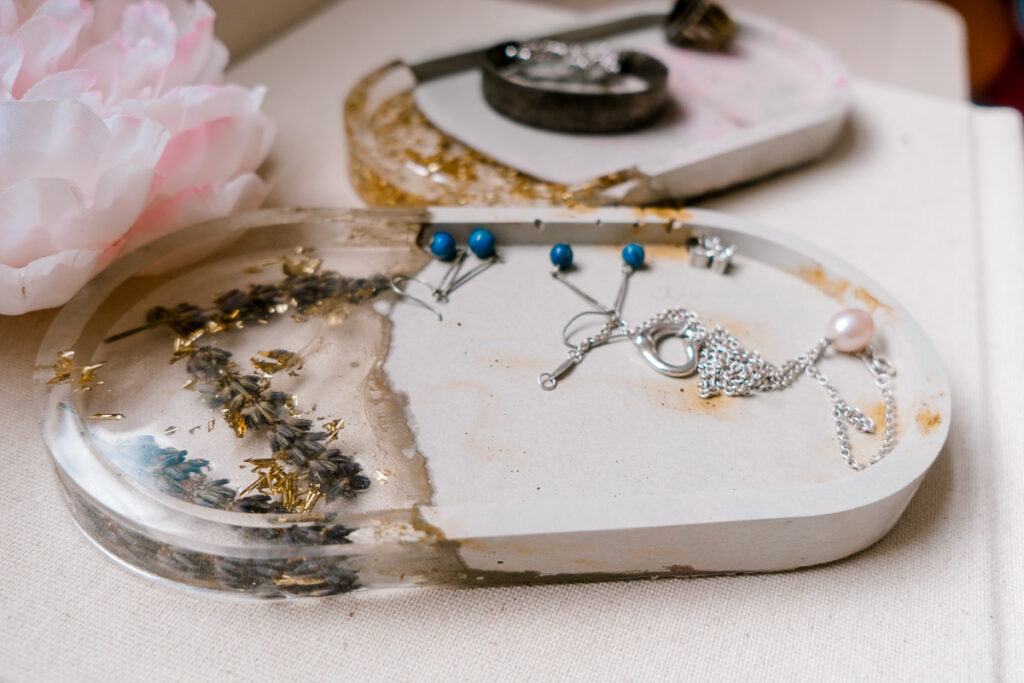
I’m just in love! Look at it! Isn’t it gorgeous?
It could be used to store jewelry, keys, some small loose items, or be a catch-all.
For the silicone mold, I used this package from Amazon - molds came in a pair and it speeds up the process of making trays.
I wrote before tips and tricks on how to use epoxy for small projects. Give it a read before you continue to learn more about working with epoxy.
Related: Tips and tricks on working with epoxy for small projects
So let me tell you how to make this gorgeous DIY trinket tray from cement and epoxy.
Materials
- Epoxy resin
- Plastic cups
- Wooden stick
- Mortar mix
- Silicone mold
- Dry flowers (optional)
- Golden leaf (optional)
Instructions
Step 1. Prepare your materials
I wrote before the importance of having all your materials ready and I’d like to stress on it again. When you start making this tray you need to move fast, so better have everything within arm's length.
Step 2. Mix cement
Mix cement as per instructions. For small projects like this, I usually use Mortar mix since it has a finer consistency and doesn’t have large pieces. Make sure the mortar mix has a sour cream-like consistency.
If it’s too runny it won’t pour nicely and cover the whole tray. So make sure to get the right consistency.

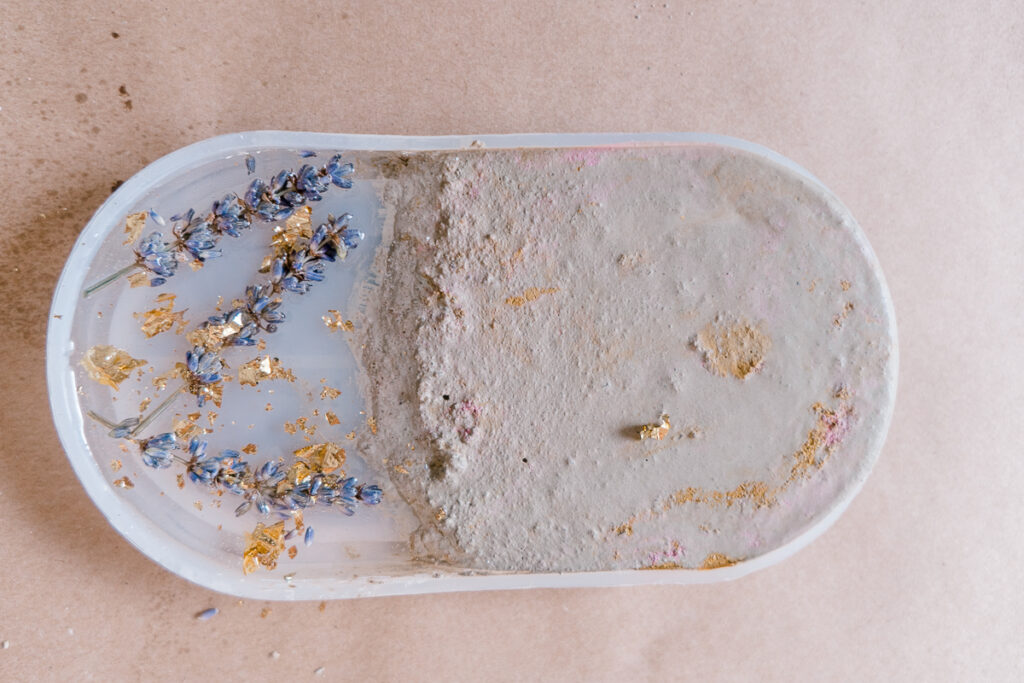
I added a touch of acrylic paints to create some nice colors. I added pink and white and I think it looks fabulous! You can make swirls with it or make it look like marble.
Pour cement to one side of the tray. I like the edge when it’s not straight but rather natural. You can take a stick and adjust cement as you pour.
Tap the mold on the sides to make sure there are no bubbles in the cement.

PIN IT TO MAKE

Step 3. Mix epoxy
Mix epoxy as per instructions. I wrote more about working with epoxy while making other projects so check them out before you get brave to make an epoxy resin project.
Related:
Depending on how you want to decorate the clear side of the DIY trinket tray, lay down your design - whether it is flowers, golden flakes, or something else that you come up with.
Pour epoxy resin on the top. Make sure that epoxy covers the whole silicone mold and even on the top. That might mean epoxy would go over cement, but that’s ok!
Carefully tap on the sides of the mold to get rid of any potential bubbles.

Put aside in a warm place and wait for 24 hours to cure.
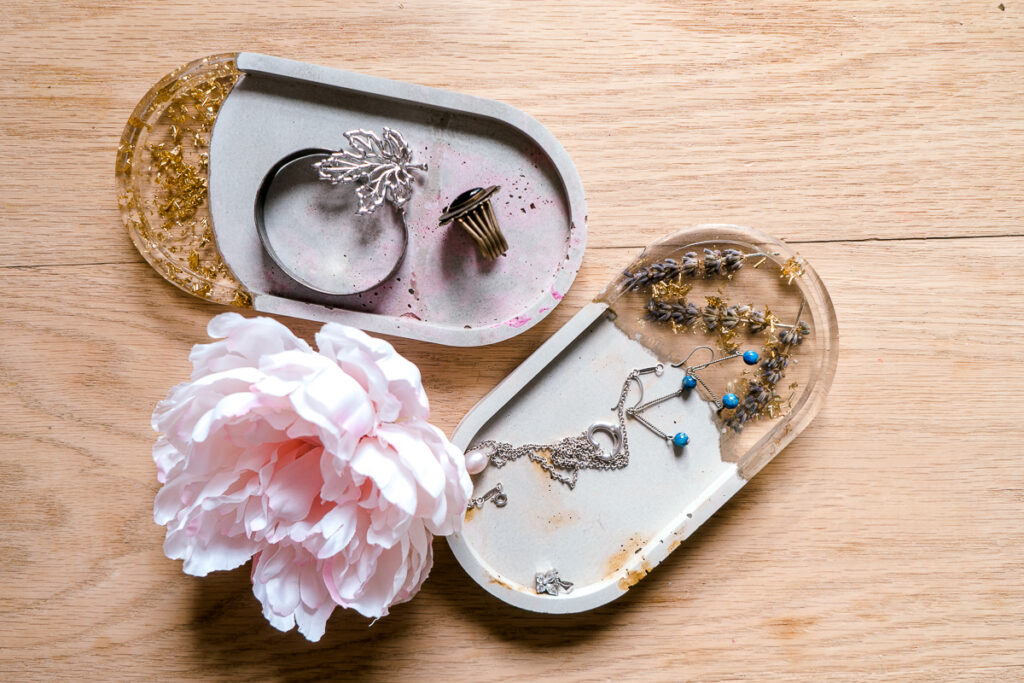
Be careful when taking out the DIY trinket tray from the mold.
That was easy! I love the way this trinket tray looks. I gave it to my friends as Christmas presents and they absolutely loved it too!


If you’d rather buy:
If you don’t have time or patience to make it yourself, I found similar options on Etsy. Aren’t they gorgeous?


To watch a video version of this project, tune in to my YouTube.

xoxo,
April


Leave a Reply