
Did you know that the average price of a bridal bouquet is $250? Yes, flowers can get expensive but most of the said price goes to the labor. You can save a sufficient amount of money if you buy flowers and arrange them yourself. There is a misconception that making your own bouquet is really hard. In my experience, it was not only easy and a lot of fun to make but also significantly cheaper. The DIY bridal bouquet is easy to make a will surely be an eye stopper.
TIPS HOW TO MAKE A DIY BRIDAL BOUQUET
[ 1 ] Choose flowers in season
Some flowers have a certain seasonal growing pattern. For example, the white anemone is only available in early spring/early summer. They will be extremely expensive to purchase in the fall or winter. On the other hand, garden roses are grown in the greenhouses all year round which makes them more affordable to buy. Learn about flowers in season and you guaranteed to get the best deal and the best quality. Unless, of course, you absolutely can't live without anemones on your winter wedding, then go for it, just be prepared it will be a bit more expensive.
[ 2 ] Choose the color of your bouquet freely
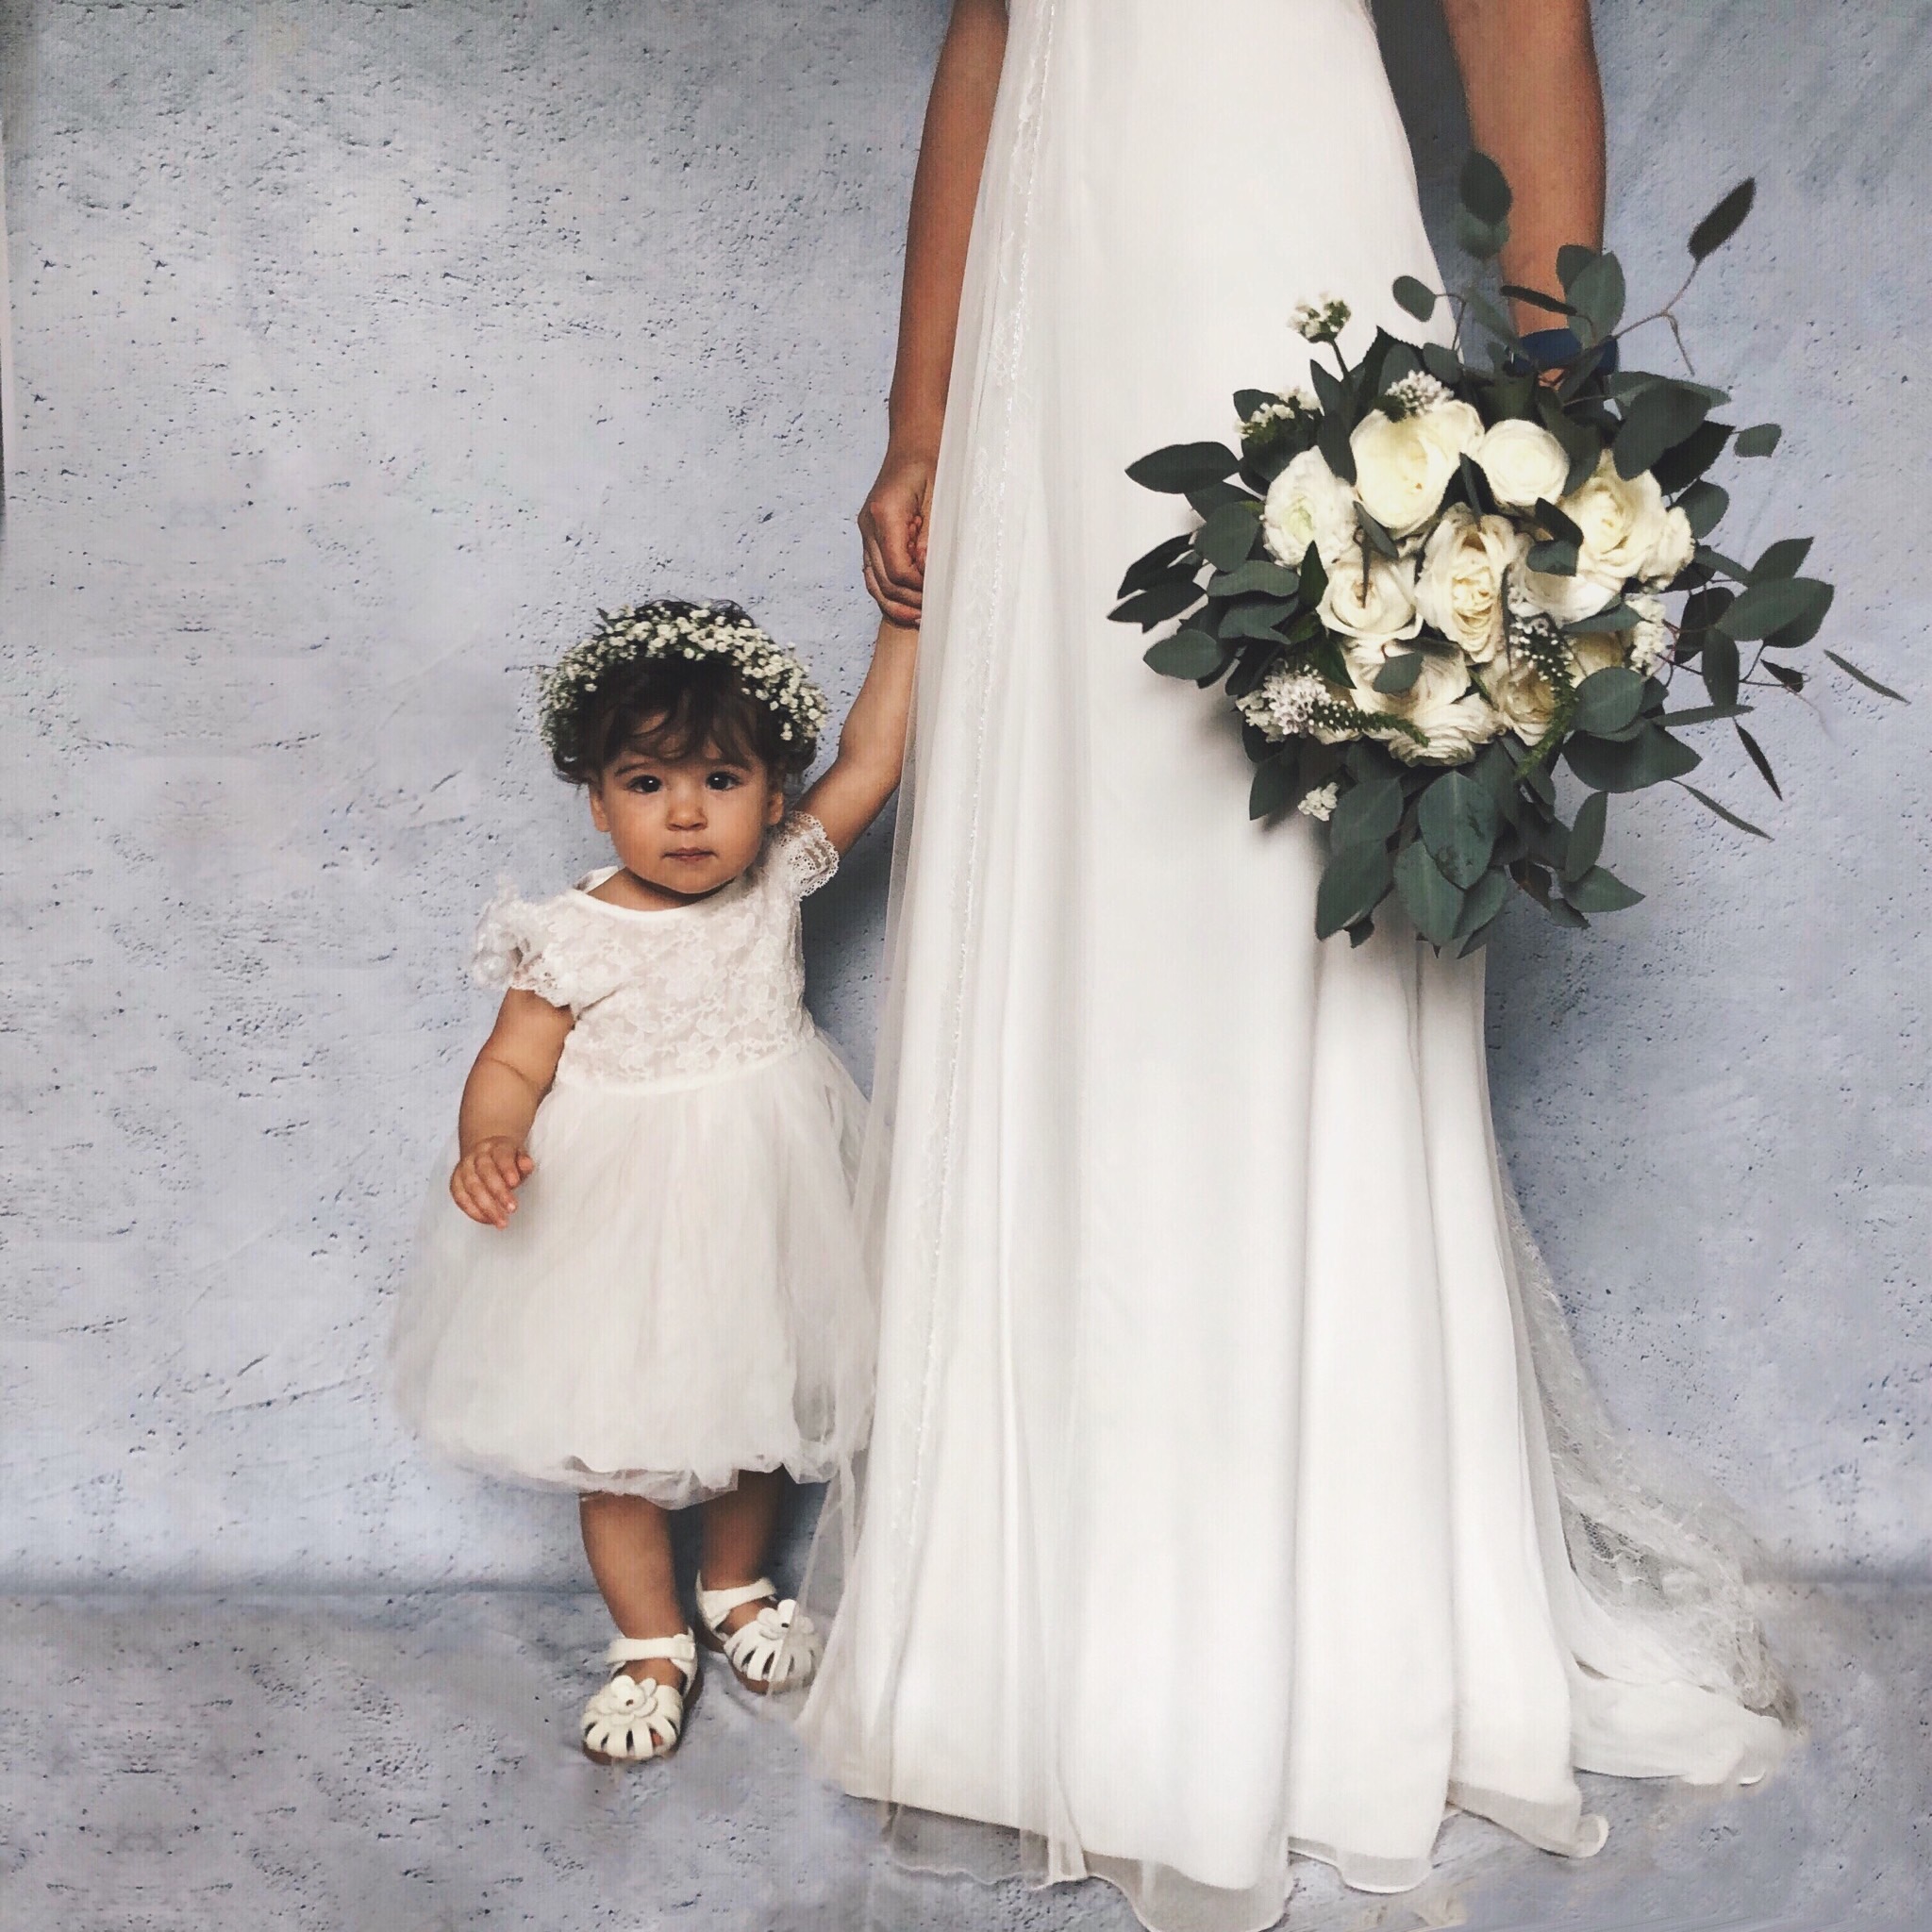
The traditional color the brides go for is white. Colors mainly depend on your theme and the feel of the wedding that you want. I stayed loyal to classic colors: light grey, dark grey, green, white. My bouquet was filled with greenery and white flowers.
[ 3 ] Order from different suppliers
Don't be afraid to mix your suppliers and get your blooms from the local market and the greenery from an online wholesaler. In my case, I ordered white roses from Costco, garden roses, carnations, ranunculus from Blooms by the Box wholesaler and greenery from the Garland Guy (where I also got garlands for tables). You should compare prices in different places and make an economical decision that will work for you.
Disclaimer: I had a destination wedding in Austin, TX. All flowers for the bouquet in a tutorial I bought in Flower District in NYC and greenery in Trader Joe's.
[ 4 ] Get more flowers than you need
Follow the guidelines for ordering online. Usually, you need to get your flowers a few days before the date to allow blooms to open. Make sure to order at least 20 percent more than you need. You never know how many flowers will come tilted, stems broken or how many mistakes you will make while arranging your bouquet. In my case, I ordered a lot more and used the rest for decoration of the tables.
[ 5 ] Take good care
As soon as you get your flowers re-hydrate them immediately. Cut all the stems under running warm water. Cut at least one inch on the bottom at a 45-degree angle. Put them into clean vases and make sure not to overcrowd. Put away to a cool (not cold) place overnight or for 12 hours. It will allow flowers to hydrate and wake up. Try not to put flowers to the refrigerator. Food bacteria can shorten their lives.
MAKING A BRIDAL BOUQUET
 Supplies
 Supplies
- Flowers
- Floral tape
- Sharp scissors
- White ribbon
- Bouquet pins
- A bucket with water
Step 1. Find your flowers
Places to buy flowers:
- A local flower marker
- An online wholesaler (like Blooms by the Box)
- A local grocery store (like Costco, H.E.B., Trader Joe's. You can find really good deals in those places)
Step 2. Remove from wrapping and prepare flowers
Discard damaged or discolored flowers. Use your hands or a pair of sharp shears to cut off leaves on the stems. De-thorn your roses. Try to make them the same length but you can also trim as you go. Discard all of the trimmings to make room for arranging your bouquet.

Step 3. Start putting together your flowers
Take the largest flowers to be in the center of the bouquet. Usually, the biggest flower makes a "base". Hold the blossoms on their stems just below the flower head. Put a bunch together and wrap with flower tape. Next, gather different flowers and add them to the bunch, wrap with the flower tape again. Retain a secure grip on the stems below the blossoms and using the flower tape continues to add more flowers and greenery to your bouquet. Flower tape will add support to your bouquet.


Step 4. Use rules of flower arrangement
Have an idea in mind how you want your bouquet to look. Be cautious about rules of balance in your floral arrangement. It doesn't mean each side has to match the other, but make sure arrangements have equal visual weight.
Mix textures to create an interesting composition. Use different sizes of the blooms, don't be afraid to add filler flowers. Seeded eucalyptus is my favorite filler green because of its texture and color.
When it comes to greenery make sure it balanced with the blooms, large greenery leaves and flowers with small blooms would look awkward. Keep in mind that greenery can be paired with flowers to accent shapes and sizes. Make sure you get greens that are in scale with your flowers!
Finish bouquet off with greenery, slightly lower than the main bunch (about 1 inch). Move the heads so they face slightly out instead of straight up. Attach any cascading leaves or flowers to the front of the bouquet as the last step.

Educate yourself on flower arranging rules. There are plenty of sources online that write about that. Check out The Wedding Flowers Expert or International Flower Design School.
Step 5. Use a white ribbon to wrap it up
Spiral the tape around the stems until you reach a point roughly 2 to 3 inches above the ends of the stems or wherever the ribbon will end. Use your preference. Use a white ribbon in a spiral in parallel with floral tape. Secure the end of the ribbon with a pin inserted into the stems.

Step 6. Place the bouquet to a vase with water until the wedding day.
I made my bouquet on the morning of the wedding day, but you can do it the day before to ensure the freshness of your bouquet.
Find a tutorial for ELEGANT BABY'S BREATH CROWN here.
Did any of you have a DIY bridal bouquet? What did you learn?
xx
April


Leave a Reply