• Skip to primary navigation
  • Skip to main content
  • Skip to primary sidebar
If Only April
  • MEET APRIL
  • DIY PROJECTS
    • Kids projects
    • DIY furniture
    • Design plans
    • DIY holiday projects
    • Macrame
    • Transformations
    • Woodworking
  • VIDEOS
  • CONTACT
  • SHOP
    • Facebook
    • Instagram
    • Pinterest
    • YouTube
menu icon
go to homepage
search icon
Homepage link
  • MEET APRIL
  • DIY PROJECTS
    • Kids projects
    • DIY furniture
    • Design plans
    • DIY holiday projects
    • Macrame
    • Transformations
    • Woodworking
  • VIDEOS
  • CONTACT
  • SHOP
×

DIY oversized chalkboard - a great addition to kid's space

Please note, that some of the links below are affiliate links and I will earn a commission if you purchase through those links (at no additional cost to you). Thanks for your support this way.

FacebookPinPrintEmail
diy oversized chalk board

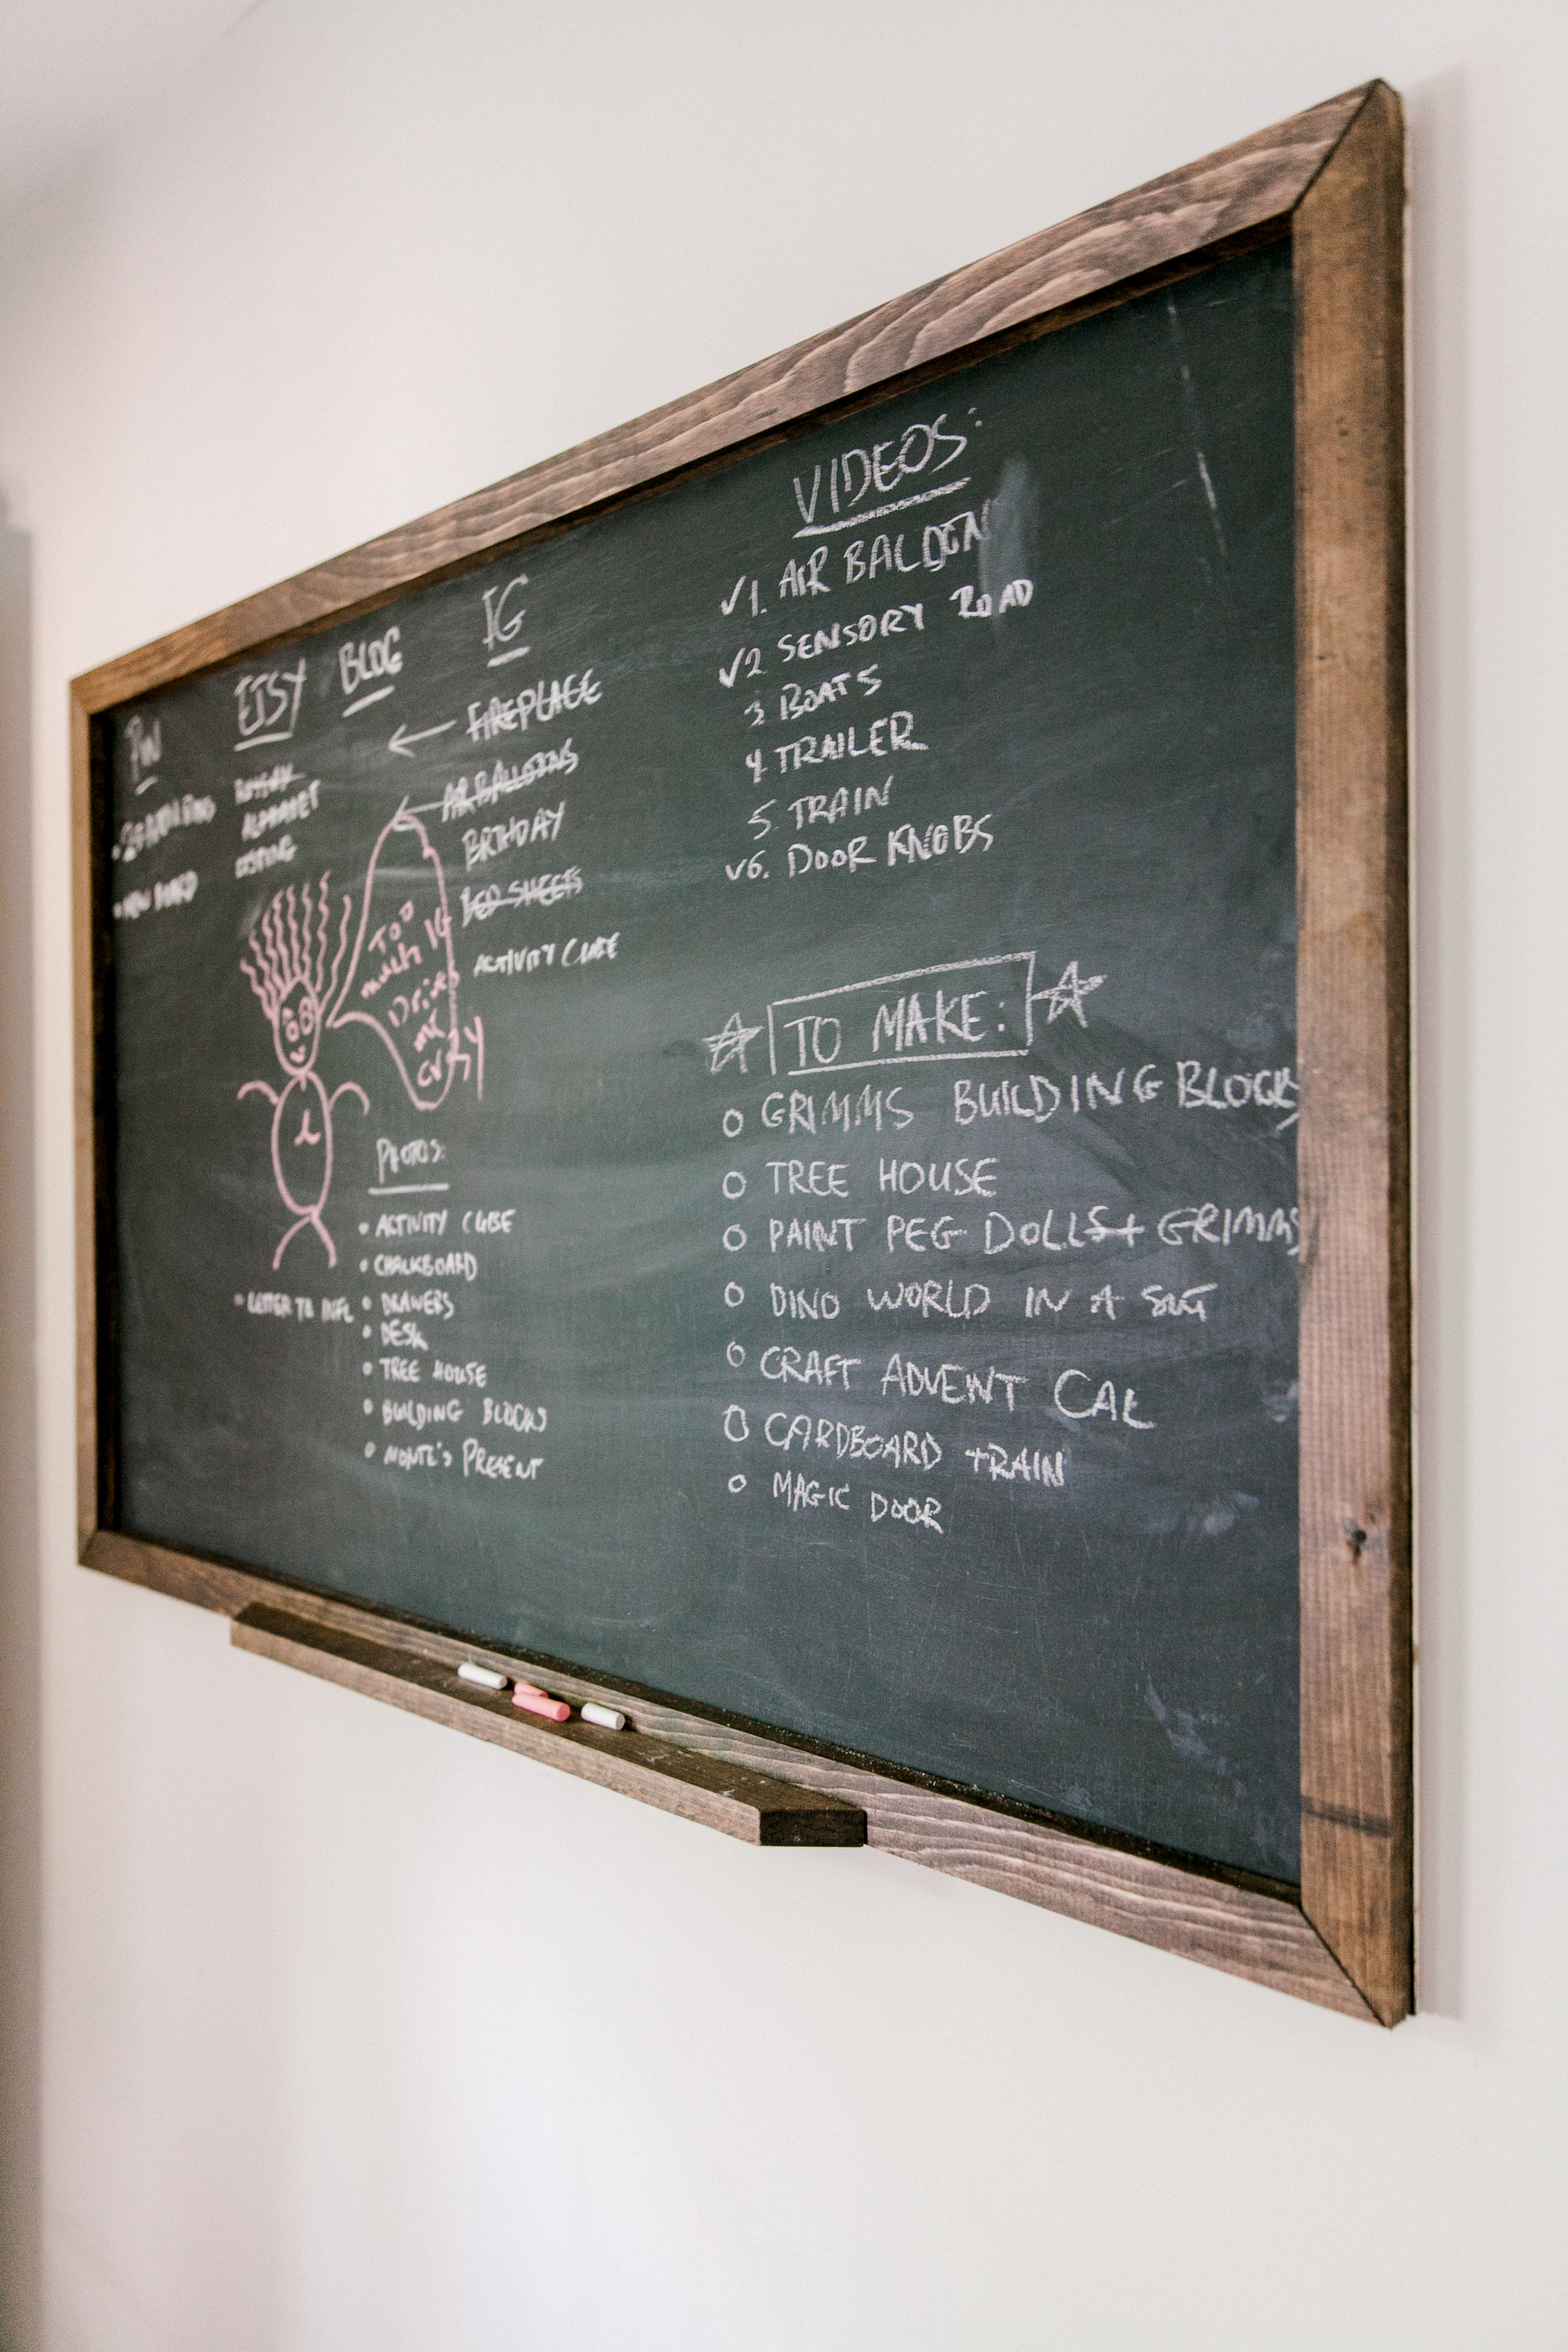
I'm 100% a visual person. If I need to remember something I have to see it and take a "mental photo". Same with making plans. If I have to finish something, or working on multiple projects, I need to write it down and constantly come back to it to make it happen. Since I made this huge DIY oversized chalkboard it increased my productivity tremendously. I put it by the door in my office and every time I have to exit the room, I'm reminded of deadlines and tasks that need my attention. It's super convenient.

doy oversized chalk board

I didn't even try to find a chalkboard of this size in stores. I knew that most likely it won't meet my standards, plus the price for the board this size would bite the wallet. The easiest route was to make it myself. I had all the materials besides chalk paint and it came out to be a very affordable project. 

If you are not a handy type and would rather buy it, I found this smaller similar version on amazon. It's 24"x36" and my DIY chalkboard is 31"x 48".

Let me share with you how I did it, in case you would like to make one yourself.

MATERIALS:

  • MDF board or any flat board. I used the laminated under layering that I had left after this project
  • Chalkboard paint
  • Roller foam paintbrush
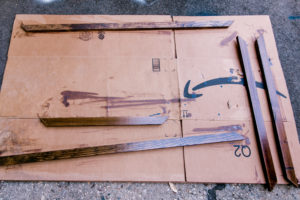
  • 1x2x6 (2) wood
  • Wood stain
  • Wood glue

INSTRUCTIONS:

  1. Clean your surface and apply the chalkboard paint with a foam roller paint brush. I didn't try to use a regular paintbrush but something tells me it might not leave a perfectly smooth finish. Roller brush allows the paint to lay more evenly. OVERSIZED CHALKBOARD
  2. Let it dry for at least 24 hours before applying another layer.  I applied 2 layers and it was enough for me. To be completely honest, I just didn't have the patience to wait another 24 hours. It turned out great so I didn't see a need to apply the 3rd coat.OVERSIZED CHALKBOARD OVERSIZED CHALKBOARD
  3. Here is the fun step. In order for your chalkboard to work properly (and not to leave marks after you write in chalk), you need to take a piece of chalk and draw all over your board. I usually do one way and then another. If you do this and wipe the remaining chalk off, writing will be like a breeze. When you do that, don't go crazy as I did. Since I was doing it so vigorously, I scratched the surface in a few places. It won't bother me but try to avoid this.
  4. To make a wooden frame,  you need to cut your planks to length. I wanted to do a 45-degree angle, so I used my miter saw to adjust to the cut. If you don't want to go a fancy route, you can just ask to make regular cuts in your hardware store. Either way, when you make your cuts, align the frame together to see if it fits properly.
  5. I also wanted to have a place to put chalk on the board, since I know if it's not there, I won't be able to find chalk quickly. So I made this small shelf for the bottom board.
  6. Stain your frame (unless you want to go with bare wood). I think staining before attaching it's way easier, although you can do this step later and use frog tape to protect your board.DIY OVERSIZED CHALKBOARD
  7. I used wood glue to attach this frame to the chalkboard and put buckets of paint for the weight. Not your obvious choice of weight, but maybe it will be a final reason before I get proper work out equipment at home 🙂 OVERSIZED CHALKBOARD
  8. Let the glue dry overnight or even longer. I used small finishing nails and attached them from the back. Just a matter of precaution since for some weird reason I don't trust wood glue 100% 😉

That's it! Oversized Chalkboard on a shoestring! It looks so beautiful and only a fraction of a cost from the store-bought chalkboard. Do you like this tutorial? Will you be making one soon? Share with me your creations! I'd love to see it!

I hope you enjoyed this tutorial! If you like it, follow me on Instagram @ifonlyapril. I try to post in stories my progress with all the projects.

Don't forget to pin it for later 🙂

Follow me on Pinterest, where I create inspiration boards for my next projects.

Happy making!

YOU MIGHT ALSO LIKE

ETRYWAY ORGANIZER DIY

DIY ENTRYWAY ORGANIZER

DIY RUSTIC MIRROR FRAME

xoxo,

April

Share this:

  • Tweet
  • Print
« Salt dough macaroons ornaments - easy Christmas DIY
Unique inexpensive ALEX drawer upgrade (IKEA hack) »
FacebookPinPrintEmail

Reader Interactions

Leave a Reply Cancel reply

Your email address will not be published. Required fields are marked *

Primary Sidebar

Hi, I'm April! I love woodworking and making things! I hope you will stay for a while and get inspired to make something!

More about me →

Popular

  • Little girl bedroom makeover inspired by spring
  • The progress of Sia's bedroom and my favorite finds for her room
  • 10 LEGO table ideas that kids would be excited about
  • Sia's room makeover moodboard

ifonlyapril

DIY single mom | 📍CT
Drogo has been such a good boy lately. I can't bel Drogo has been such a good boy lately. I can't believe he is only 7 months and will continue growing🤯 but I wouldn't change him for anyone else❤️ 
#dogsofinstagram #singlemoms #singlemomlife #germanshepherd #loveislove #germanshepherds #germanshepherdpuppy #longcoatgsd #doggydrogo #puppiesofinstagram #puppiesofig
It felt good 😁 #singlemoms #singlemomlife #ever It felt good 😁
#singlemoms #singlemomlife #everydaylife #singlemomlife💪 #productivity #funny #chooseyourself
How could I dare to start another room before fini How could I dare to start another room before finishing kids bedrooms first?😂 well, we'll keep you posted😄
#diyroommakeover #gracopaintsprayers #diypanelling #ifonlyapril_house #diyprojects #sherwinwilliams #singlemoms #singlemomlife #roomtransformation
A regular Saturday here🤷🏻‍♀️ Authorit A regular Saturday here🤷🏻‍♀️ 
Authorities are still at loss. 
Channeling my @kaylamariesully but no one could say it better than her😅 
#momcomedy #singlemoms #singlemomlife #momlife #momproblems
Since we moved to this house last summer, I had a Since we moved to this house last summer, I had a vision for a piano in this corner of my drawing room. I've been passively checking FBMP for awhile now, since it's definitely wasn't a priority (haha we didn't even have a couch till few days ago). 

So when I saw this beauty 5 mins away from us, I said to myself it had to be mine! 

I finished 7 years of musical school (I was 15 at the time, and barely played ever since). But I really want to pick it up again and teach my kids how to play (well, who am I kidding? I don't have patience for teaching my kids, so I'll find someone who is more qualified than me). 

Wouldn't it be wonderful to hear my kids play? ☺️ I'd start with Chopin, he's always been my favorite☺️ I hope kids are ready for it😅🤣

#fbmpfinds #singlemomlife #pianoplayer #diylife
One step closer to finish this bedroom😁 This One step closer to finish this bedroom😁 

This is your calling to finish that one project that takes little time but you can never get to it 😁

Forgot to mention that I primed it 3 weeks ago🤣 and left it till the energy came back to me today☺️
#paintingdoors #girlbedroommakeover #bedroommakeover #moodypinkbedroom #bunniesbedroom
Definitely my favorite room in the house so far😍❤️ what do you think?
#roommakeover #transformation #ifonlyapril_diy #ifonlyapril_makeover #librarytransformation #librarylife  #librarymakeover
Will it ever get easy? Or let's say easier? The pa Will it ever get easy? Or let's say easier? The pain, the betrayal, that feeling of being powerless? Some people are simply not good people. And I've done my share. I was in a survival mode for more years I can count. How about switching the narrative and fucking focus my energy on me? To thrive! For me and my kids! That's the only thing I want now. 
It's hard to do, but thriving is the only way to go!
#ifonlyapril_diy #mindfulness #narcissisticabuse #wegogirls #wecandohardthings #womenforchange #narcawareness
Load More... Follow on Instagram

Footer

↑ back to top

About

  • Disclaimer

Newsletter

  • Sign Up! for emails and updates

Contact

  • Contact
  • Media Kit

As an Amazon Associate, I earn from qualifying purchases.

Copyright © IfOnlyApril 2023

Share this ArticleLike this article? Email it to a friend!

Email sent!