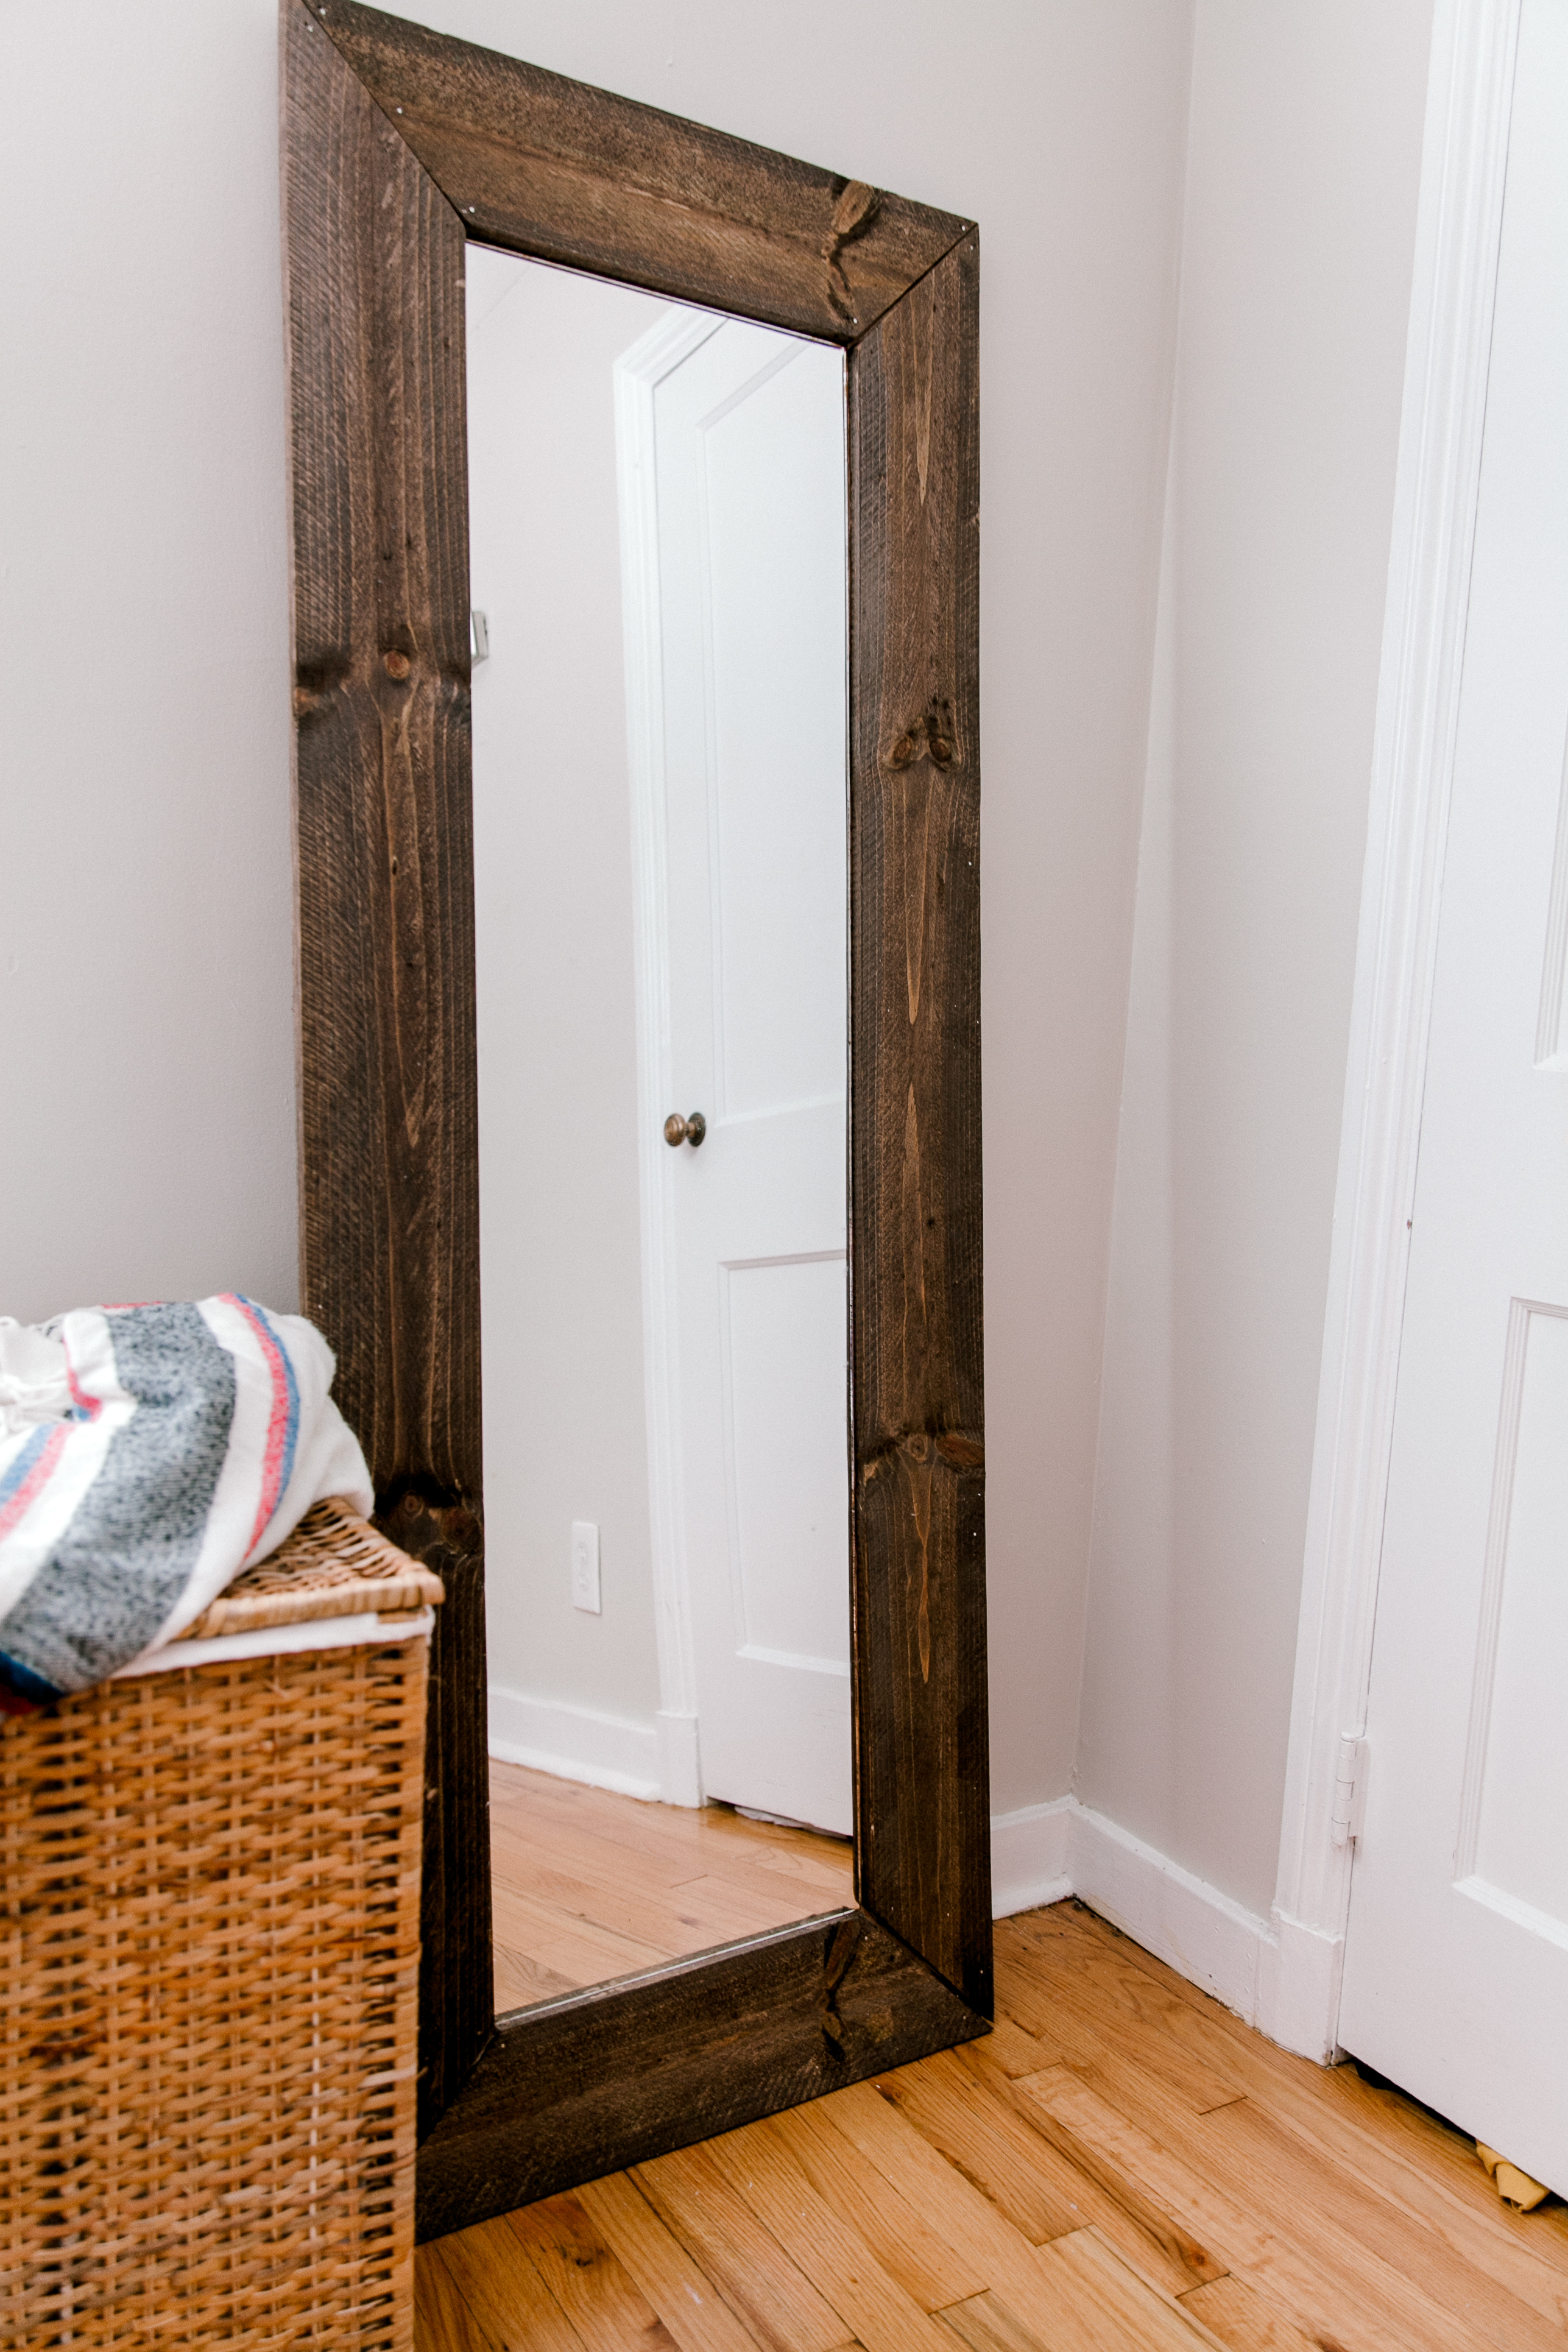
Like most of my projects, this one was very simple to put together and I'd like to walk you through how I made it. I'll talk about my mistakes and what you can do to avoid them.
Materials:
- An old mirror that you want to frame
- Laminate underlayment (the cheapest and lightest option. You can also go with an MDF board). You can ask to cut it to size at Home Depot
- Silicone (clear)
-
3 -- ⅝ in. x 5-½ in. x 6 ft. Pressure-Treated Pine Dog-Ear Fence Pickets
- Minwax stain (Provincial)
- Wood glue ( I really like this one since it's proven itself over the years)
- Finish nails
Tools:
- Gloves
- Miter saw
- Hammer
Instructions:
- Rip off the old frame. Be careful and make sure to wear gloves since a mirror is a delicate object and things can go wrong
- Measure the mirror without frame and measure the actual width of the pickets that you are going to use as a frame. In my case, the mirror was 54x14". Pickets were 5.5" each. After I added the picket's width to all 4 sides, I got the measurement for the backboard. I had to cut my board 65x25".
- After the backboard was ready I had to cut pickets to length. I have a miter saw so could easily make a 90 degree angle cuts. If you don't have it, you can just make straight angles. I like the look of 90-degree cuts thought so I went with it.
- Arrange the pickets on your backboard, make sure that everything aligns and the mirror fits the frame and glue frame with the wooden glue.
- Here's what happened to me. I aligned the frame and since my kids woke up after their nap, I decided to continue this project the next day. When I came back I assumed that everything is aligned and glued it together. The next day when the glue dried, I realized the mirror doesn't fit there. So I had to rip it up and do it again. Don't make my mistakes! Always double check! 😉
- When the pickets are attached and dried, time to double-check if the mirror fits and stain the frame. Also, I sanded pickets a little bit. I could've skipped that step since I was going for the rustic look but had to make sure there no splits that could hurt. If you want a perfectly smooth finish, I recommend different types of wood, pickets won't work since they are meant to be outside and pretty rough. I attached the frame to the board with finishing nails to add extra security but it wasn't necessary.
- After the glue dried completely (at least 24 hours), it's time to stain the frame. I chose Provincial, my all-time favorite, but to my disappointment, it turned out to be too dark. It's because the surface of pickets is different from the smooth finished wood I usually use. It still looks great, just not the way I wanted.
-
TIP: I recommend to try your stain on the pickets before applying it to entire project. This way you can have an idea how the color might change and if you like it.
- The final step is to glue your mirror to the backboard using silicone. Use EVEN weight to hold it (it's super important to spread weight evenly to prevent the mirror from breaking). As you can see I couldn't find anything else besides paint cans, so here we are. Let it cure for at least 48 hours till you put the mirror up.


 If you want to see more projects like this check it out
DIY ENTRYWAY ORGANIZER
xoxo,
April




Leave a Reply