• Skip to primary navigation
  • Skip to main content
  • Skip to primary sidebar
If Only April
  • MEET APRIL
  • DIY PROJECTS
    • Kids projects
    • DIY furniture
    • Design plans
    • DIY holiday projects
    • Macrame
    • Transformations
    • Woodworking
  • Home improvement
  • VIDEOS
  • CONTACT
  • SHOP
    • Amazon
    • Etsy
    • Facebook
    • Instagram
    • Pinterest
    • YouTube
menu icon
go to homepage
search icon
Homepage link
  • MEET APRIL
  • DIY PROJECTS
    • Kids projects
    • DIY furniture
    • Design plans
    • DIY holiday projects
    • Macrame
    • Transformations
    • Woodworking
  • Home improvement
  • VIDEOS
  • CONTACT
  • SHOP
    • Amazon
    • Etsy
    • Facebook
    • Instagram
    • Pinterest
    • YouTube
×
Home » DIY RUSTIC TRAY

DIY RUSTIC TRAY

Please note, that some of the links below are affiliate links and I will earn a commission if you purchase through those links (at no additional cost to you). Thanks for your support this way.

FacebookPinPrintEmail

diy rustic tray

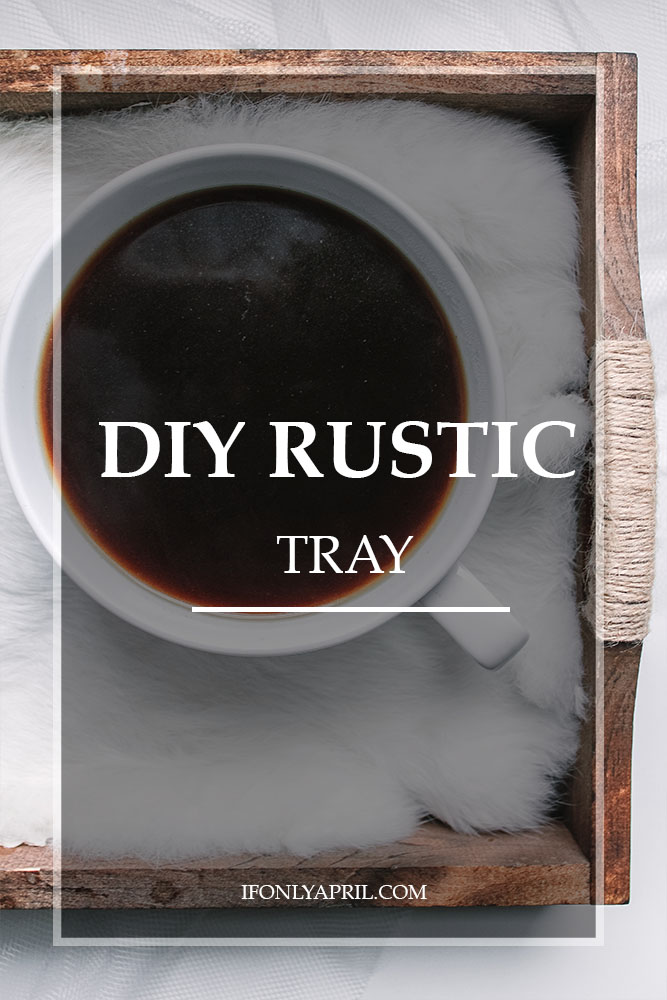
If you haven't noticed I have a slight obsession with trays. I like them all shapes and possible forms but my favorite is handmade or at least home-decorated. Recently I published a post about how to make Shabby Chic Style Trays. If you don't have the patience to go through a tricky process of transferring prints on wood or to distress them for a shabby look then you can just stop a couple of steps before and create DIY Rustic Trays. These trays are perfect for every morning breakfast routine but also can be a great decoration for your apartment. Besides the obvious purpose, I use them for Montessori shelf for my toddler. They are also so easy to make. You can be done in less than an hour.DIY RUSTIC TRAY

Materials:

  • Wooden tray of any size and style. I chose this cheap walnut unfinished trays from Amazon. They are small, very convenient and could be used for different purposes.
  • Minwax oil-based stain (I used a mix that I had of Weathered Oak and Provincial)
  • Brush for paint
  • Jute Twine ( I've discovered recently that Home Depot has a very cheap jute twine in stock)
  • Glue Gun

Instructions:

  1. First, we need to stain our DIY Rustic trays. Make sure the surface is clean and dry. Apply stain in the direction of wood grain, using cloth, paper towel or a brush. Wipe off any exceeding stain and let it dry.  diy rustic tray
  2. Using a glue gun attach jute twine around the handles. That's it! DIY Rustic Tray is ready to serve!

xoxo,

April

Share this:

  • Tweet
  • Print

More PROJECTS

  • 10 Beautiful DIY Montessori Floor House Beds That Your Kid Will Love {FREE Plans}
  • Fantastic DIY backyard playground {with FREE plans}
  • DIY Lego table. IKEA HACK that got people talking
  • Sia's bedroom reveal + budget breakdown
FacebookPinPrintEmail

Reader Interactions

Leave a Reply Cancel reply

Your email address will not be published. Required fields are marked *

Primary Sidebar

Hi, I'm April! I love woodworking and making things! I hope you will stay and get inspired to create something!

More about me →

Popular

  • Sasha's Fabulous Bedroom Makeover Revealed! (+ budget breakdown)
  • Kid's play office mood board
  • How to make an Anthropologie "Enchanted" dresser dupe
  • How to shop an online auction successfully

Footer

↑ back to top

About

  • Disclaimer

Newsletter

  • Sign Up! for emails and updates

Contact

  • Contact
  • Media Kit

As an Amazon Associate, I earn from qualifying purchases.

Copyright © IfOnlyApril 2024