
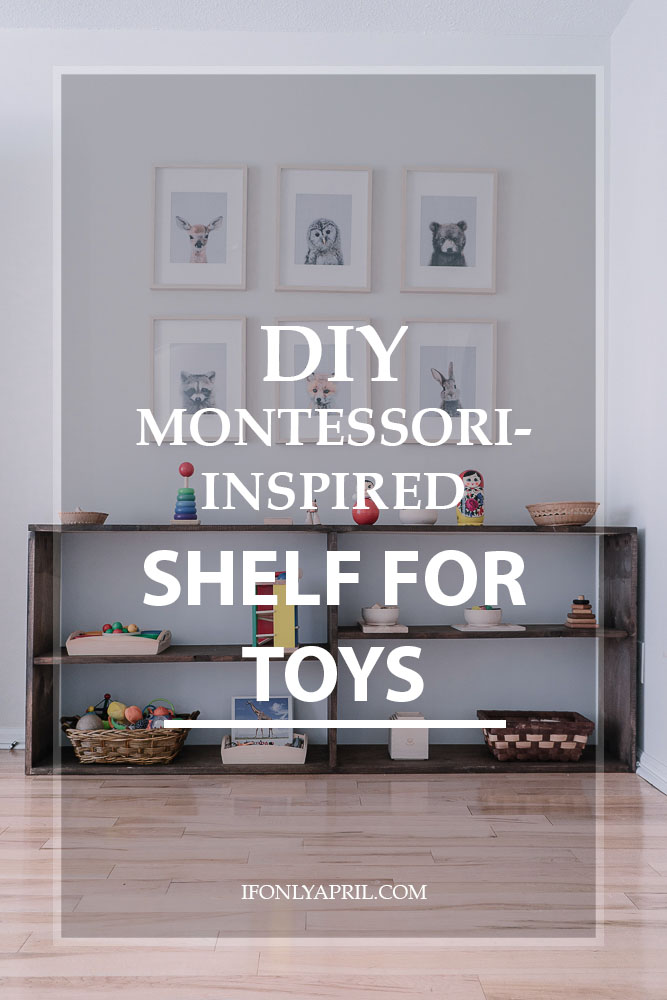
As many of you know, besides traditional educational methods, I'm inspired by Montessori's philosophy. I believe in her core concepts and try to implement them with Sasha as much as I can. You can read more about Montessori schools here and here. DIY Montessori shelf for toys is a wonderful addition to a child's space.
One of the core components that appeals to me is that all learning materials should be low and within reach to the kid. Sasha has her wardrobe rack, a small table with chairs, bookshelves suitable to her height. She has a shelf with snacks that she can easily reach when she gets hungry. Also, we are working at the moment on her pouring skills and I'm planning to create for her a water station, where she can pour herself water in a glass if she gets thirsty.
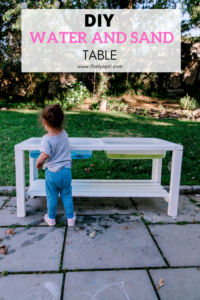
Update: you can find how to make a DIY sensory table here
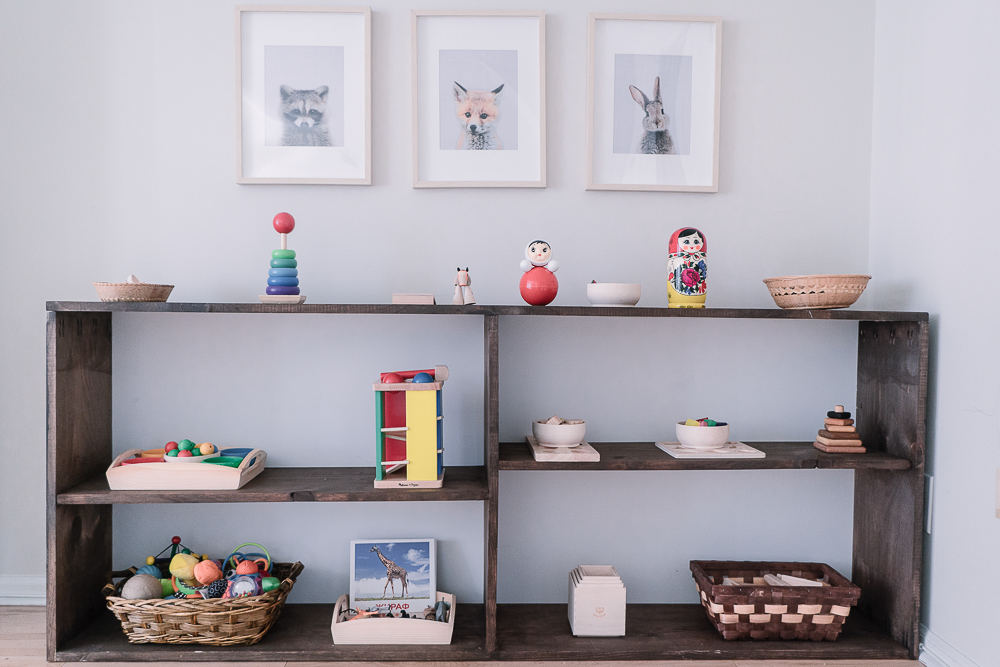
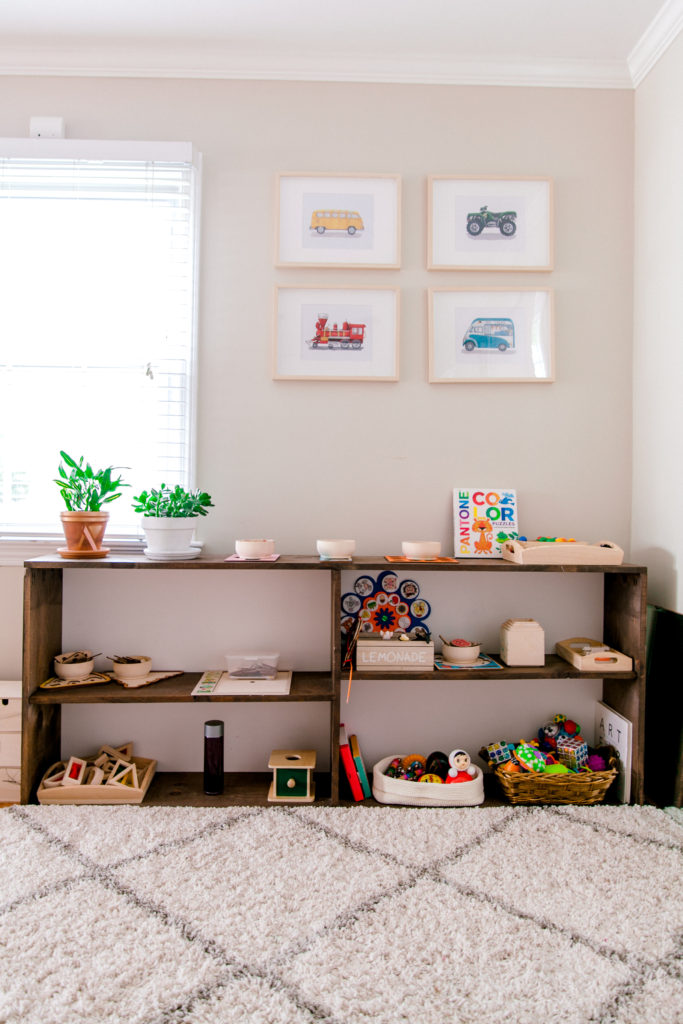
I also like how Montessori uses toy shelves to archive maximum engagement and get the most benefit from educational toys and objects. The shelf should be low and long enough to fit 10-12 toys without the feeling of being cramped. There are so many variations that you can choose what suits you. The classic one has 2 shelves, divided into 8 square compartments. I wanted to go for a more open look and since I couldn't find affordable options on the market, I decided to make it myself.
Since we moved to CT I'm so excited to be able to build things in our garage. My husband got me tools and a miter saw for our anniversary (haha talking about romance) and I feel unstoppable. It took me a few hours to build this shelf, it's by no means perfect and if you look close enough you can see it skewed but I'm very proud of it since it's my first big build.
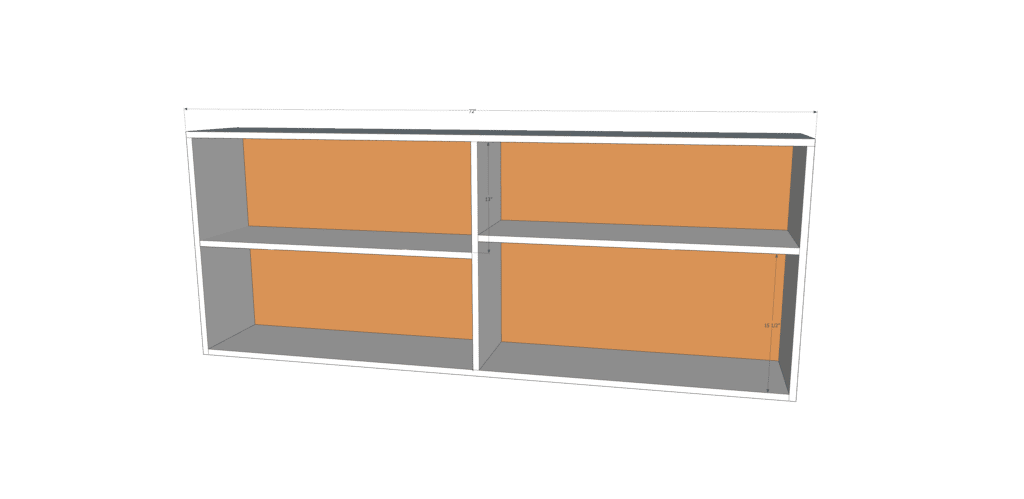
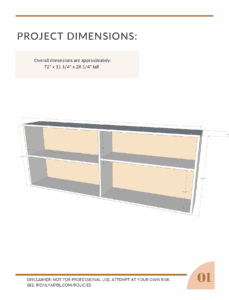
If you'd like to download a printable PDF plan with a list of materials, cut list, and a 3D step-by-step plan, you can do it here.
Thank you for your support!
Why did we choose Montessori shelf instead of a regular box with toys?
Order
It's so much easier to keep toys organized on the shelf and the space clean. Everything has its place which makes it easier to clean up at the end of the day. As a benefit eventually your toddler will start putting toys in their place and take care of their mess. A cluttered environment can confuse a child, too many toys can overwhelm him.
Accessibility
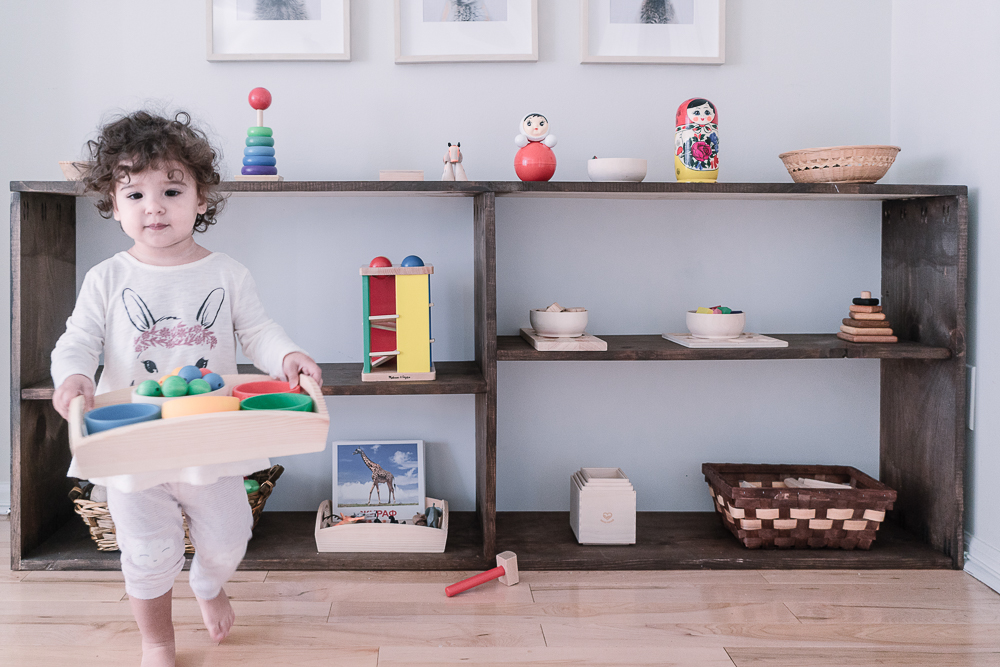
Your toddler can find a toy right away and won't feel overwhelmed by a huge quantity. It leads to a focus on one object and more productivity. If you have a toy box then toys just get thrown to it, the lid gets closed but toys never get organized, can't be found, and as a result never being played with.
Rotation
There is no need to put all the toys on the shelf. 10-12 would be a perfect number that won't be overwhelming. You can easily rotate toys from the shelf. I try to switch Sasha's shelf every week. Usually, on Sunday, I put away toys that weren't popular all week and bring out new ones. I love to see her face when she sees an old-new toy with such enthusiasm 😉
Aesthetics
I personally think that natural toys look more beautiful than plastic. It's hard to control what you get as a gift but all the toys we buy are made from wood. When displayed in the order they create a calm, appealing, less chaotic environment. I'm strictly against plastic, not only because of its looks but also I find it unhealthy. In the world of fake and plastic, I think everyone needs to make an effort towards more natural materials.
Teaches appreciation and respect
When there are fewer toys and they all are within your eye reach, each gets better care. It's easy to prevent toys from breaking or replacing broken parts when you have fewer toys, which leads your child to use toys carefully and with caution.
Materials
- 5 - 1x12@72" long plank board
- 1 - 72 x 29 MDF board (or the thin one used for the back of the furniture)
- 1-¼" pocket hole screws
- Finishing nails
- Wood glue
- Stain ( I used Minwax Dark Walnut stain)
Tools
- Drill
- Kreg jig
- Clamps
- Speed square
- Miter saw (or any straight cut saw)
How to DIY Montessori-inspired shelf for toys
Step 1 - cut the wood
Cut the wood as per plan and arrange it in order. Using Kreg jig make pocket holes where applicable. I recomend making pocket holes as you go.
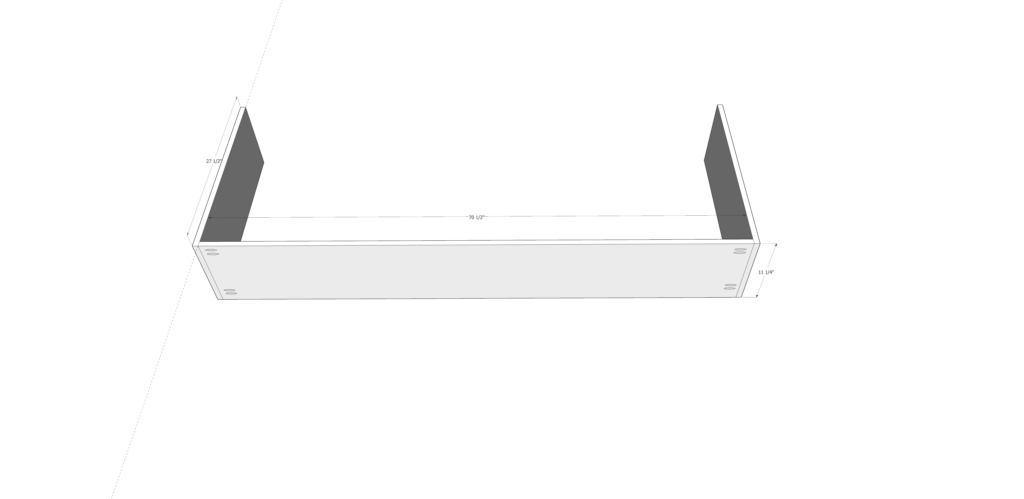
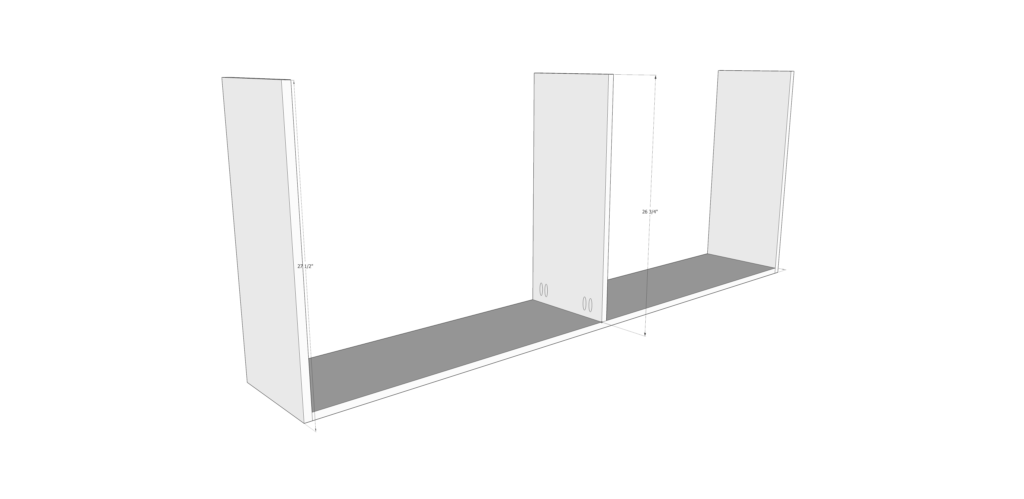
Step 2 - assemble Montessori shelf
Make pocket holes on the top side of the sides and from both sides on the bottom. Start with the bottom part and attach the sides to it. Using wood glue and pocket hole screws attach the bottom part to the sides.
Attach the middle board using pocket holes.
PIN IT TO MAKE LATER
Add the top of the shelf with the pocket holes on the sides of the shelf.
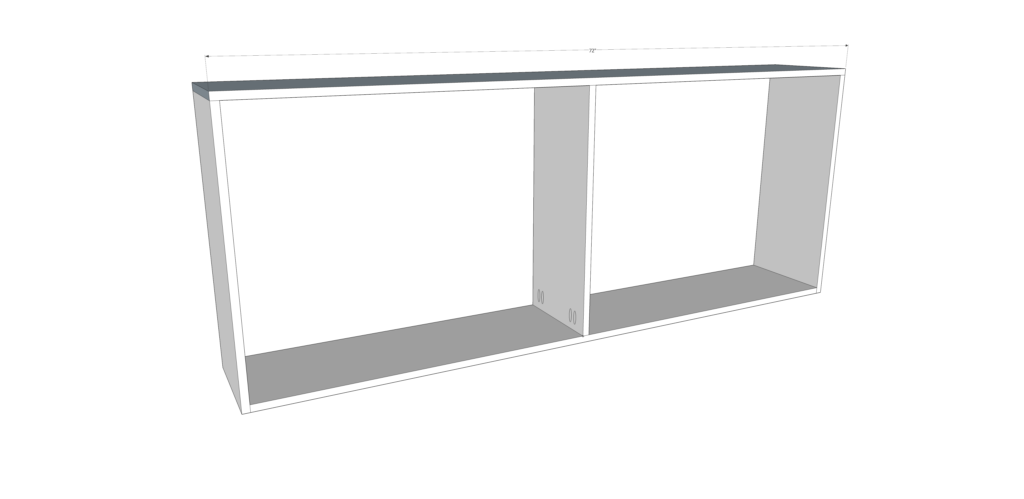
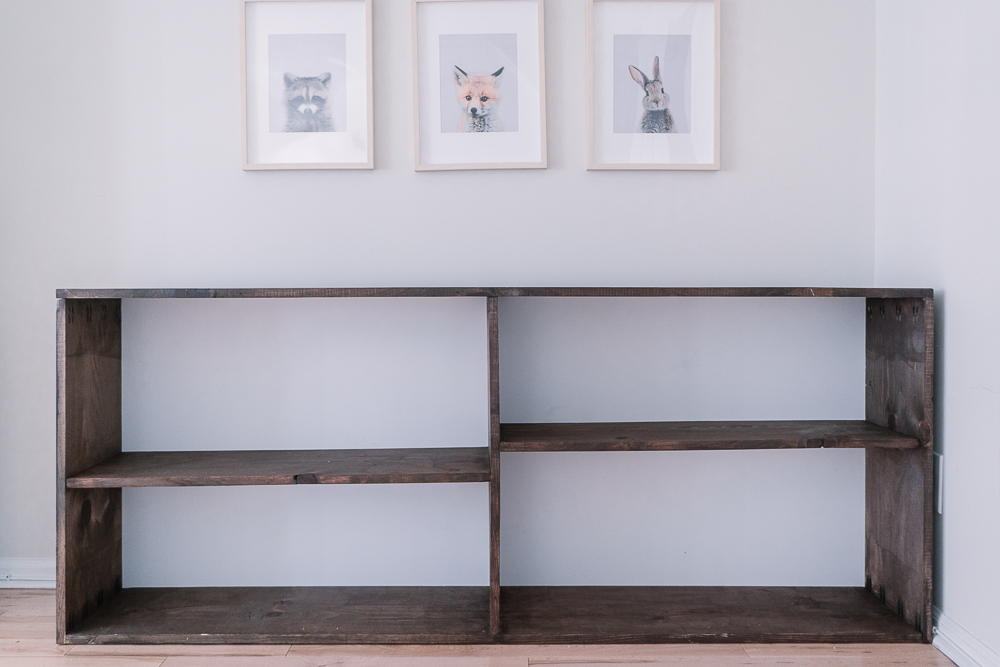
After that attach shelves where you want them to be. I wanted to make a different height on different sides so I made my shelves assymetrical
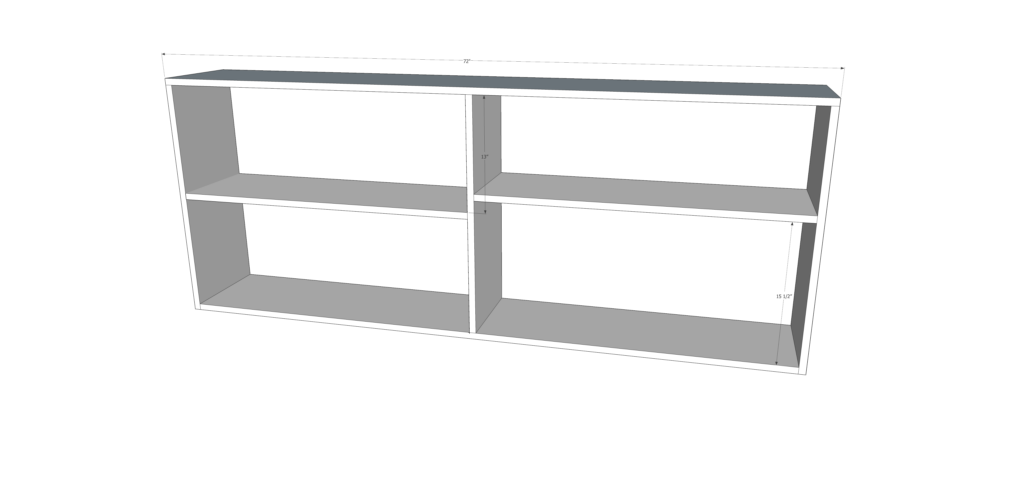
Tip: use clamps at all times and a speed square to ensure your angles are correct. I didn't use clamps (rookie's mistake) and my shelves went a bit where they were not supposed to.
Step 3 - attach backer board
Using brad nails attach the MDF board to the back. I painted it white before assembly for a cleaner look but you can use any color or leave it the way it is.
Step 4 - Finish as desired
I used Minwax dark walnut to finish this DIY Montessori shelf, but needless to say, you can use any finish you like.

Download 3D plan
If you'd like to get a 3D plan with step-by-step instructions, detailed list of materials and cut list, you can get it here.
We though you might also like
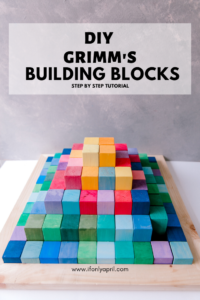
How we made DIY Wooden building blocks pyramid, inspired by Grimm's toys and saved $150. Well, veeeeery similar, practically identical;D
Also, you might want to check how we died silk scarfs and made play silks for a fraction of an infamous Sarah's silks cost.

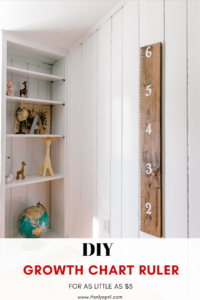
You might be also interested to see how we made a DIY growth chart for just $5.
UPDATE: 04/03/2020
It's been almost 2 years since I've built this shelf and it is the best, most used area! We absolutely love our DIY Montessori toy shelf. I never looked back on regular shelves ever again. Since that time, I opened an Etsy printables shop where I sell original watercolors in a digital format. We have a great selection of alphabets, dinosaurs, transport, and animals. Don't miss out, see for yourself 🙂
Where do you keep your toddler's toys? Do you prefer a toy box or a shelf? I'd love to hear your thoughts on the subject.
Are you a fan of little squares? Follow me @ifonlyapril.
Do you want to see video versions of my projects? Check my YOUTUBE channel.
Also, check me on Pinterest, where I create inspiration boards for my next projects.
Till next time!
xoxo,
April


Five Guys Atlanta says
Great and an article!
Best regards,
Abildgaard Cannon
April says
Thank you!
Kristine says
Hey there, we made this shelf but the measurements were off where the middle pokes up. I think the middle board is supposed to be 27 inches.
Any suggestions about how to fix it? Thanks
April says
Hi Kristine,
You are right! It seems there is a mistake in the measurements. I apologize for it. As per fixing it, as much as I understand you already made the pocket holes, right? If that's the case, you have a few options. First, to get another board:). If that's not an option, you can cut off that 1/2" and use 90 degree brackets to attach middle board to the top. This way you could save the board. I hope that helps!