
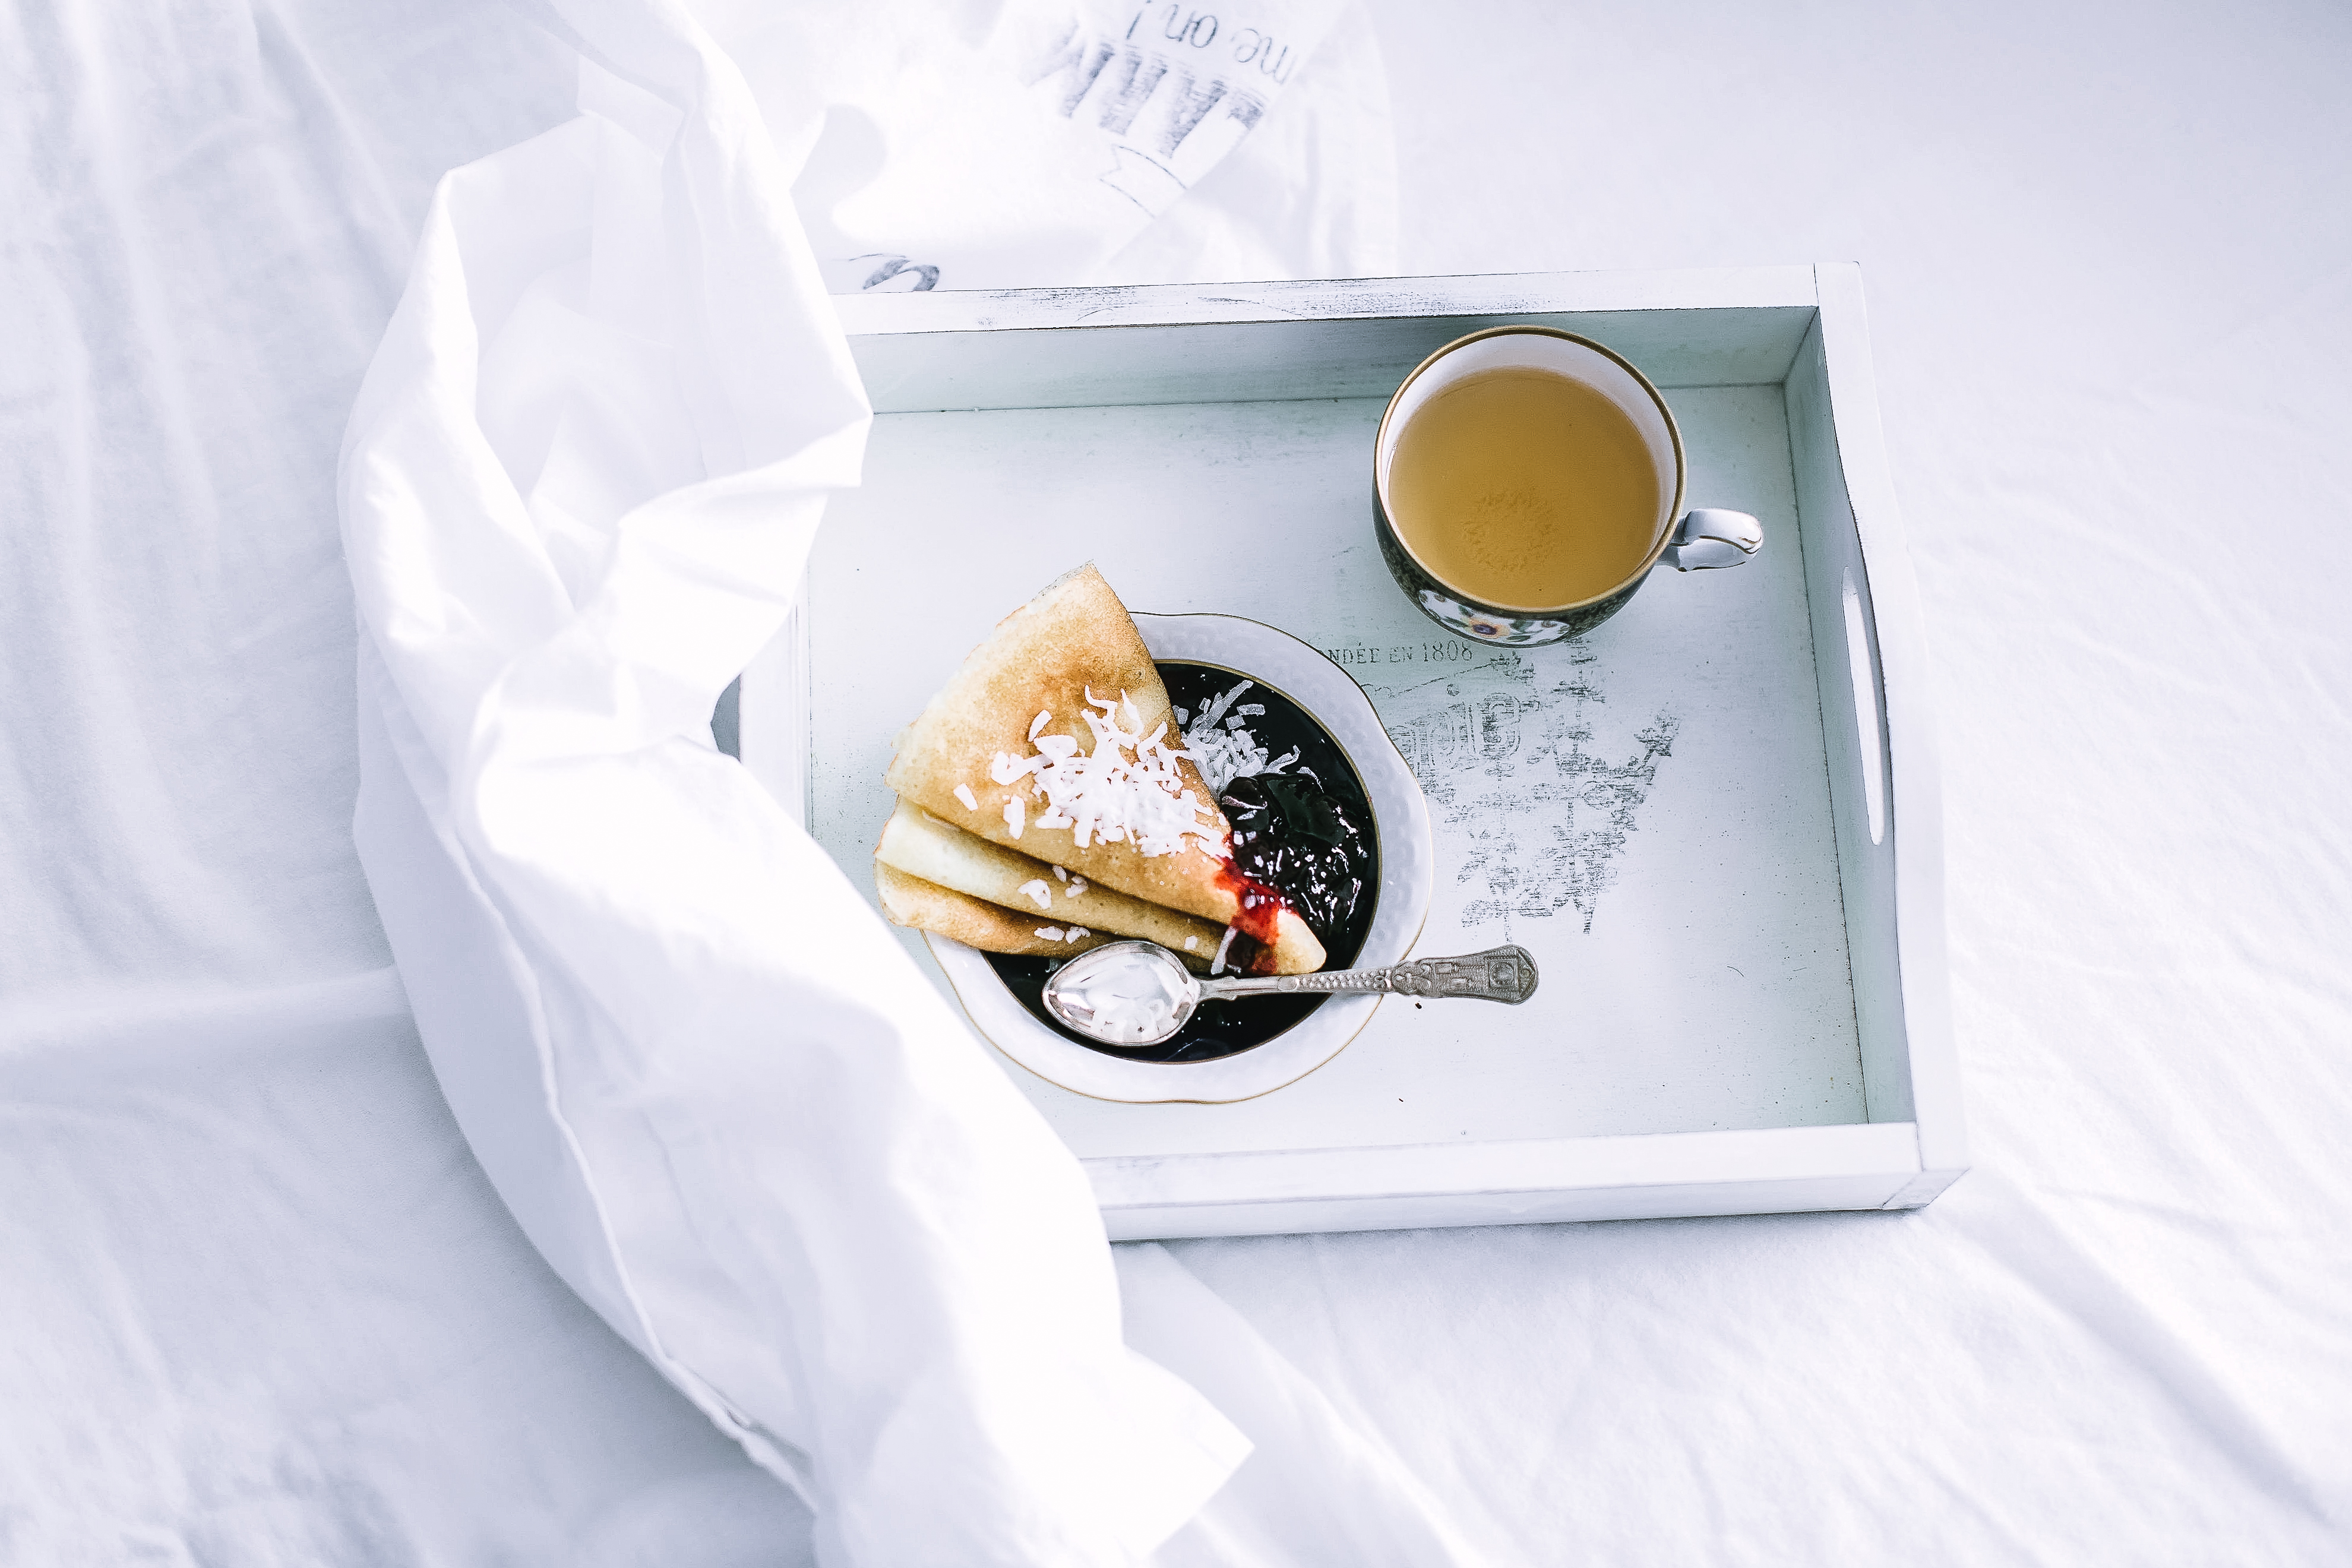
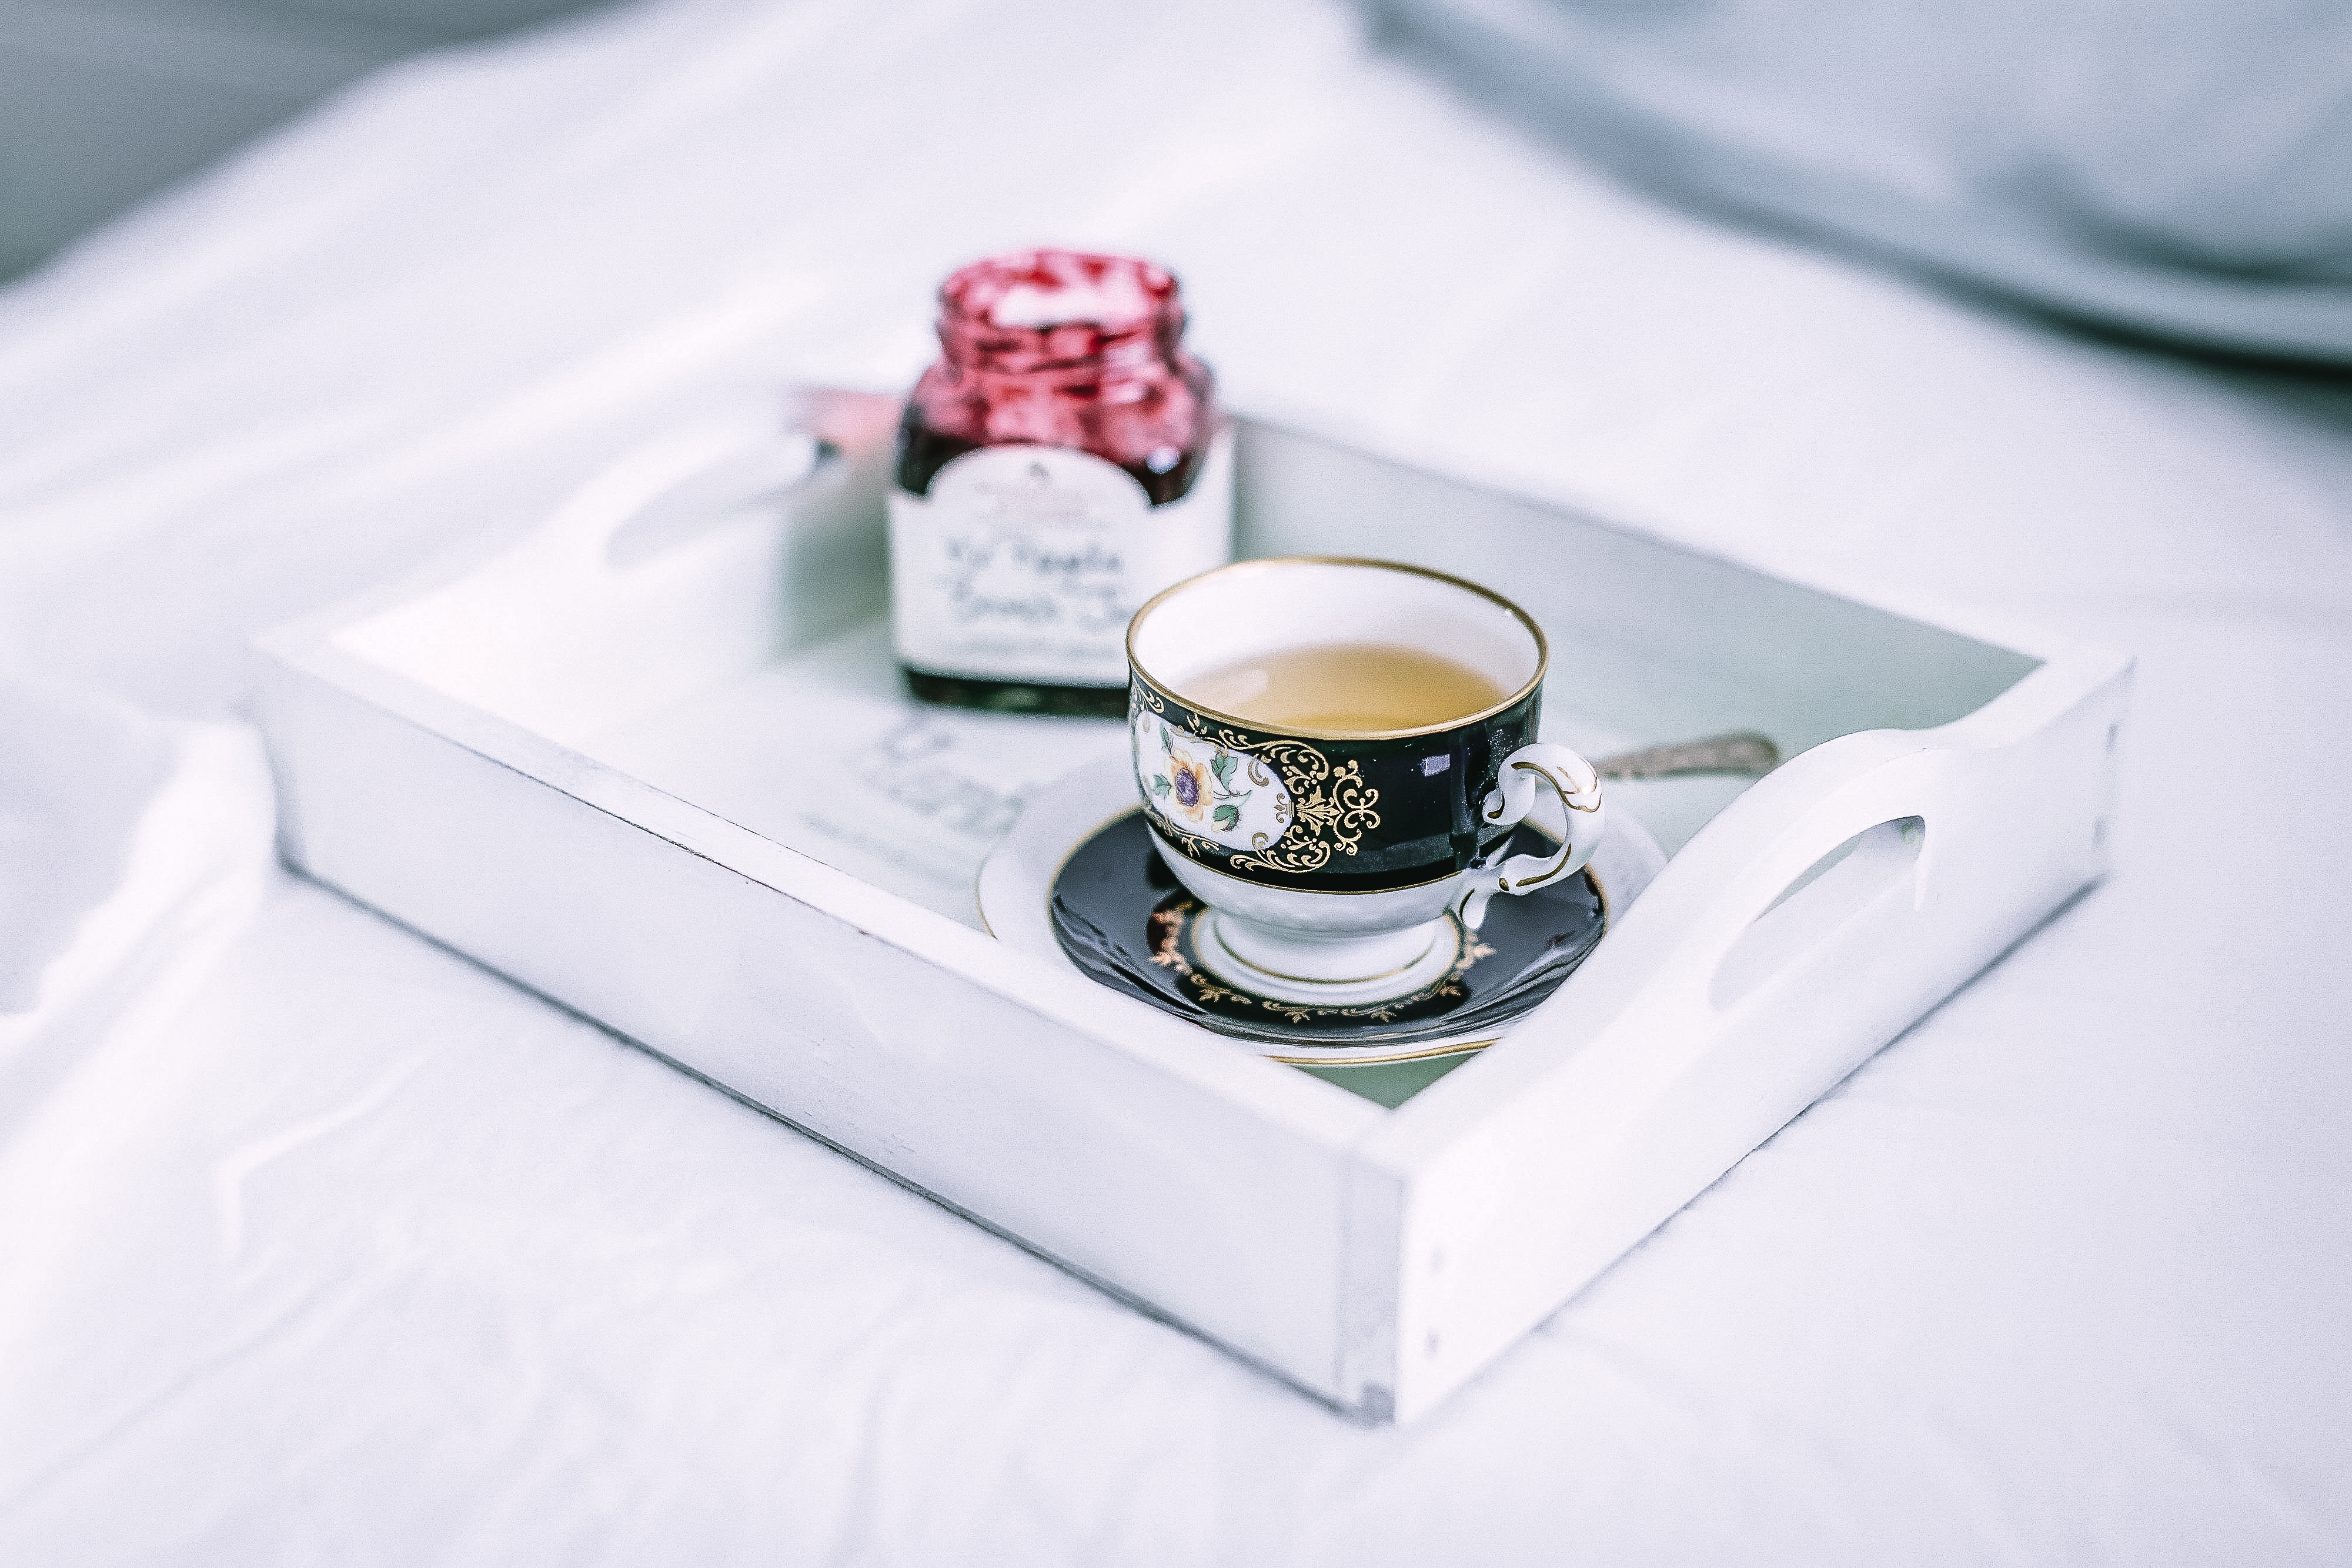
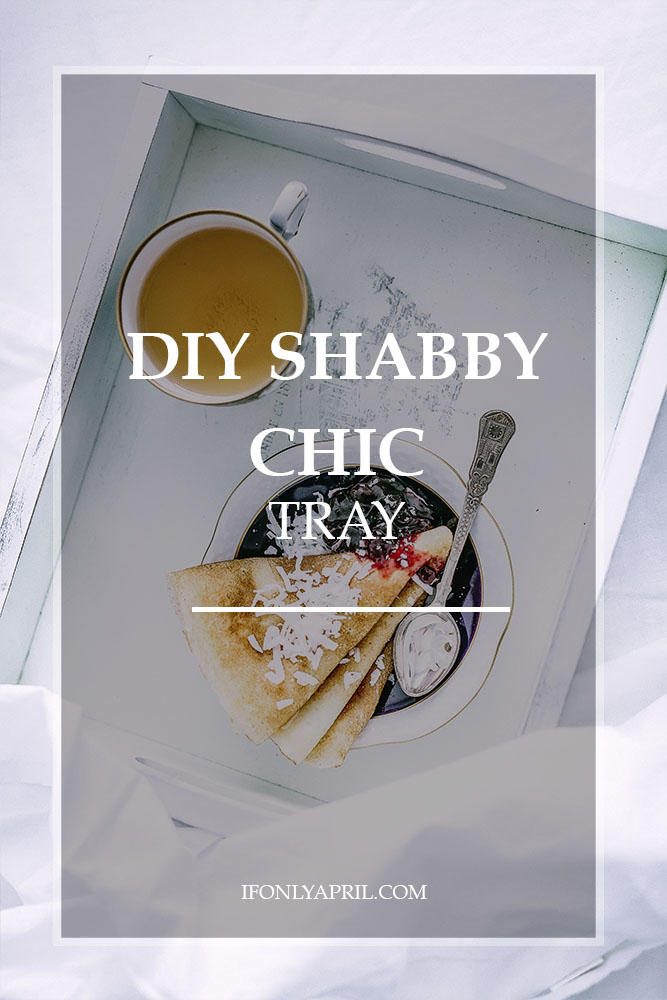
Today tutorial is about how to make a Shabby Chic Style Tray. I've made this for my sister and her husband and they absolutely love it! This tray is relatively easy to make but it will surely take your breakfast in bed to a new level.
To make this adorable shabby chic style trays you will need:
- Wooden tray of any size and style. I chose this cheap walnut unfinished trays from Amazon. They are small, very convenient and could be used for different purposes.
- Minwax oil-based stain (I used a mix that I had of Weathered Oak and Provincial)
- White spray chalk paint
- Brush for paint
- Sanding sponge
- Fast-Drying Polyurethane Minwax (clear satin)
- Printables of French Typography from Graphic Fairy
- Printer
Instructions:
- First, we need to stain our trays. Make sure the surface is clean and dry. Apply stain in direction of wood grain, using cloth, paper towel or a brush. Wipe off any exceeding stain and let it dry overnight.

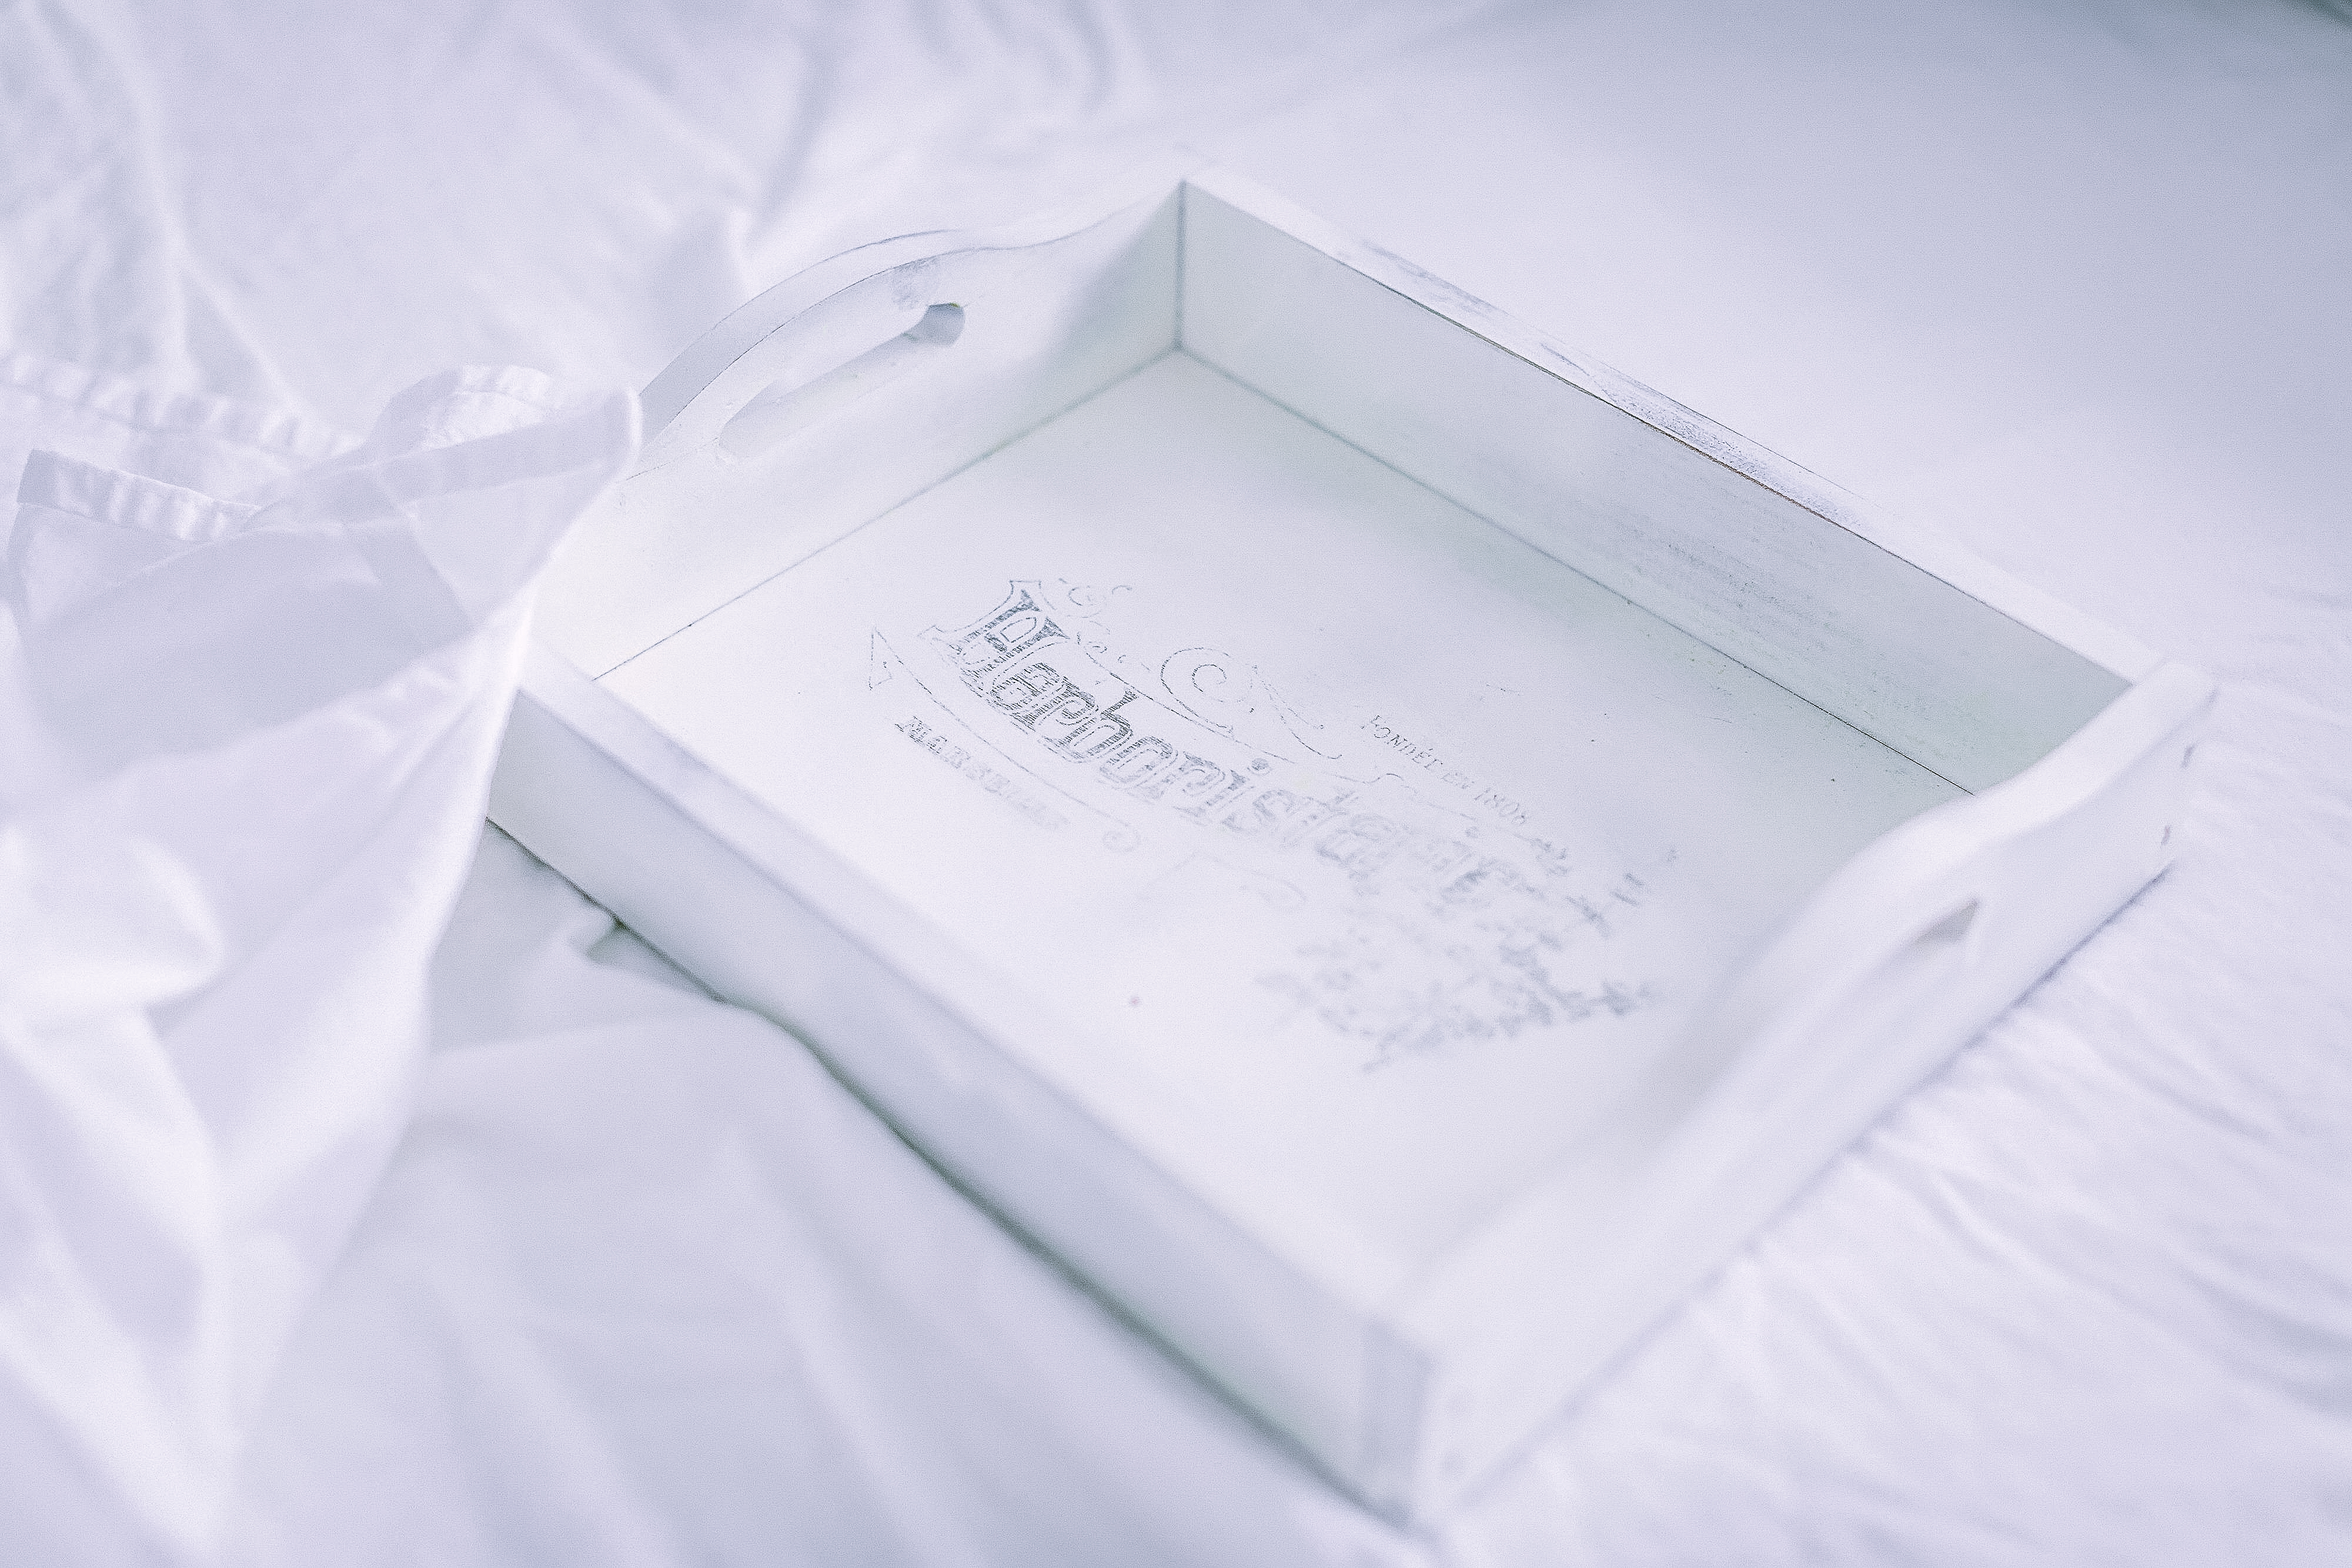
- Then you need to apply a white chalk paint. I used a spray but liquid paint will work just fine. Let it dry. Sand it thoroughly on the edges with a sanding sponge to give the tray a vintage distressed look. You can use a candle for a more distressed look.
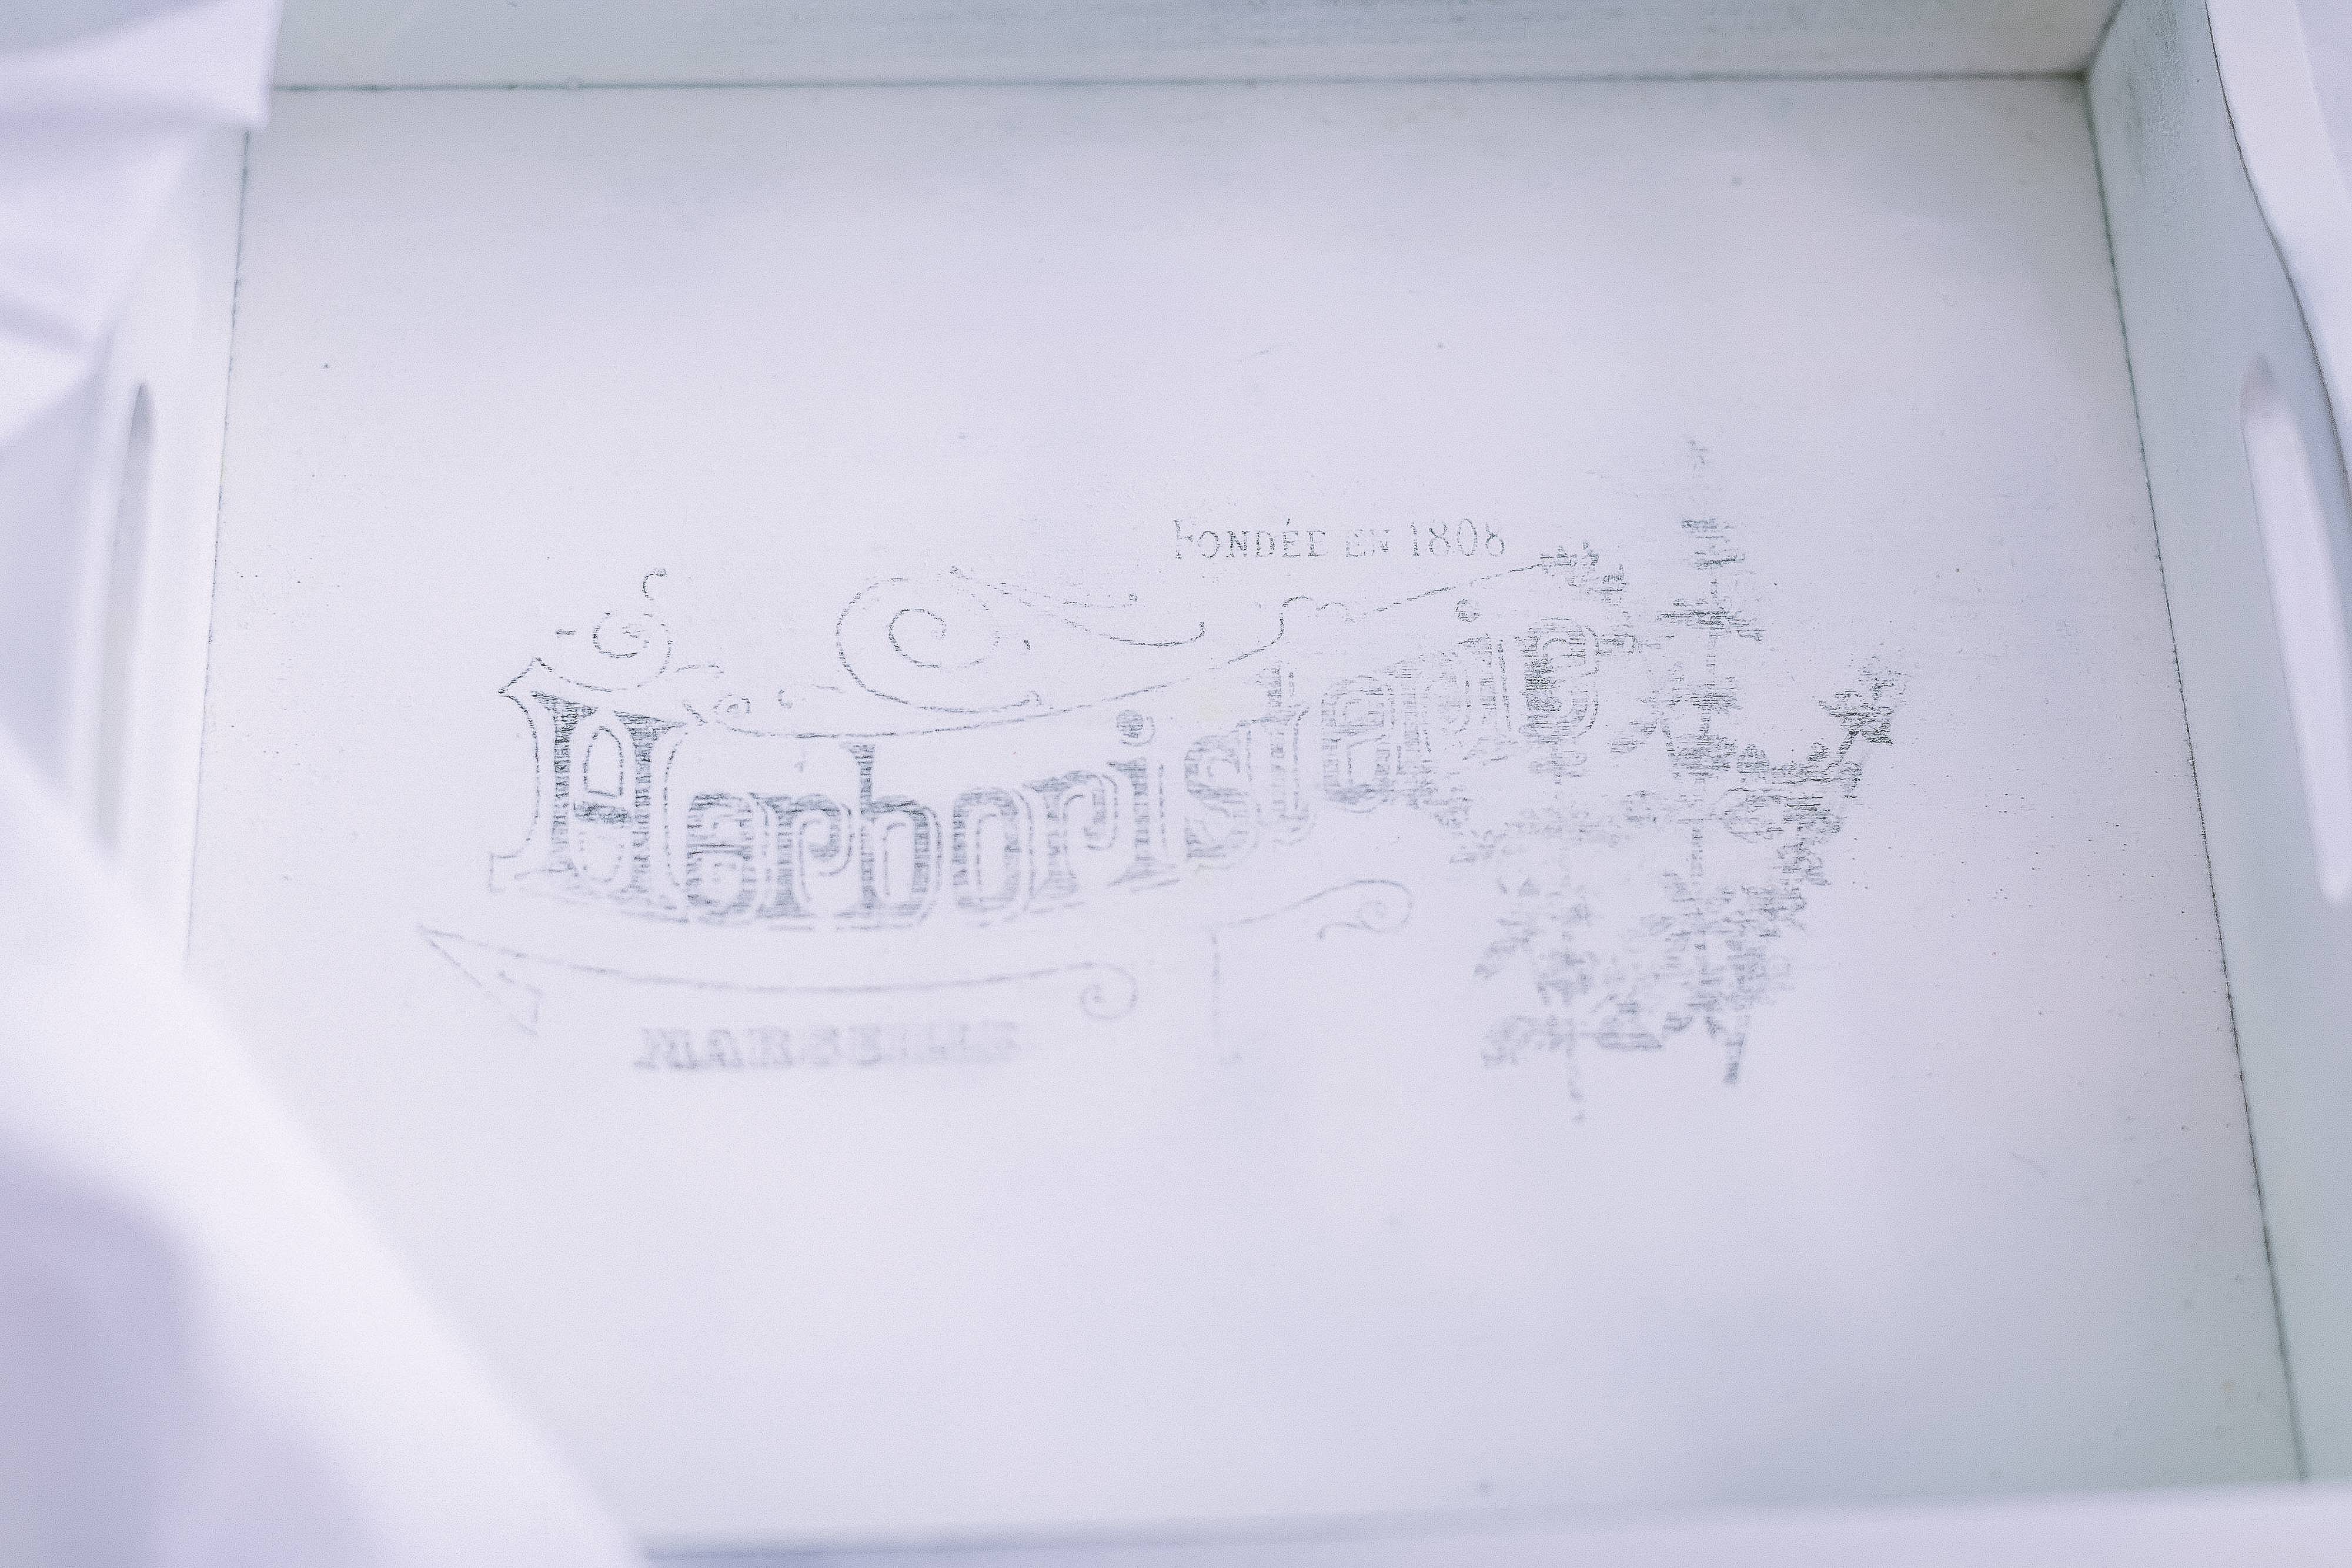
- Here comes the fun part: how to apply printable to a wooden surface. I found my Parisian inspired prints on the Graphics Fairy website. It is such a great resource for free vintage images. The only problem you will have is deciding which image to choose.
- Karen, also known as the Graphic Fairy, offers multiple methods of how to transfer prints on different surfaces. You can find it HERE. I chose a wax paper transfer method that fully explained HERE. For visual people, there is a video. As always, it seems so easy and fast. I didn't have an extra tray so there was no room for mistakes. Everything was done as explained but my prints didn't stick to paint as nicely and dark as in this video tutorial. I ended up loving this faded charming look of my trays anyways, but surely, this method isn't the most practical one if you want the dark bright images.
- When it's done, cover the tray with a clear finish to protect this shabby look.
Enjoy this absolutely awesome DIY Shabby Chic Style Trays!
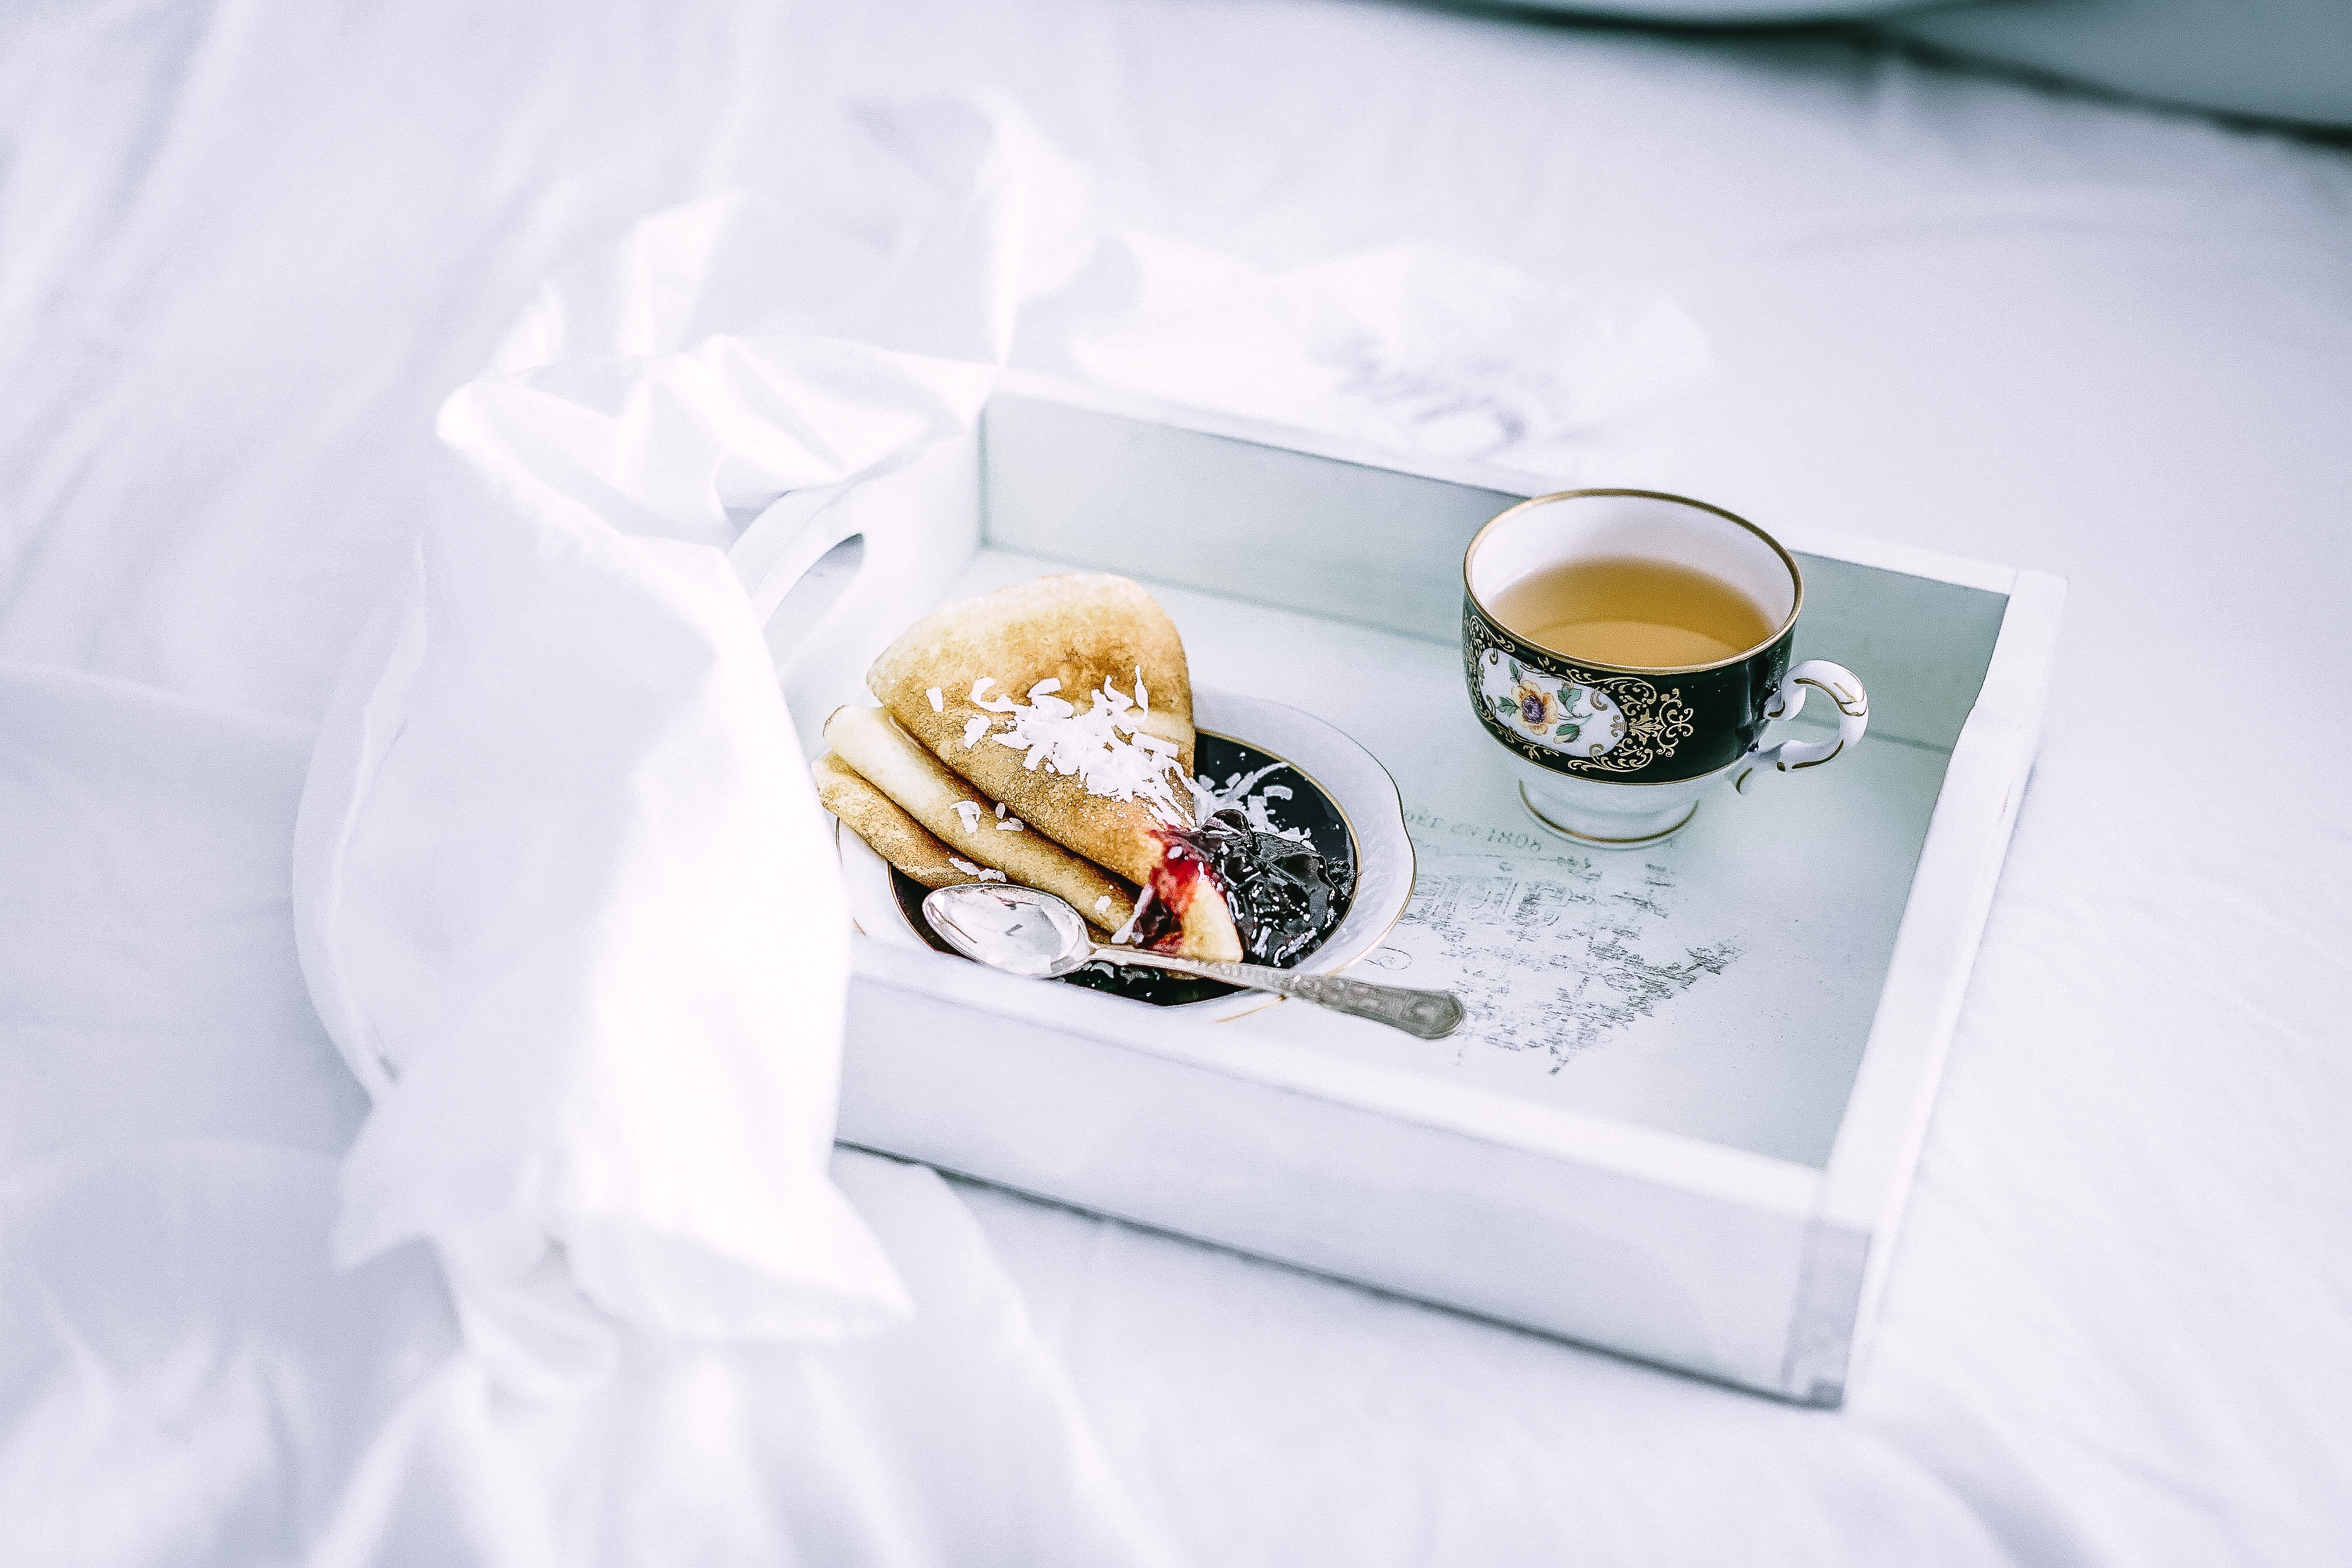
How do you like your breakfast to be served? 😉
If you like hand-decorated trays, check out DIY Rustic Trays.
xoxo,
April


Leave a Reply