• Skip to primary navigation
  • Skip to main content
  • Skip to primary sidebar
If Only April
  • MEET APRIL
  • DIY PROJECTS
  • SHOP
  • CONTACT
    • Facebook
    • Instagram
    • Pinterest
    • YouTube
menu icon
go to homepage
search icon
Homepage link
  • MEET APRIL
  • DIY PROJECTS
  • SHOP
  • CONTACT
×

SIMPLE DIY WOODEN SHELF DIVIDERS TO TRANSFORM YOUR SMALL CLOSET

Please note, that some of the links below are affiliate links and I will earn a commission if you purchase through those links (at no additional cost to you). Thanks for your support this way.

diy wooden shelf dividers

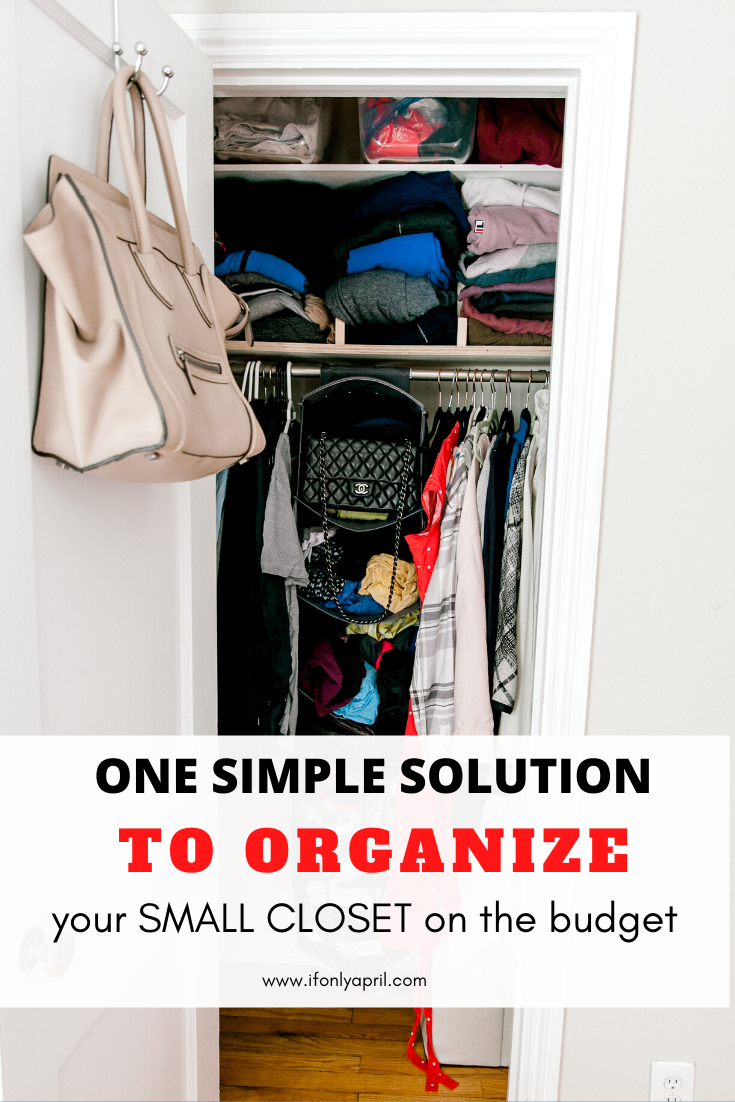
Do you have that one closet that you can't get your hands on for months? For me, this small closet in our bedroom was one of those "never can get my hands on it" projects. I shared with you 10 tips on how to organize a small closet and today I'd like to show you how to make simple DIY wooden shelf dividers.

It's a game-changer! Not sure how I lived without it for so long.

First, let me mention that we live in a rental and I didn't want to make an extensive renovation. Obviously, if it was my house I'd make it much different. But for the place that we will leave in a year or so I didn't want to invest a lot. So here is what you can do if you are on the budget but need to add functionality to your closet.

diy wooden shelf dividers

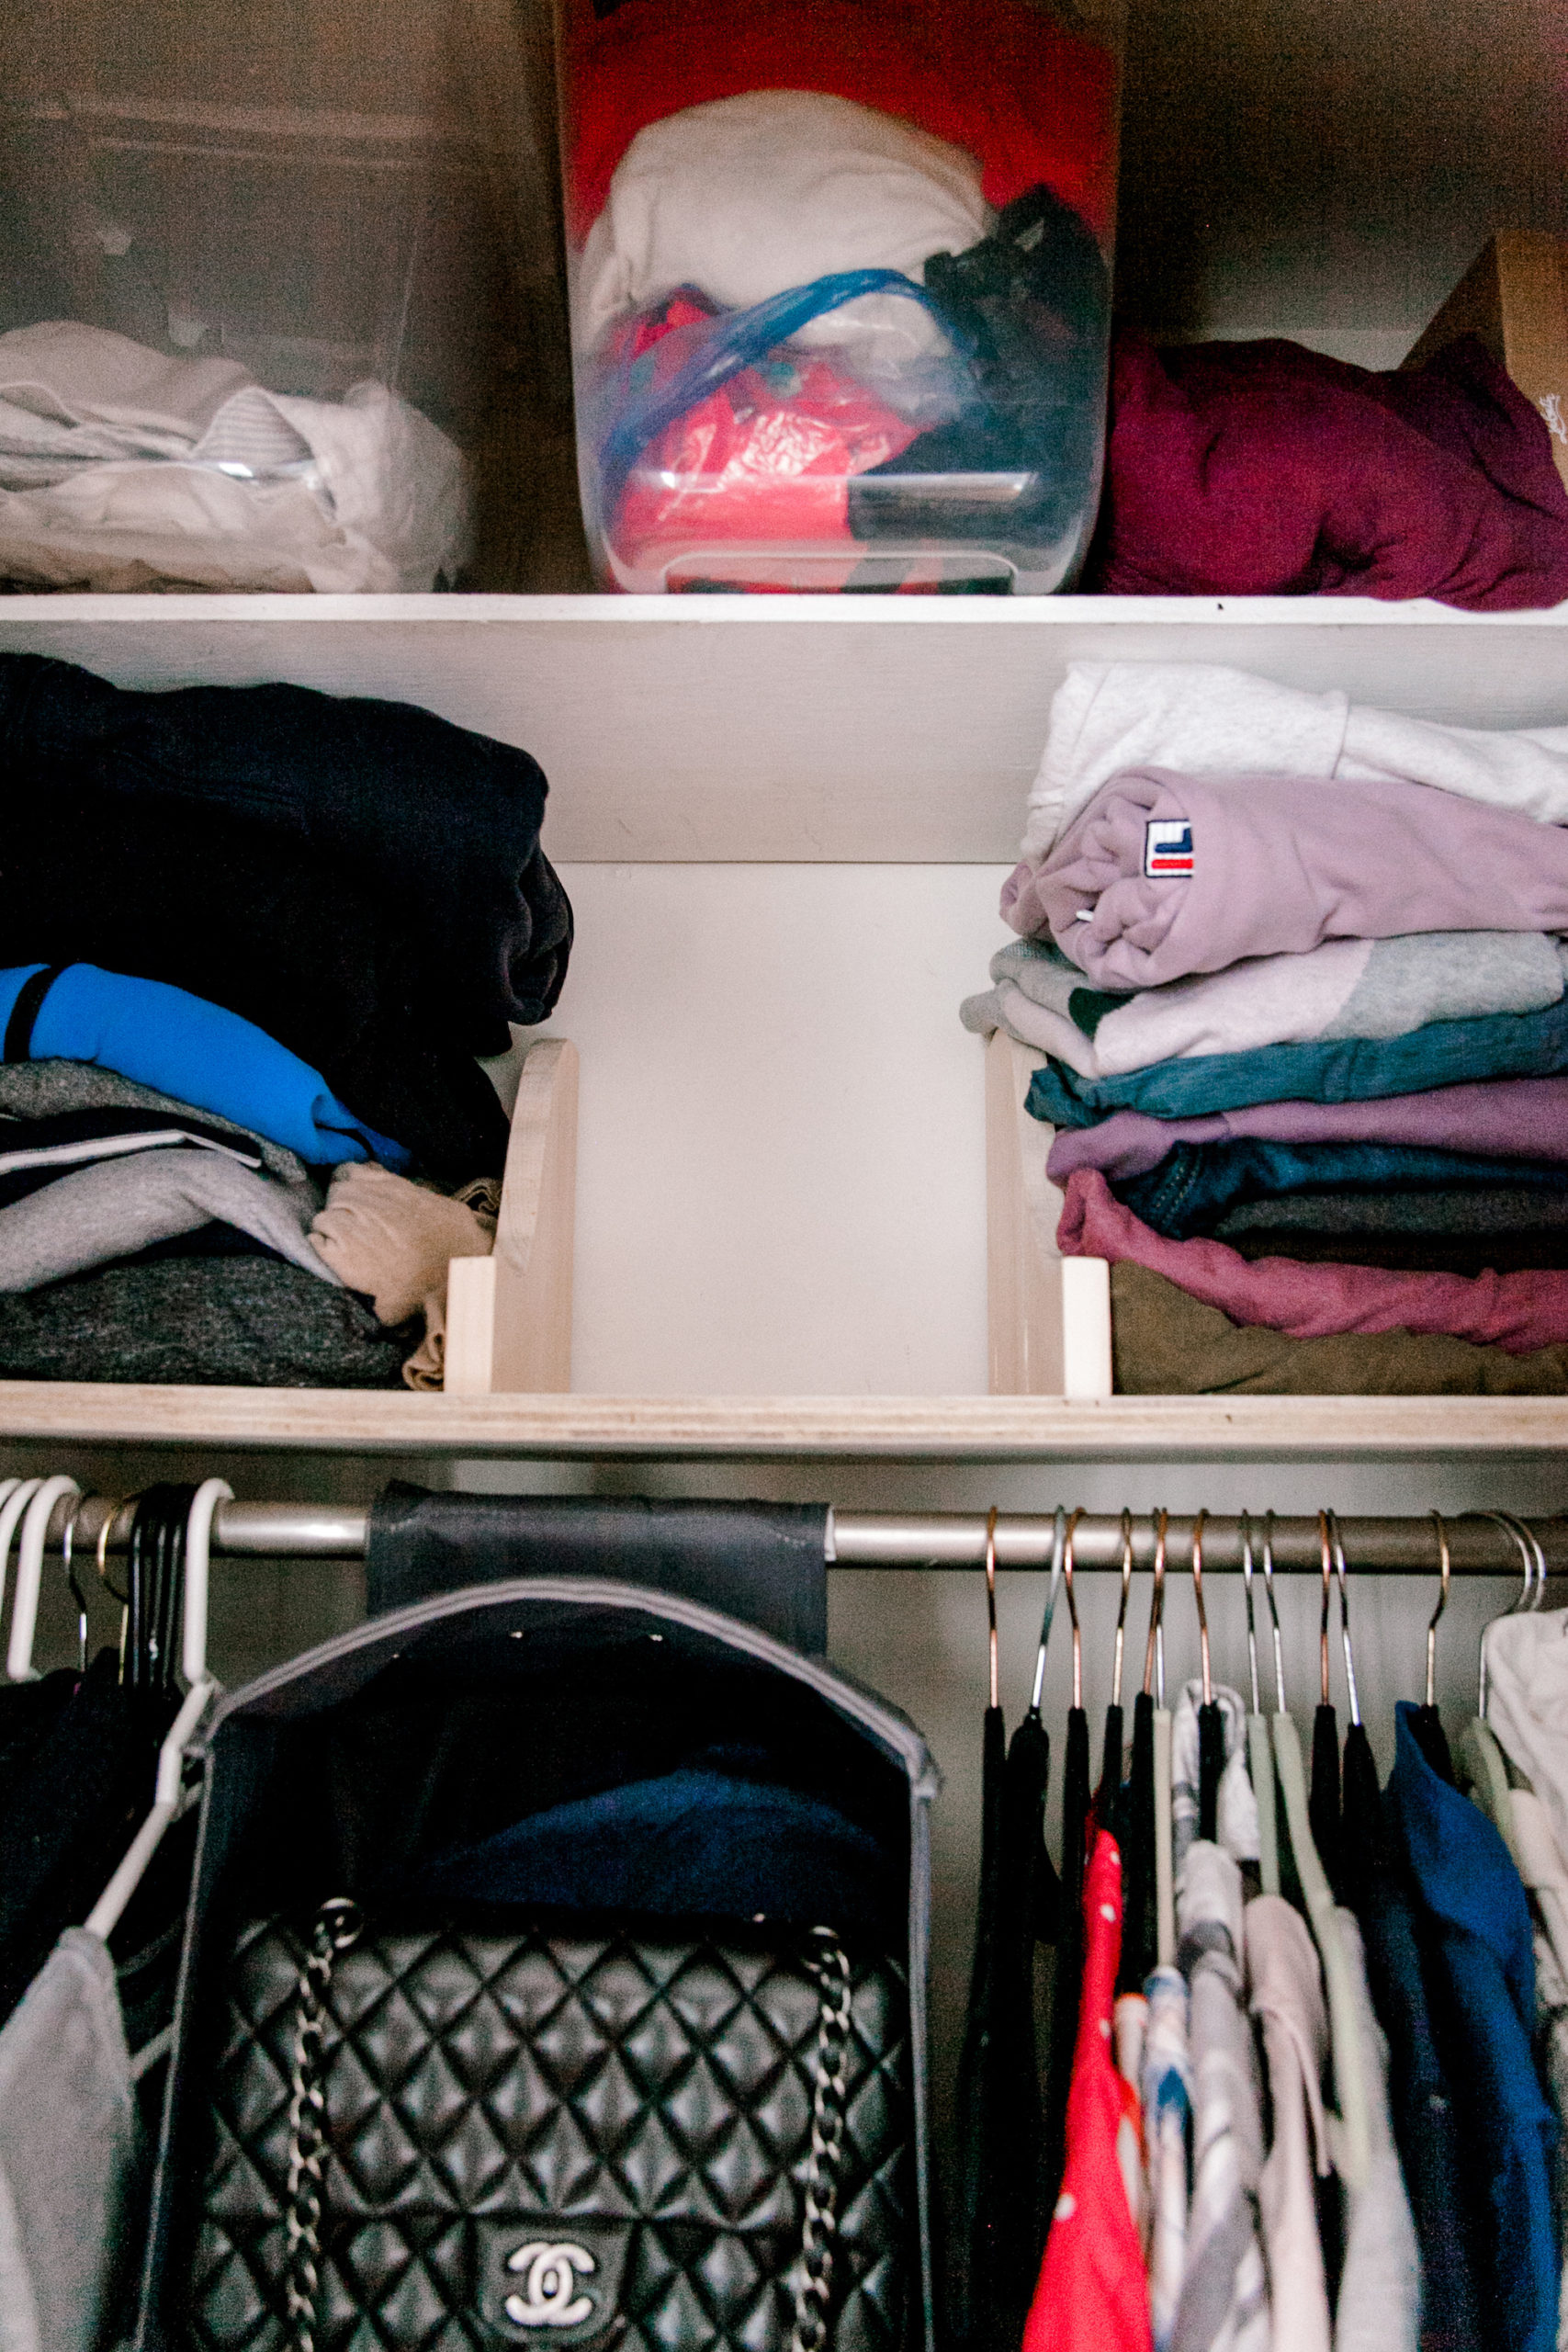
Most of the closets that I had always had this dead space above the shelf. It drives me absolutely nuts. I'm always pro-functionality and I don't understand this concept of having a lower shelf and leaving all the space to the ceiling empty. It could be used so much better!!

For my small closet, I decided to add an extra shelf on the top where we would keep ours out-of-season items and stuff that we don't use every day.

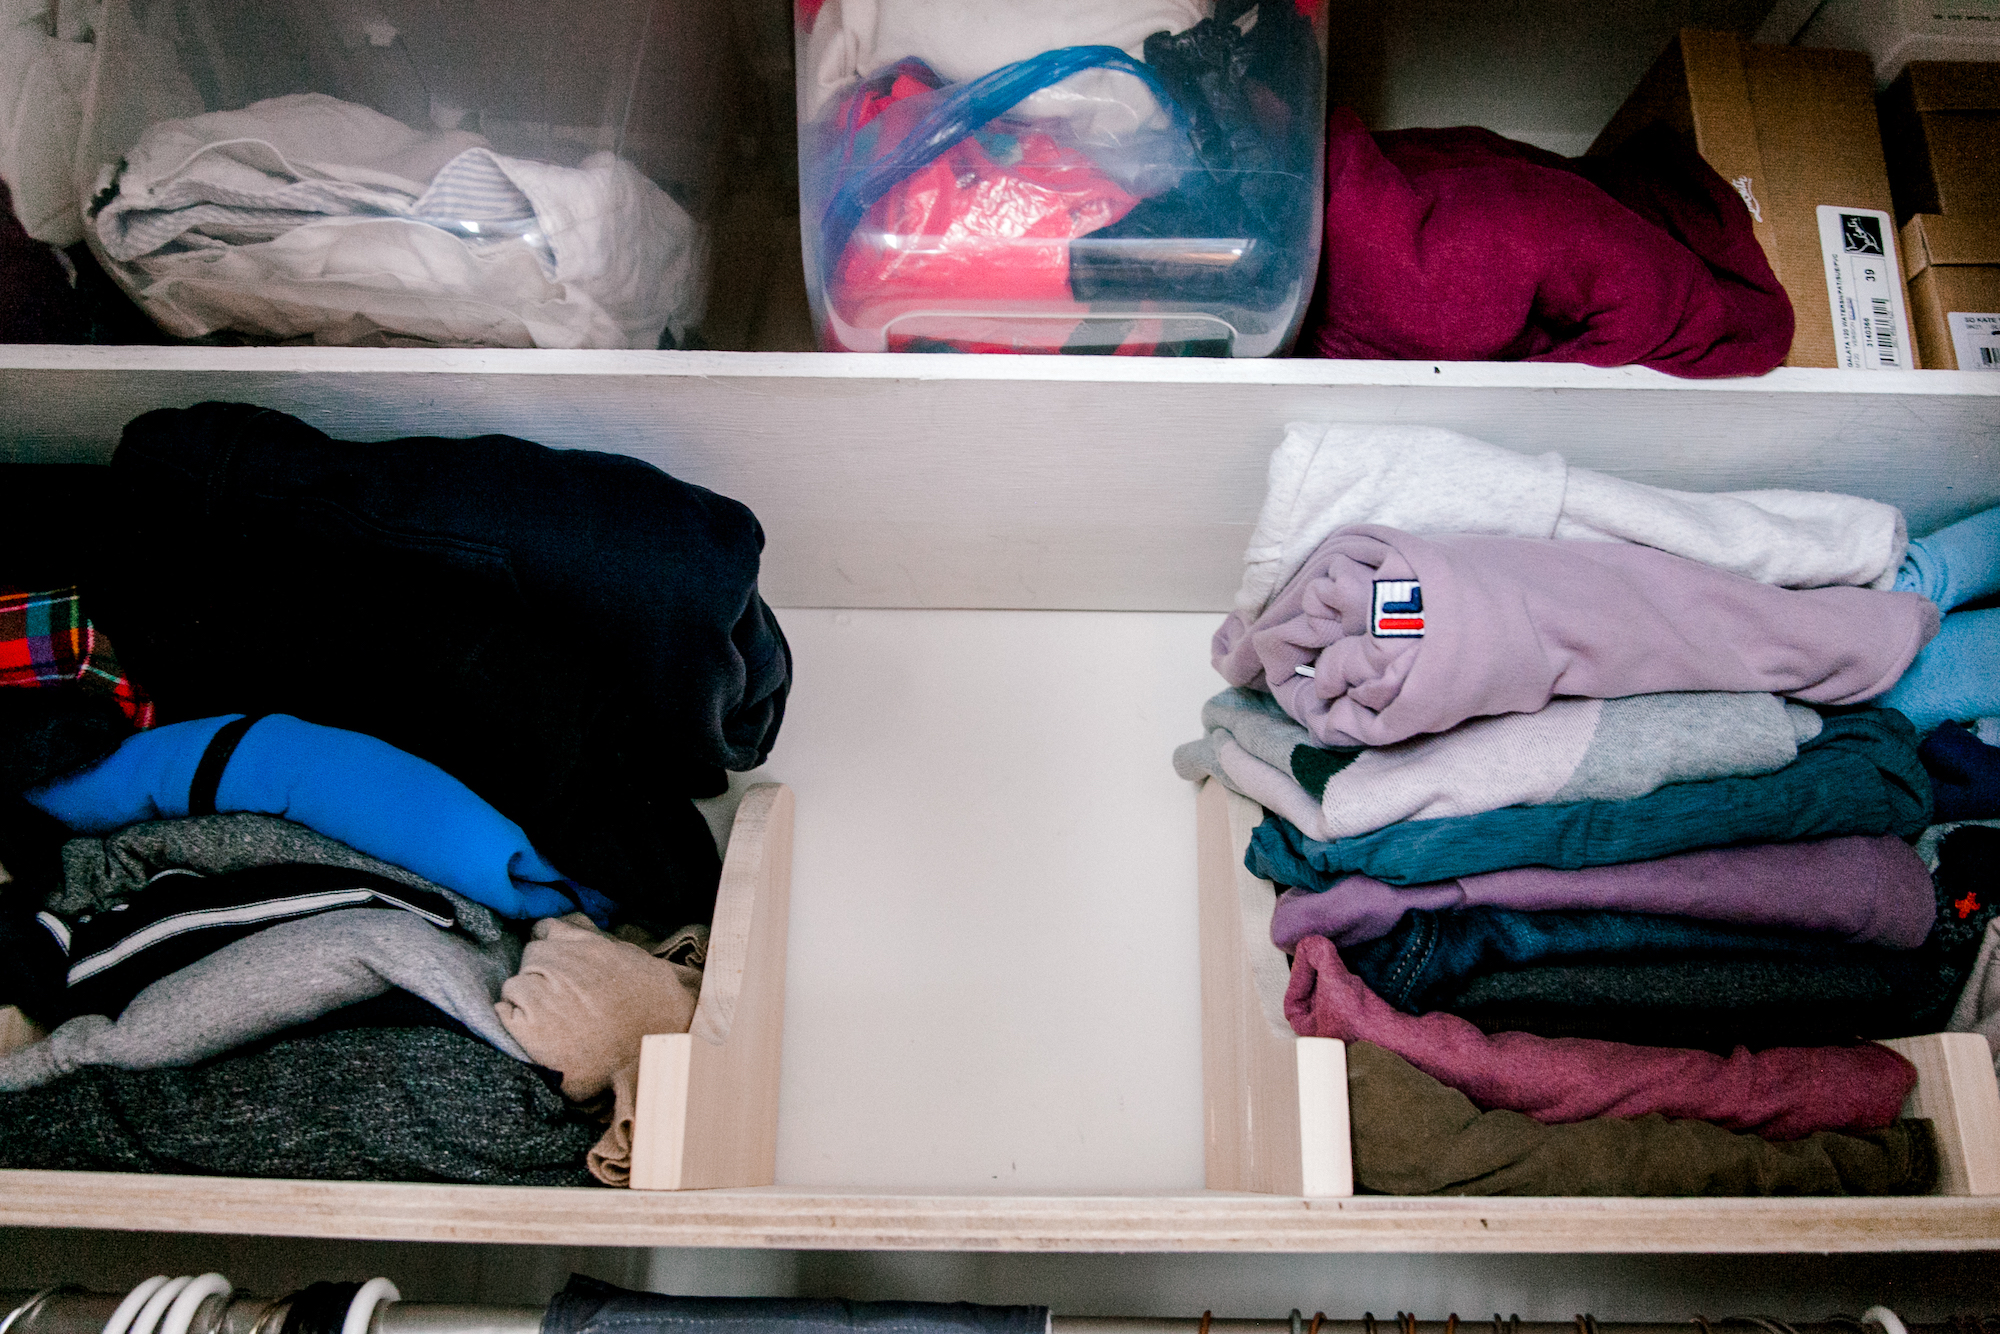
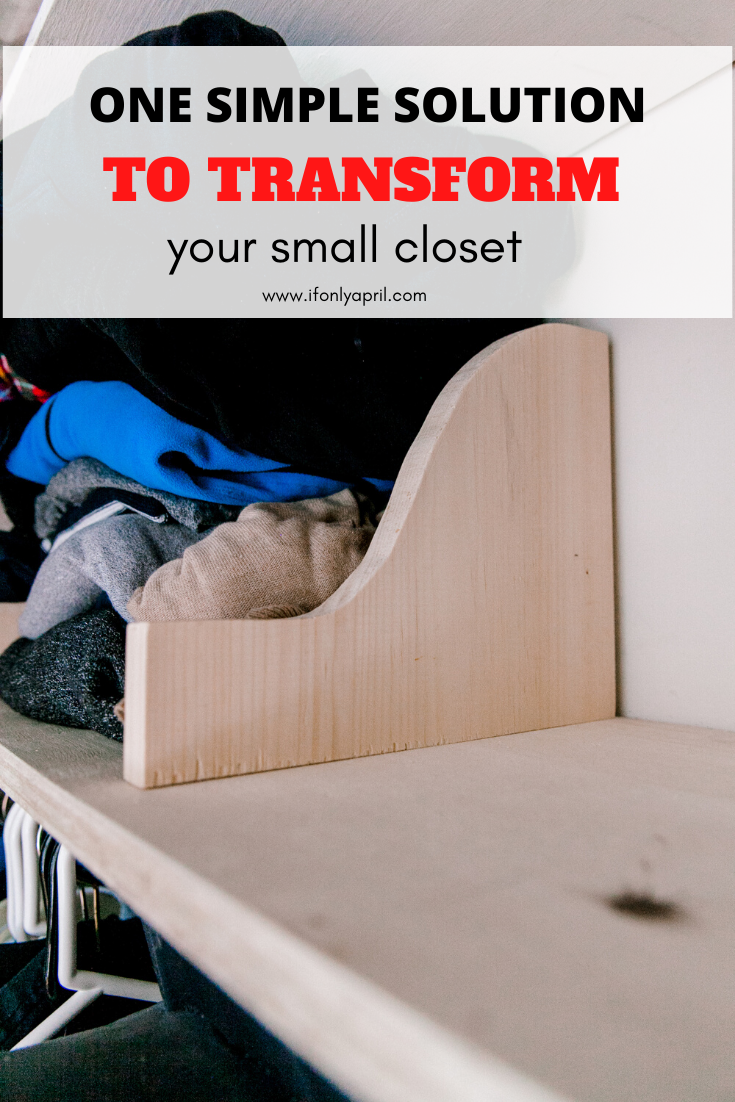
Also, I decided to add wooden dividers to the main shelf. I've seen people making it from cardboard but I prefer something more sturdy.

As an alternative, you could use shelf brackets for this purpose. Just choose the wider ones to fit better on the shelf. Something similar to this, but they cost $9.99 each, which adds up and kind of defeats the purpose to make it on the budget. It could save you time, but if you have a saw or a handy husband, then definitely go for the custom ones. They are super fast to make with a scroll or jigsaw and cost practically nothing.

The purpose of those DIY wooden shelf dividers is simple.

On the long shelf, you try to put items in organized piles. It never works, because piles get bigger, they fall on each other, becoming a hot mess. As you can see that what happened to us. Lol Of course, if you are a super neat person It wouldn't happen to you. But that's not our story and not why you are here.

A simple step as adding dividers to your long shelf can save you sanity and keep your closet organized. If you have kids, no assigned organizer, or a cleaning lady, then probably your closet will never look neat or tidy, but.. we can archive a semi tidy effect. By simply dividing your shelf and make room for each item category.

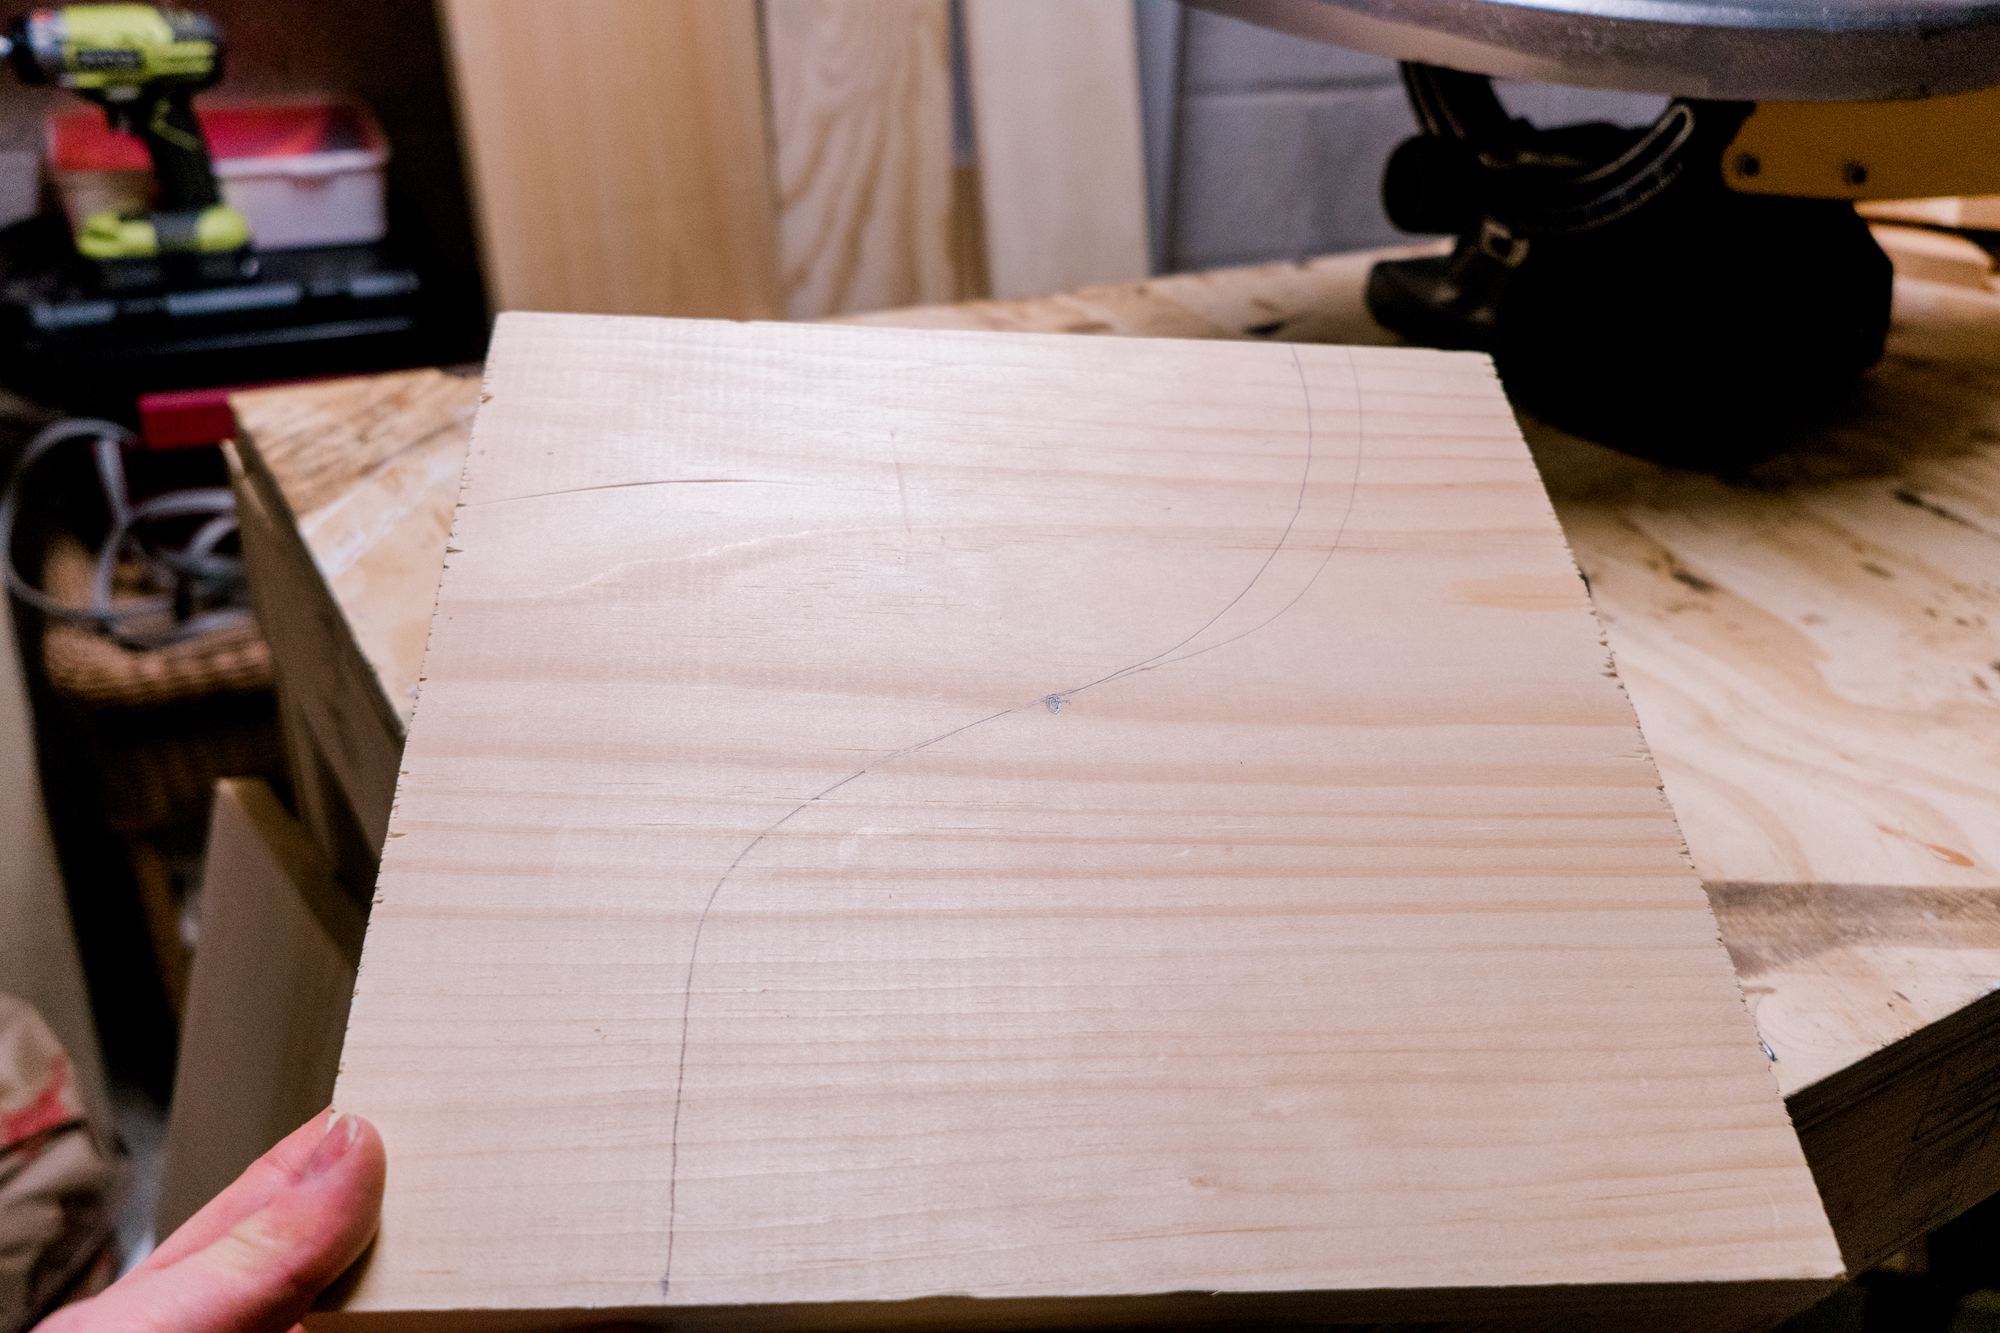
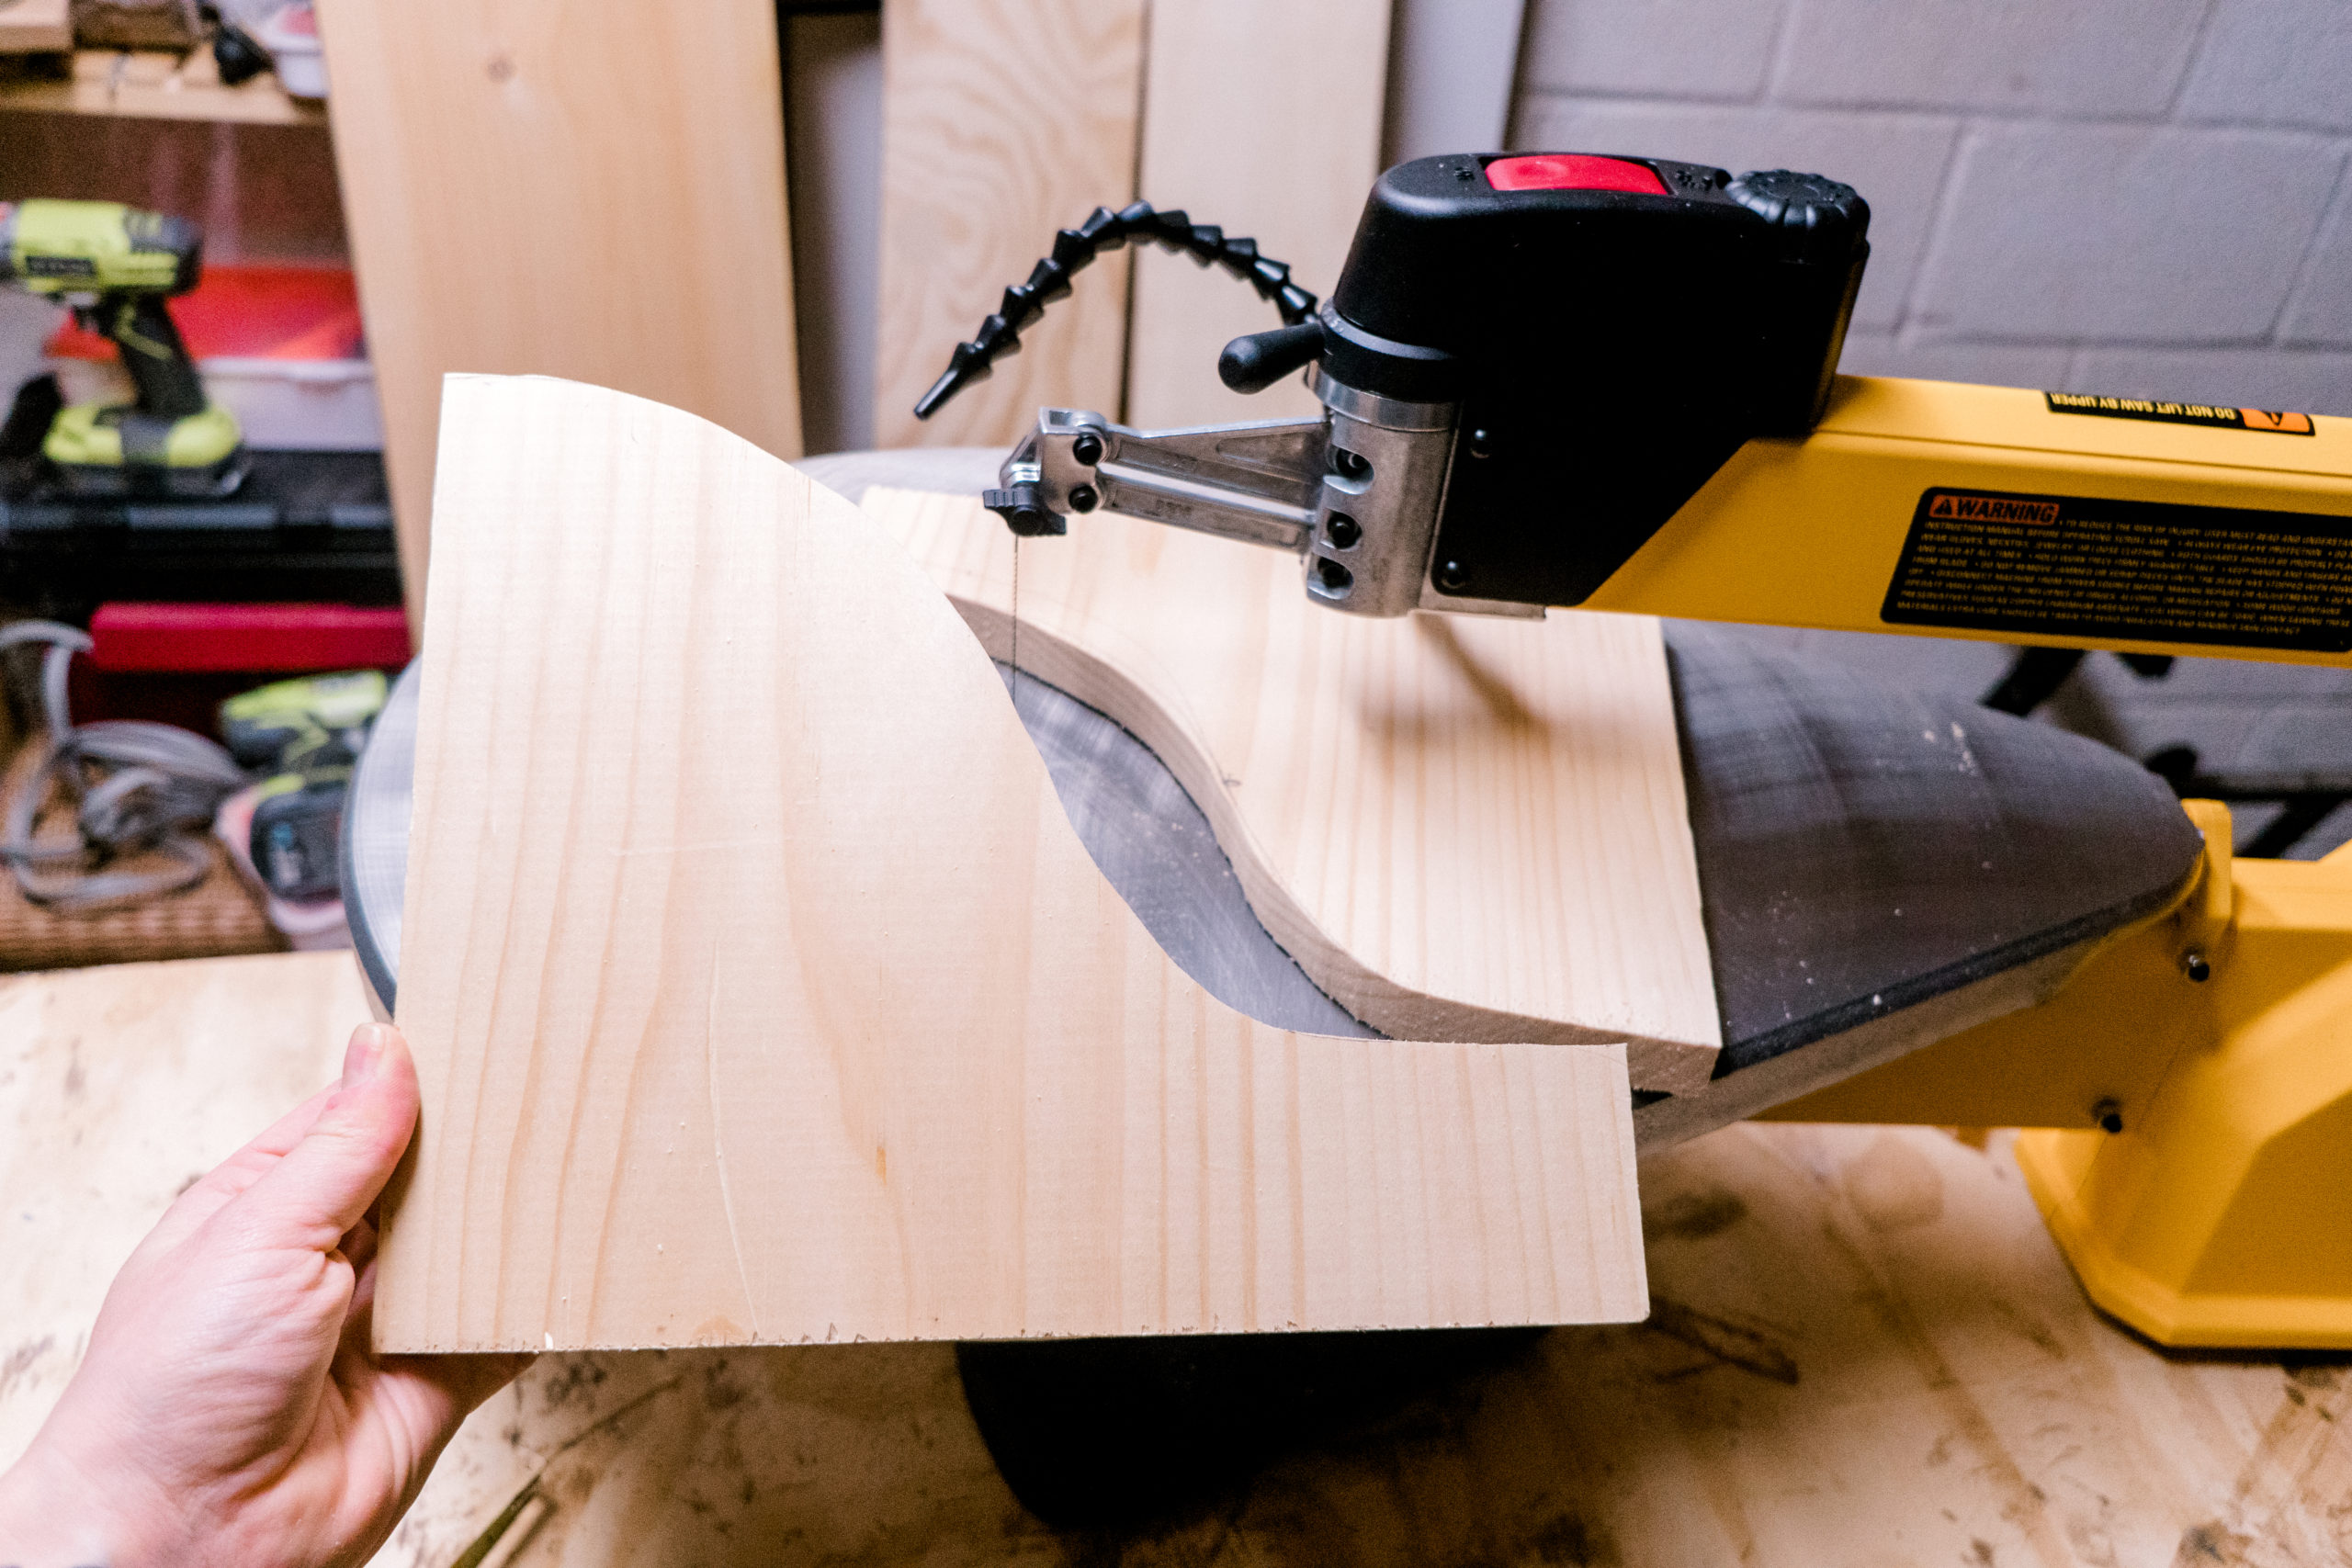
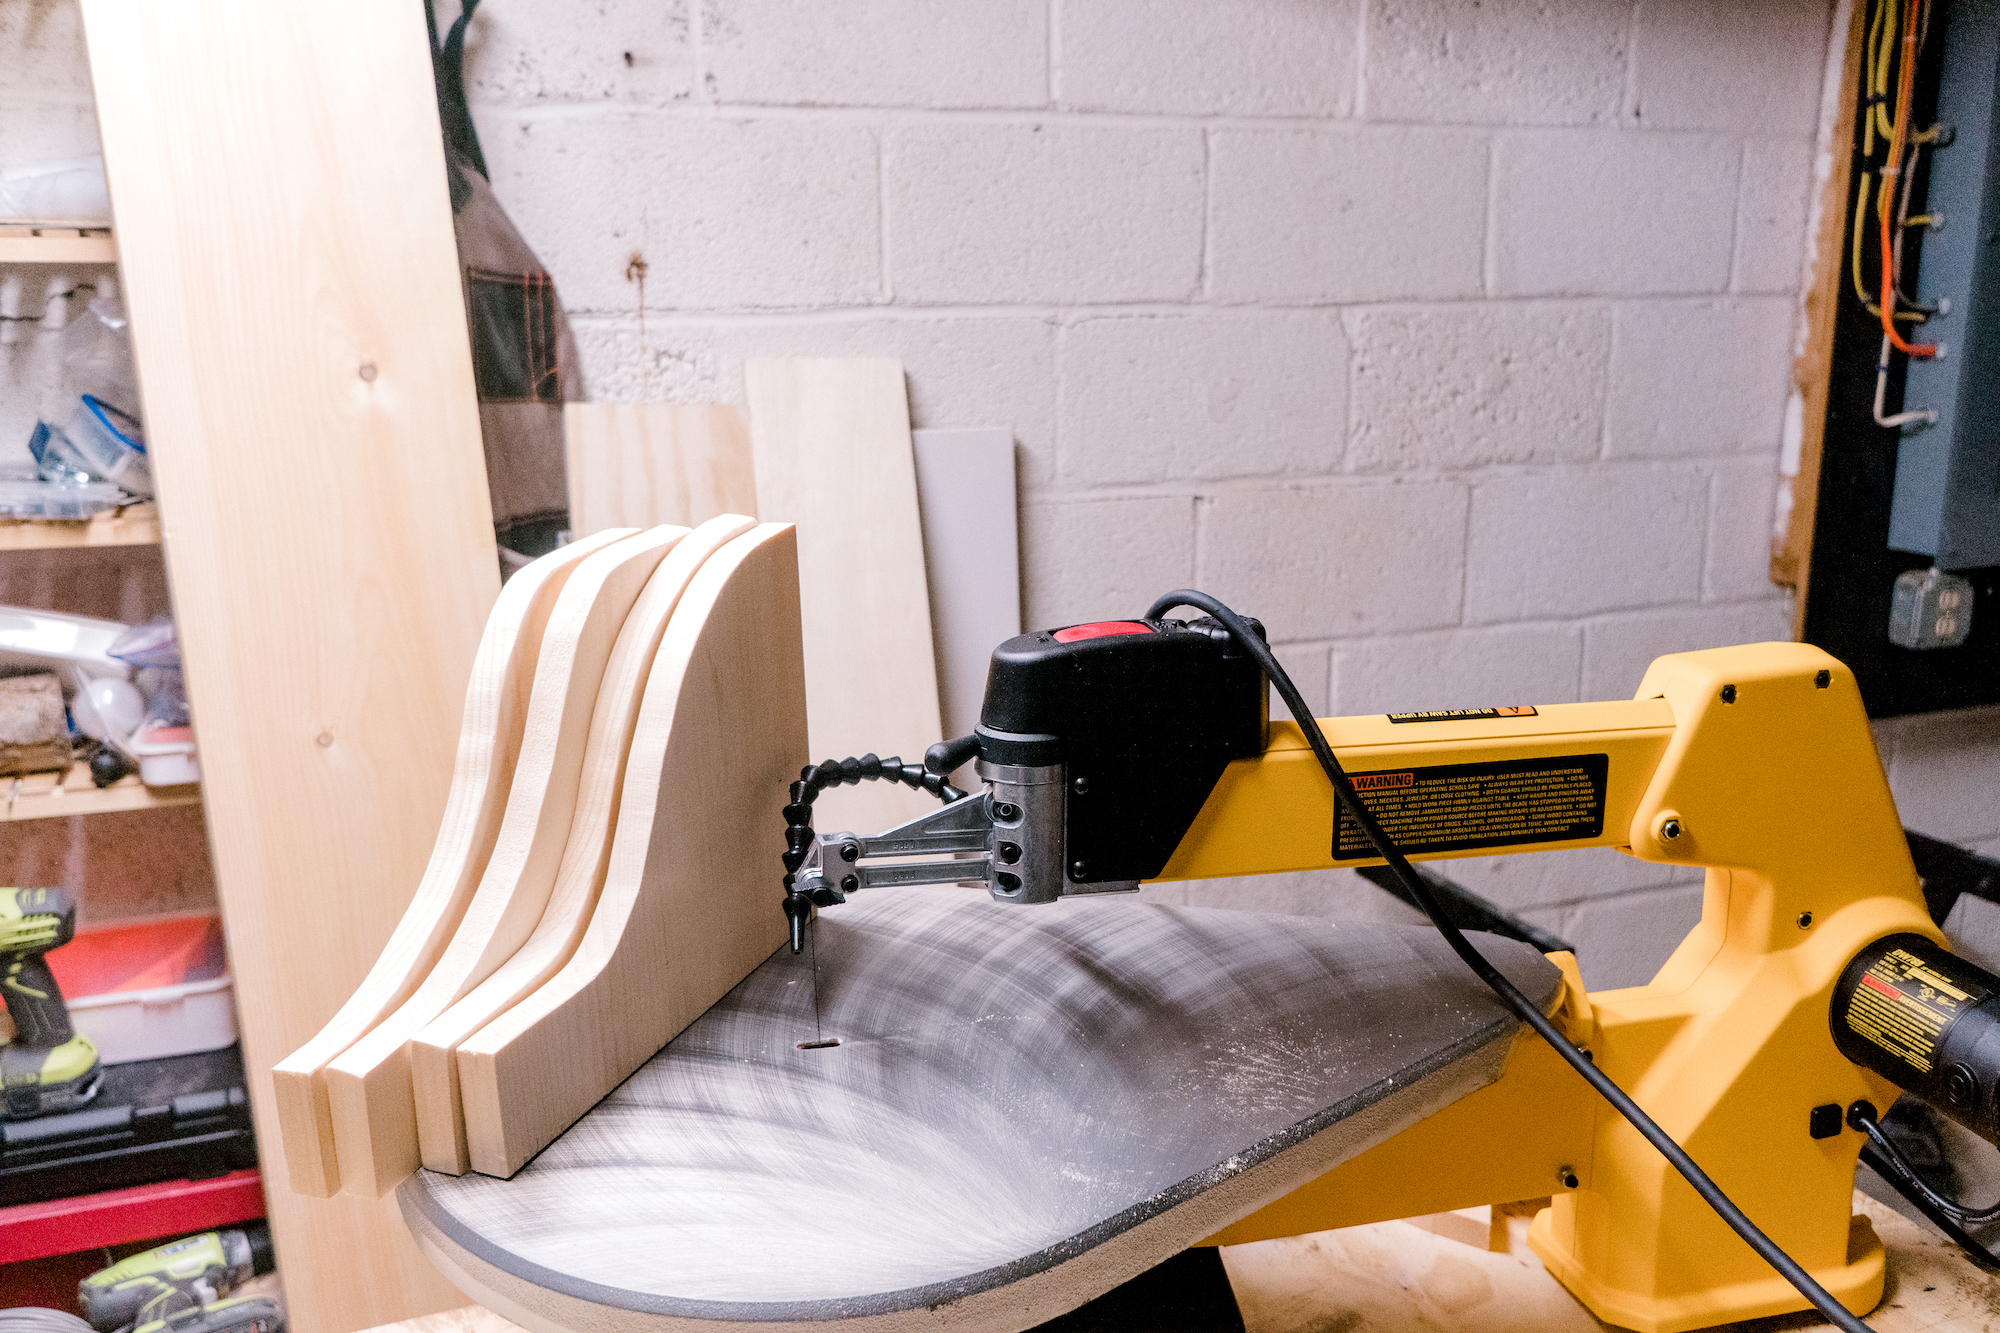
I used a scroll saw to make these wooden dividers but if you can also do it with a jigsaw (I was never able to master that). Another option is to simply make a straight cut and leave it as it is. After all, it's better to get things done than do it perfectly.

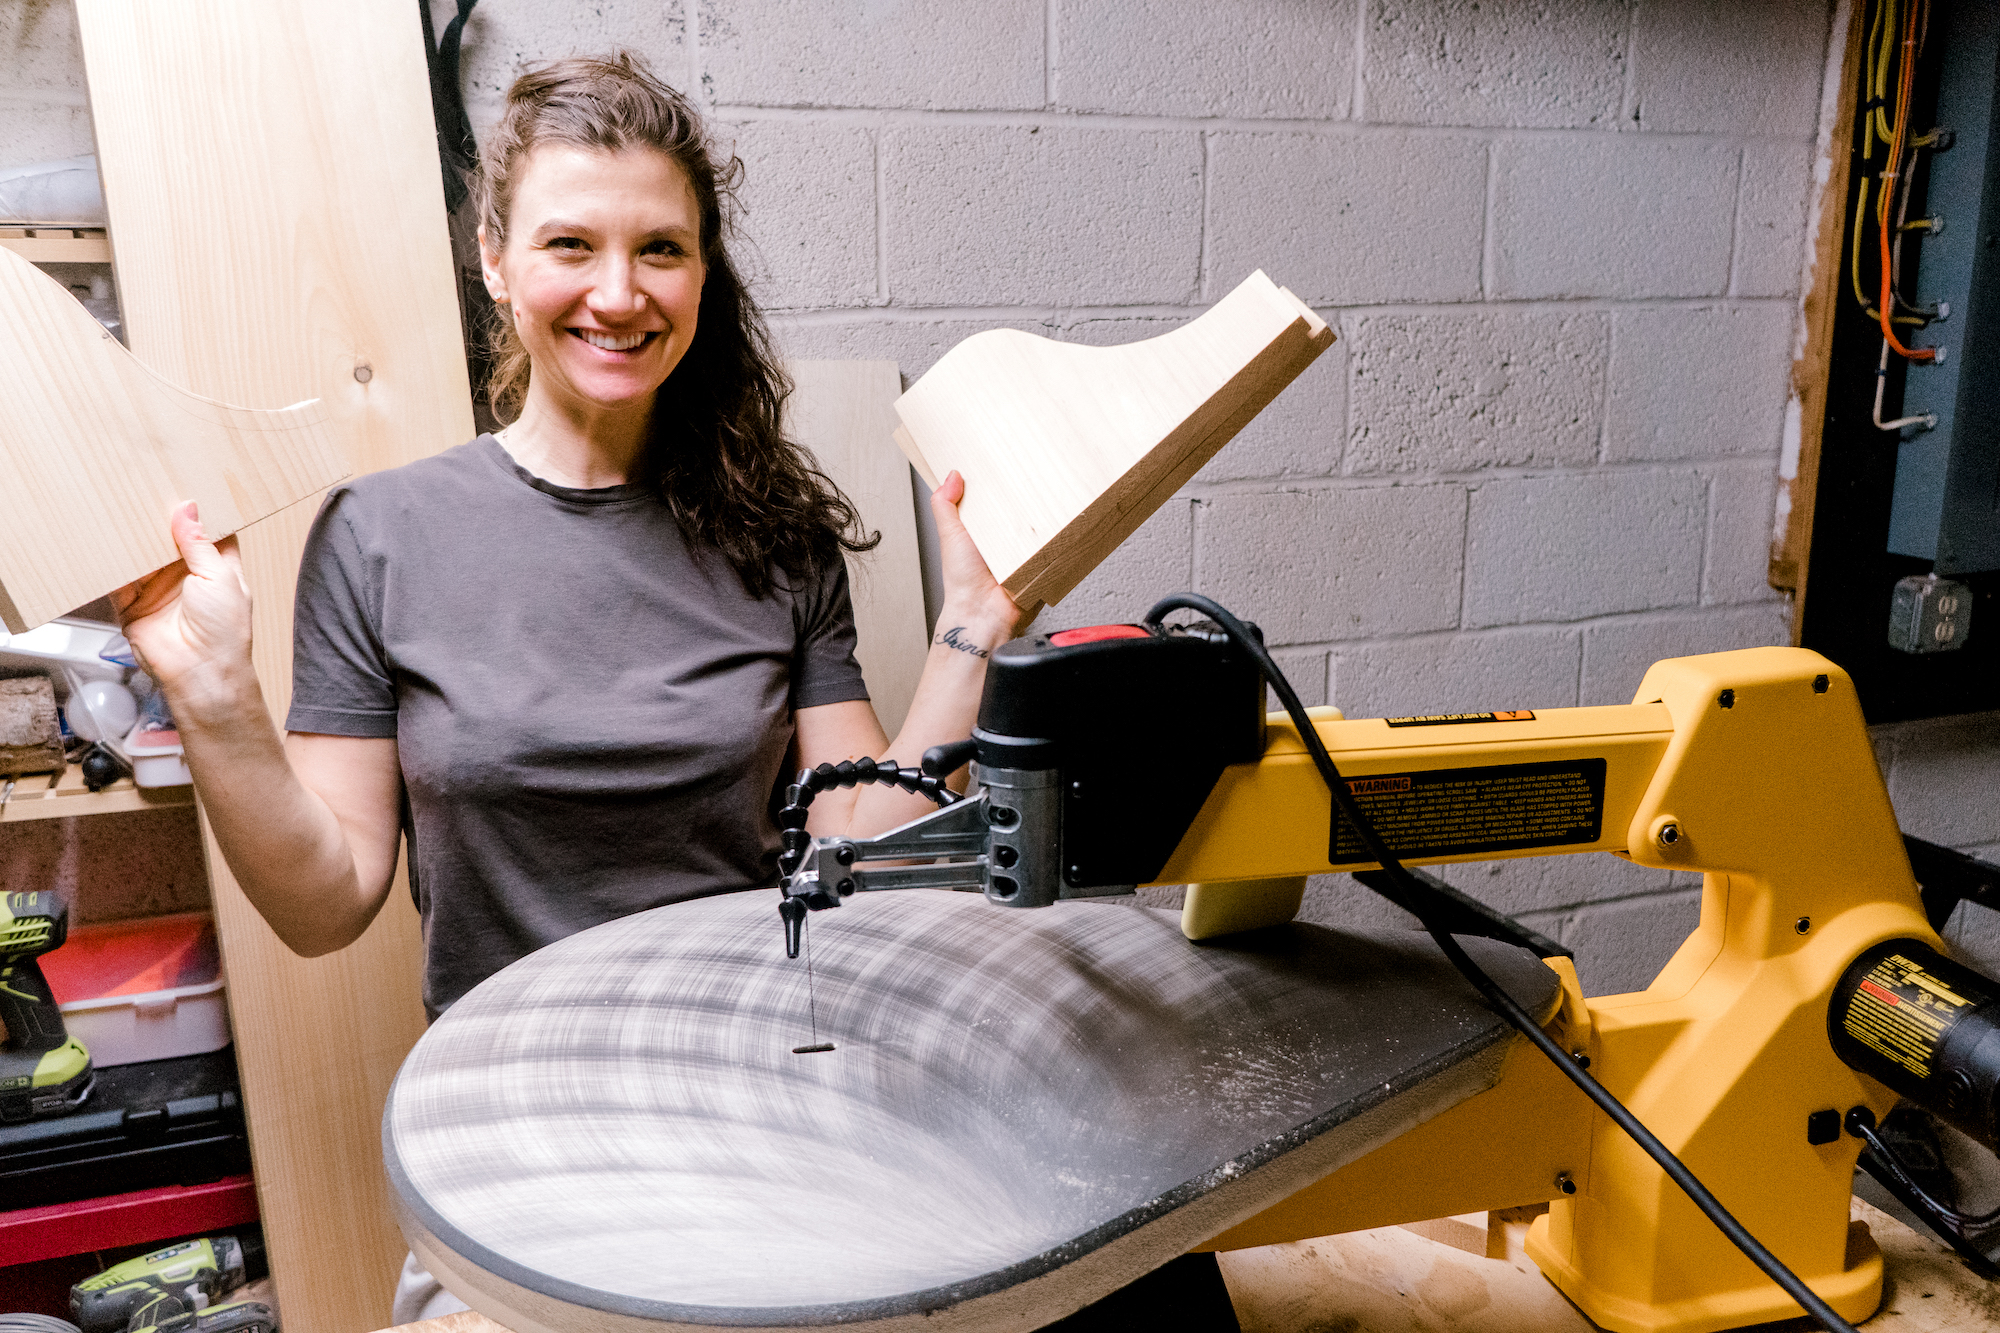
Using my scroll saw, I measured the "wave" and cut it. It was my first cut with a scroll saw so don't judge me hahh


To attach them to the shelf, I made few holes with a Kreg jig and connected them. You could simply nail it from the opposite side.

Or if you use shelf brackets, attach them to the wall in the back of your closet.


>>>>>>>PIN FOR LATER

This simple thing completely transformed our small bedroom closet and it's been already 1 month. It's still neat and organized. Mission accomplished!

If you want to see more organizational videos, check out my YouTube channel, where I post a video once a week. I'd love to see you there!


WE THOUGHT YOU MIGHT ALSO LIKE

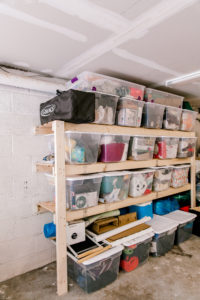
EASY GARAGE SHELVES FOR $40 IN LAMBER 


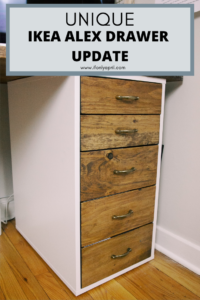
HOW TO UPGRADE IKEA ALEX DRAWER 

DIY RUSTIC MIRROR FRAME

And if you are a fan of little squares, let's be friends on Instagram.

xoxo,

April

Previous Post: « 10 TIPS ON HOW TO ORGANIZE A SMALL CLOSET
Next Post: SPRING MANTEL DECOR + {HOW TO SPRAY PAINT VASES} »

Reader Interactions

Leave a Reply Cancel reply

Your email address will not be published.

Primary Sidebar

Join the Newsletter

Subscribe to get our latest content by email and a guide to jump start your DIY journey.

    We won't send you spam. Unsubscribe at any time.

    LATEST ON YOUTUBE

    https://youtu.be/DfbIrY-cvTI

    ifonlyapril

    DIY Lifestyle Mom | 📍CT
    Updated 9-drawers dresser in it’s glory😁 I h Updated 9-drawers dresser in it’s glory😁

I hope it was worth the wait!

Do you  agree that it looks fabulous? 😁
(Swipe —-> for before)

My husband think that kids don’t deserve to have it in their playroom🙈😂 He has a point, our kids are so wild that I won’t be surprised if I find a marker on this beauty:(
Good thing about DIYing is that I can always fix it 😁

But do you agree with my husband? 😁

#thriftflip #diyprojects #ifonlyapril_diy
    Let’s take a second to appreciate one of my most Let’s take a second to appreciate one of my most favorite IKEA hacks!
My cousins love it so much!! My brother-in-law loves it just a tiny bit more😂
And look how nicely my sister organized all the lego by color 😍😍 #organizationgoals

This LEGO table is definitely one of my most favorite builds ☺️☺️ what do you think? SWIPE to see the video😄

#ikeahack #legotable #ifonlyapril_diy #diylegotable #makersgonnamake
    PROGRESS shot😁 I’ve been so unproductive this PROGRESS shot😁 I’ve been so unproductive this week.. well, I have a good excuse, it’s my birthday today🥳 So in 20s yo fashion I’m celebrating for the whole week😂
But here is how the book display for my kids playroom look at the moment 😁
Still a lot to finish, but I’ll think about it tomorrow 😆 today I’ll celebrate my 16(x2) 😁
Find your passion, my friends! It’s probably somewhere between fancy shoes and power tools 😆
#diyprojects #ifonlyapril_diy #playroommakeover
    Can we paint everything yellow?☀️😁 Do you Can we paint everything yellow?☀️😁

Do you feel that every part of your life associates with certain colors?  Especially when it comes to decorating places.

My 400 sq ft studio in NYC went through black/white with pop of red  stages to orangey and neutral colors... those were the single days 😁

But funny enough, no matter what, yellow always has been my constant favorite and I always had something yellow. I just can’t get enough😁☀️

When I decided to change my logo and rebrand my website, the yellow was an obvious choice!

SWIPE to see my new logo🤩🤗 I’m so excited! There won’t be a video this Sunday on YouTube since I need time to update my website☺️ 

But hey! I’m April and my favorite color is yellow! Now I want to know all of you!  Comment below what’s your favorite color!

#ifonlyapril #newlogo #diyhomedecor #diycrafts #diyarch #diybookshelf
    TROFAST the Fabulous 😍 That’s the only name TROFAST the Fabulous 😍

That’s the only name I’ll refer to this toy storage!!! This epic IKEA hack was quite an adventure but oh so rewarding in the end😍 I’ve got my inspiration from amazing @makingprettyspaces where she transformed not 2 but 4 TROFAST units into one 😍

As usual, if you want to watch the whole thing coming together, you can find it on my YouTube or on the blog with aaaaall the details on what to do and what not to do!!

But for now, I’ll enjoy these beautiful can doors! Aren’t they a show stoppers?😍

#ifonlyapril_diy #ikeahacks #ikeahackers #furnituremakeover #bhgididit
    Sneak peak to tomorrow’s YouTube video 👀 Are Sneak peak to tomorrow’s YouTube video 👀
Are you excited? Because I am😁
#diyyoutuber #diyprojects #diyprops #ifonlyapril_diy
    I just couldn’t resist. They are my best DIY pro I just couldn’t resist.
They are my best DIY project😄
    That damn green color!🙈 Never thought that mac That damn green color!🙈

Never thought that macrame would bring me so much anxiety. Well, I tried to make green color from natural ingredients (spinach) and it went so wrong.. tune in to see the whole process and how I made the vine with leaves on YouTube. 
Google “if only April spring macrame wall hanging”
#macrame #macramewallhanging #macramelove #macramemakers #ifonlyapril_diy

😄
    Load More... Follow on Instagram

    Footer

    ↑ back to top

    About

    • Privacy Policy
    • Disclaimer

    Newsletter

    • Sign Up! for emails and updates

    Contact

    • Contact
    • Services
    • Media Kit
    • FAQ

    As an Amazon Associate I earn from qualifying purchases.

    Copyright © IfOnlyApril 2021