
This year I decided to join in a craze of painting pumpkins and try it for myself. It was quite a fun process and I could even involve my almost 3-year-old to do it with me. for a brief second. My friend, who came over also participated so we could make a little pumpkin painting party out of it. Overall, I don't regret painting pumpkins, but here's what I'd do differently.
- Use lighter colors
- Apply 2 coats
- Wait till my kids grow a bit older
 THE PROCESS

- First, you need to prepare pumpkins for painting and preservation. You wouldn't want them to rotten right after you paint them. Ann from "On Sutton Place" described a quick and easy method of how to preserve pumpkins. Basically, you soak it in the mix of water and bleach (she recommends using dish soap as well, but I skipped this step) for at least a 30 minutes (I had them soaked for an hour). Rinse and dry.

- When your pumpkins are ready for painting, set the space and make sure you put a lining on the table. Things are about to get messy. I used matte acrylic paint mixed with white chalk paint. I found that the chalk paint gives pumpkins a nice finish. Acrylic paint by itself is a bit too glossy and doesn't look as nice.
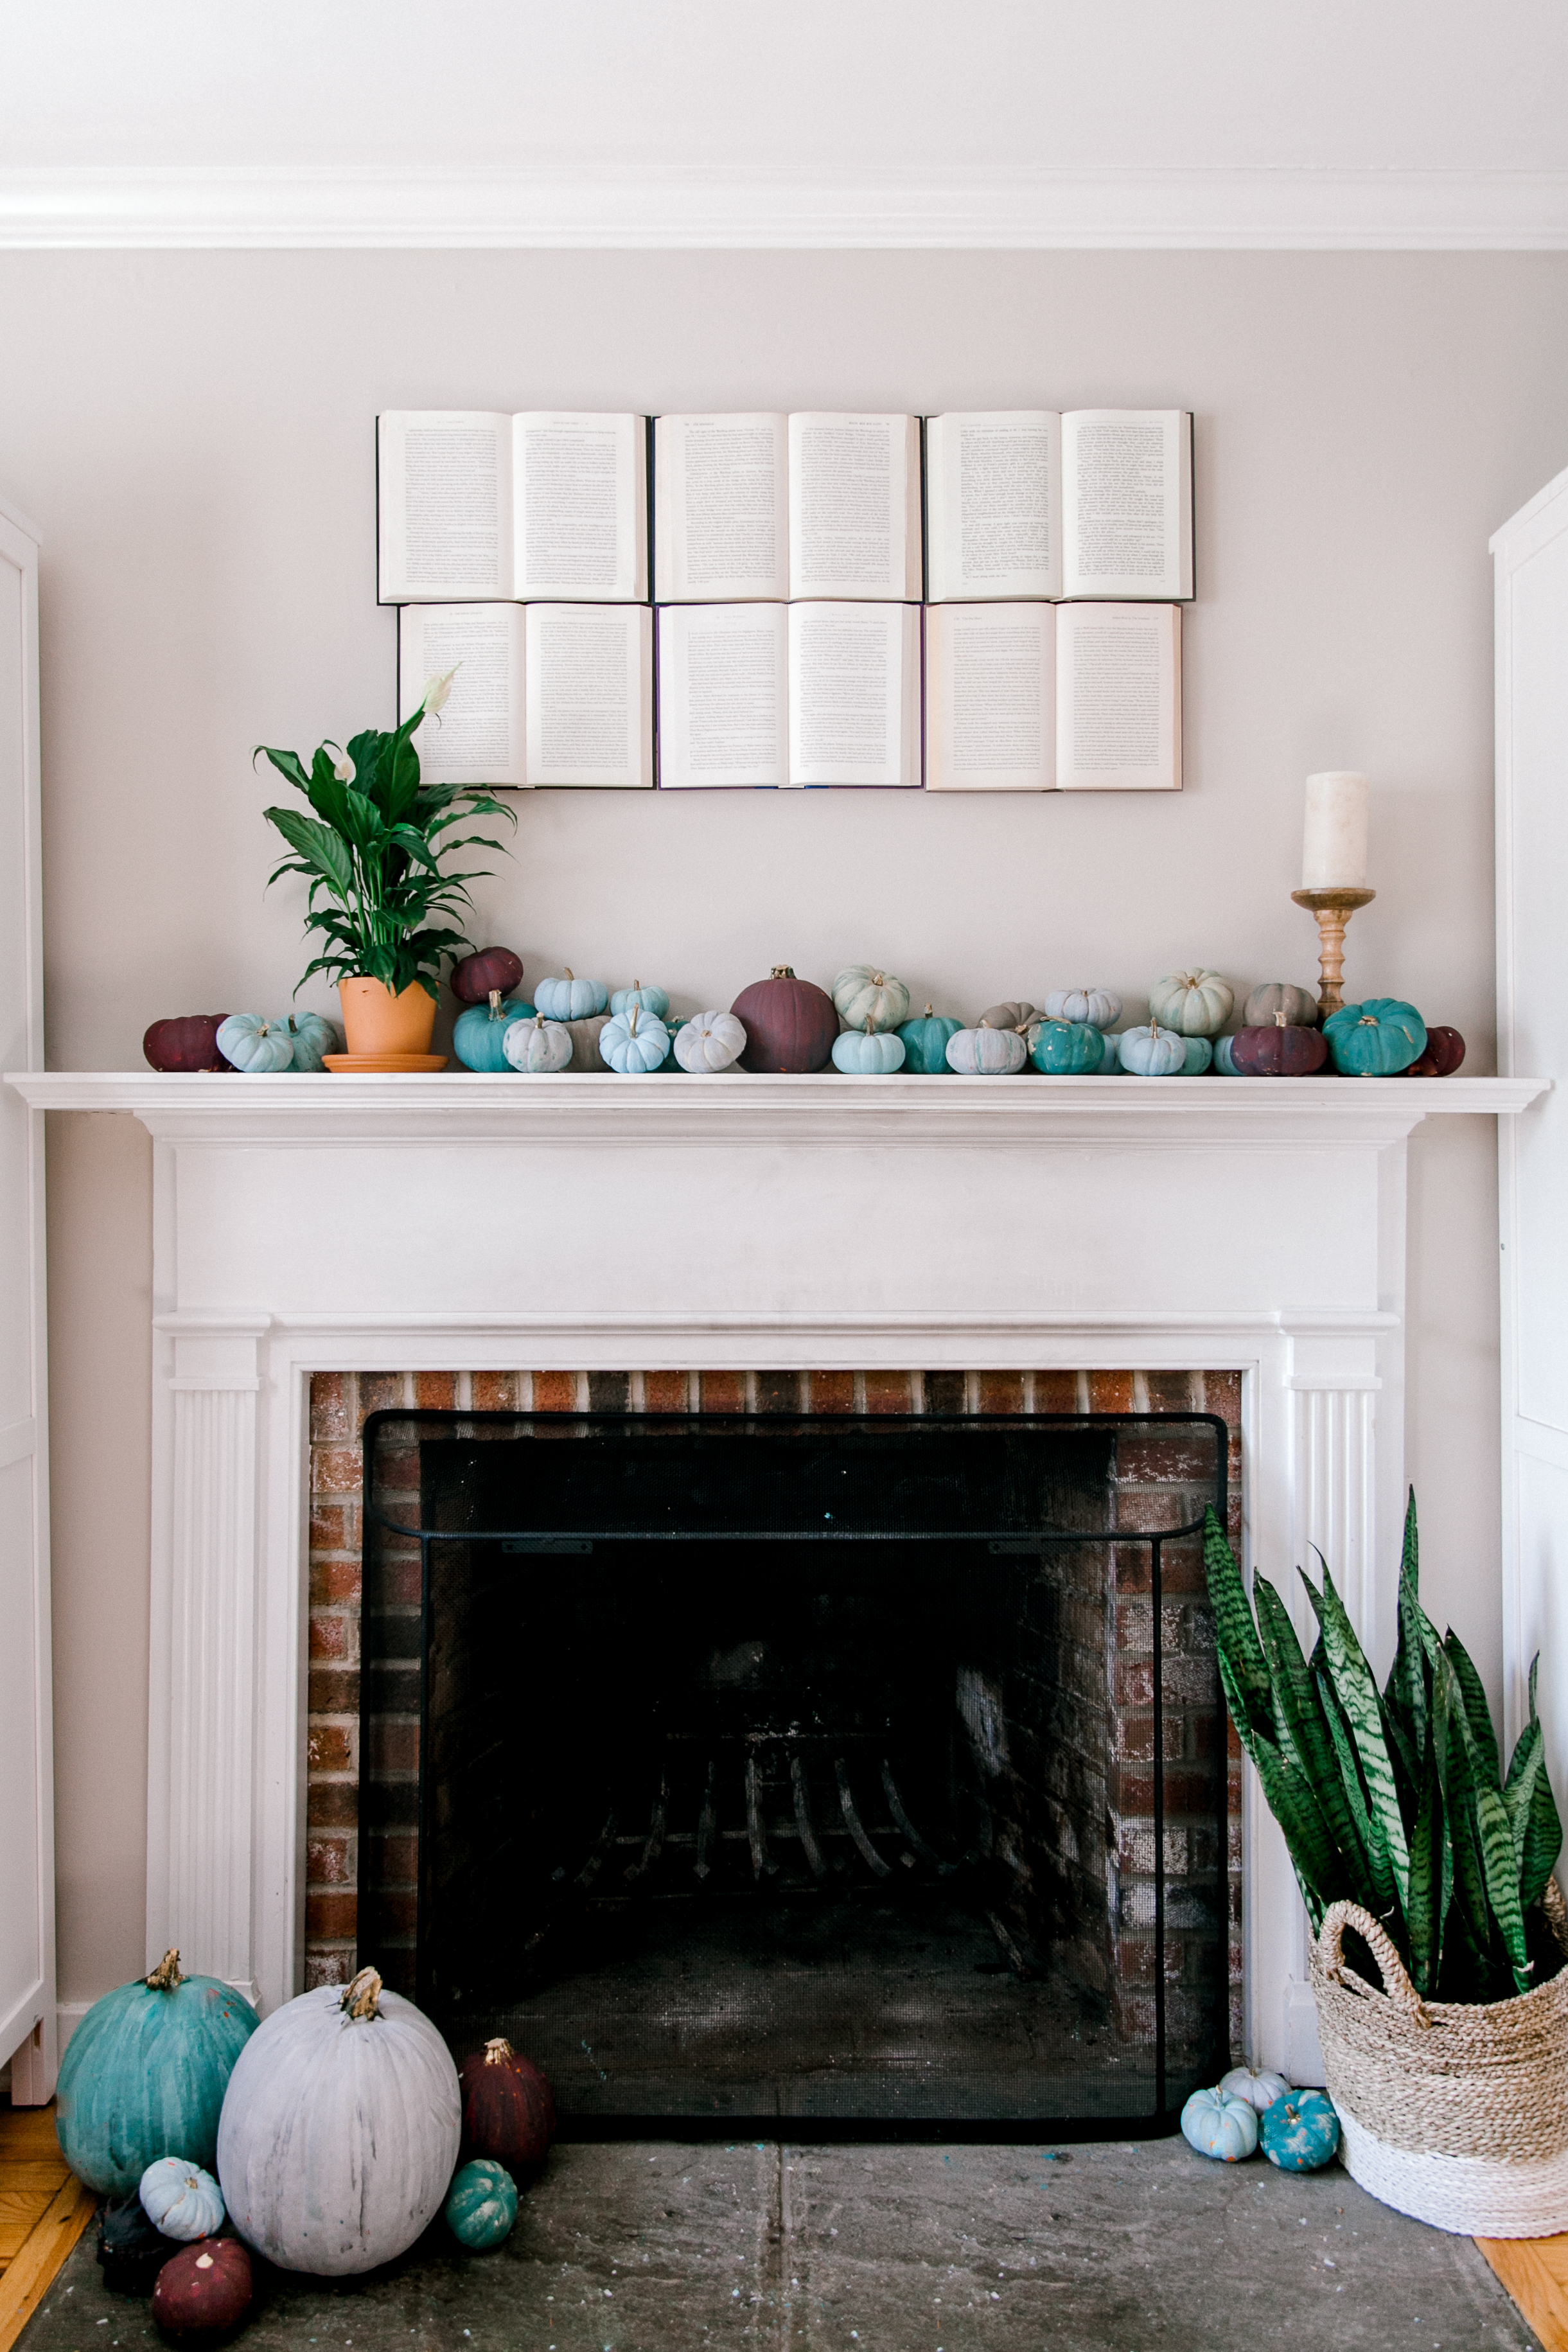
- Go lighter on colors! I chose light grey, linen, blue, teal and Bardo (that turned out to be purple to my huge disappointment). When I just painted them, it seemed nice, but got darker when it dried. When I put pumpkins together on my fireplace, they looked quite depressing, to say the least. I had to move them around quite a bit to look better and add flowers to brighten up space. If I get to paint pumpkins again next year, I'll choose very pale colors (just a drop of color in white chalk paint).
- Play with the shades of the paint and different painting technique to create a semi-real texture. I mean, purple pumpkins couldn't look real ;P I put some strokes with different colors and used a sponge to create uneven texture. Overall, I like how it turned out.
- I would also go for 2 coats. I had a lot of pumpkins and didn't have much time (I started painting on a kitchen counter space and had to finish before it was time to make dinner ;D) Plus, to be fair, in the kitchen light in the evening, they looked just fine. The problem occurred in the next morning when I saw them in daylight and realized that quite a few could use a second coat. But I was too lazy to redo it again.
- I painted all stems with liquid gold gilding. Only in the middle of the process, I realized that it looks nicer if you leave a bit of green in the stems untouched, instead of covering the whole thing in gold. HERE is a cheaper version of the liquid gold.
Aftermath. It took Sasha an hour to do this haha - The most important lesson I learned: If you have young kids who didn't outgrow a "throwing everything" stage or just love to re-arrange things roughly, forget about this idea! Or find a way to seal the paint so it doesn't come off when your kid decides to throw pumpkins off the mantel because he thinks it looks nicer on the floor. Or wants to hold a contest of which pumpkin will fly further. In our house painted pumpkins lasted untouched for 30 minutes. That was it, very short life for something you spent hours on 😀


 I'm quite pleased with the end result and maybe even attempt to paint pumpkins again next year. We will see!
*Will update how long they will last this year.
You can see how the mantel looked like with orange pumpkins and how I made this DIY BOOK WALL HERE.
YOU MIGHT ALSO LIKE:
DREAMY ART DISPLAY WITH HOT AIR BALLOONS
I'd love to connect! Follow me on Instagram @ifonlyapril and Pinterest for more ideas.
xoxo,
April


Leave a Reply