As soon as I saw Ana White's plans for this ultimate tool bench, I knew I need to make one for myself! For the last few years, my miter saw was standing on the floor and didn't have a home. And let me tell you, cutting wood while squatting isn't fun :p
This plan is so perfect and I love the fact that it has a space for most of the tools, for a miter saw, table saw, and could be customized to your needs and tools that you have!
I recently started renovating my garage. First, I built these garage shelves for only $40 in lumber. If you are more of a visual person, I made a video on how to make the garage shelves. You can watch it here.
To build the ultimate tool bench took me longer than it should've since I ran into a few problems. More about it later.
PIN IT TO FIND LATER >>>>>>>>
While the plan is almost flawless, I ran into a few issues and will address them in a bit.
Cost: $320 + casters
Time: 24 hours
Level: intermediate
Notes on how to make an ultimate tool bench:
While I'm not going to write step by step guide since you can see it in Ana's plan, I'd like to share with you my notes.
I wanted to tell you about my journey while building it and what I changed.
Do you prefer a video format?
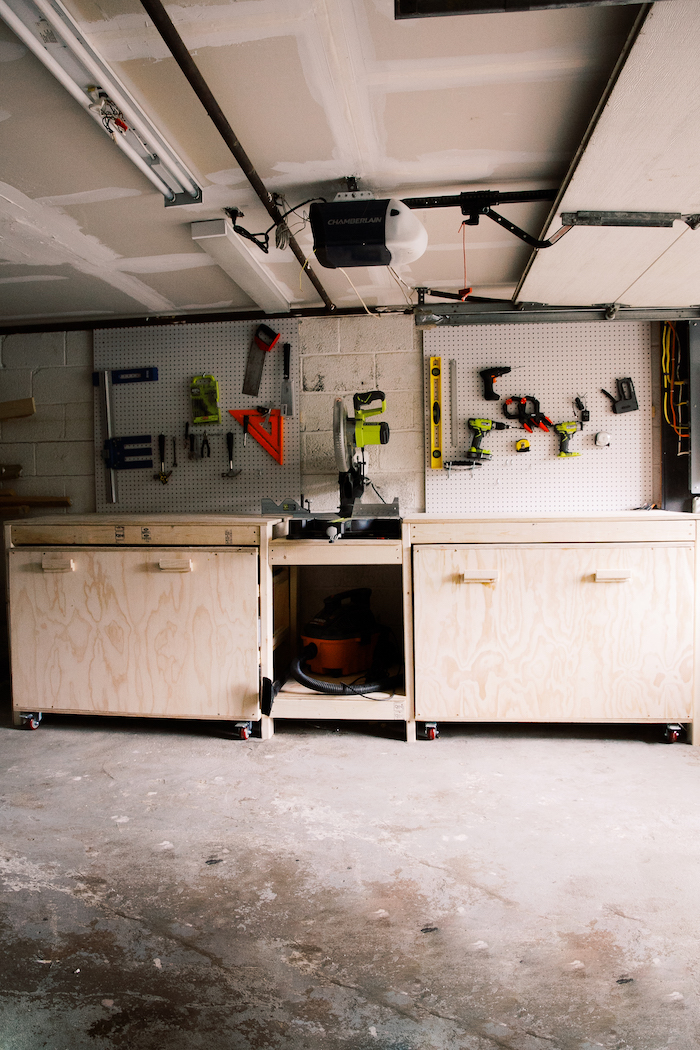
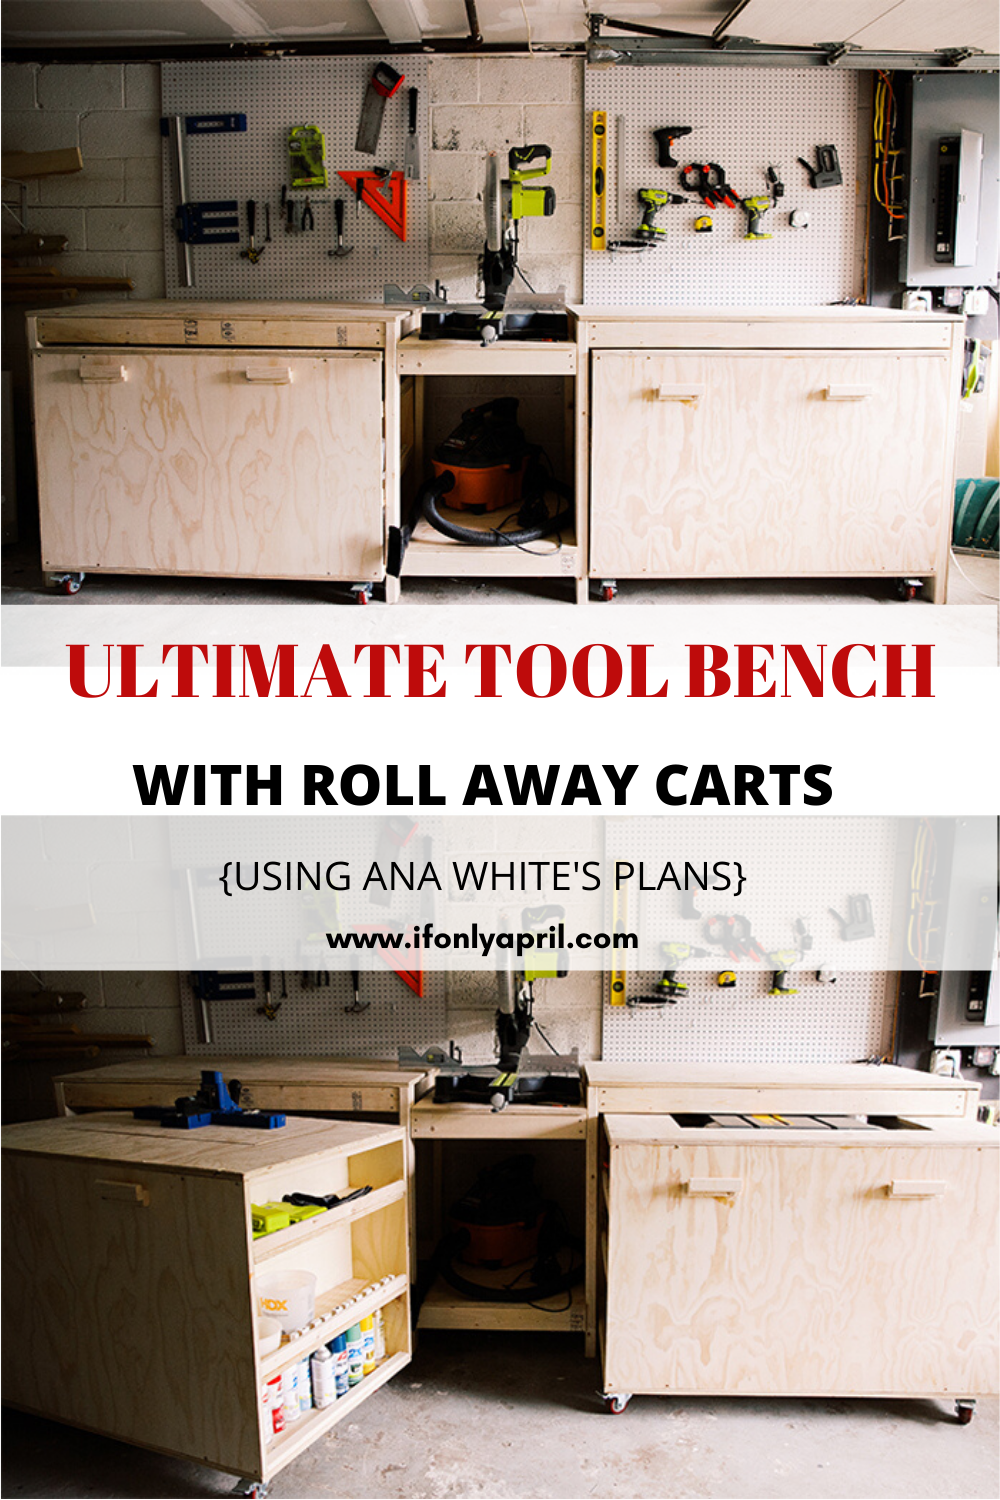
1. Building a stand didn't take much time and it was quite an easy process. I followed the instructions and built 2 boxes, then attached legs to them. When both stands were ready, I connected them together with the shelves for the miter saw and a shelf for a shop vac on the bottom.
2. After that, I moved on to make roll-out carts for space underneath.
The plan called for staples but I only had brad nails and had to work around it.
I misread the plan and set up the bottom and top planks on the sides in the wrong position. It still works for me but would've been nicer to have it right.
Let me show you what I mean. Instead of settling planks on the edge, I put them on the side.
3. This is when I've got a bit sloppy and brad nailed my finger.
Yep, you read it correctly. It's my first (and hopefully last) woodworking incident. It is not fun at all. I was recording a video on how to make carts for the ultimate tool bench and it happened that I have footage of me brad nailing my finger. Yayks! If you want to see what NOT to do, you can watch the video HERE!
4. To cut out space on the top (for a Kreg jig and table saw) I used a circular saw and finished it off with a Japanese saw. Can I tell you how exciting this Japanese saw is? It's soo cool! Might be my favorite tool ever. It's so precise and sharp! This is exactly what I needed when building a playground for my kids. I used a circular saw and didn't know that I can use a hand saw to finish the cut so neat, so it has marks on it. Well, you live, you learn!
5. You need to make the cleats for the shelf and attach it with glue and small staples.
6. When making a shelf for the table saw, make sure to measure it correctly and try the table saw on before nailing it completely. I was off by ¼ of an inch (if this happens, your cart won't slide under the table) and had to rip off the cleats for the shelf to adjust it. It's doable but I'd rather skip this step.
7. Don't forget to glue the tabletop when attaching it to the carts.
8. Also, when I was calculating plywood sheets I don't think the shelves were taken into account. I had to add plywood from my stash.
9. I didn't have any handles from the store and just made mine from scraps.
I added a pegboard to the cinderblock and it wasn't as easy as I thought it would be. I wrote about it here if you need to make a similar one and don't know how to.
Overall, I think it's a relatively easy project, but it took me some blood and sweat to complete for some reason. Perhaps, because it's summer, my husband is working from home and overall life is quite uncertain.
I'm so happy that I finished it!! And I'm thrilled that my tools now have a home! Like literally, now each tool has a space on the bench and in the pegboard that I attached to the wall.
I organized everything by categories but I think I might reorganize it in the future, after I work with the tool bench for a while, to put things to more accessible compartments.
My favorite part about the bench is the Kreg jig placement, where you can move it, and when not in use it could be an outfeed space for a table saw.
And here is another part of my garage that has my old bench with a scroll saw on it. Take a second to appreciate the art haha
STAY FOR A WHILE, YOU MIGHT ALSO LIKE
HOW TO BUILD A PLAYGROUND WITH FREE PLANS
Let's be friends on social!
Instagram and my new YouTube where I post all my DIY journey! I really hope to see you soon!
xoxo,
April








Leave a Reply