

My kids have a lot of balls to play with. I recently put up a basketball hoop on our DIY backyard playground, and let me tell you, the balls were everywhere. I desperately needed a solution to tackle them. You probably have seen these DIY Ball Storage solutions all over Pinterest and find it very counter-intuitive. I feel a bit silly to write about this, but here is a mini-tutorial on how to put one together.
It's an easy build.
Time: 30 mins
Cost: $5
Level: Beginner
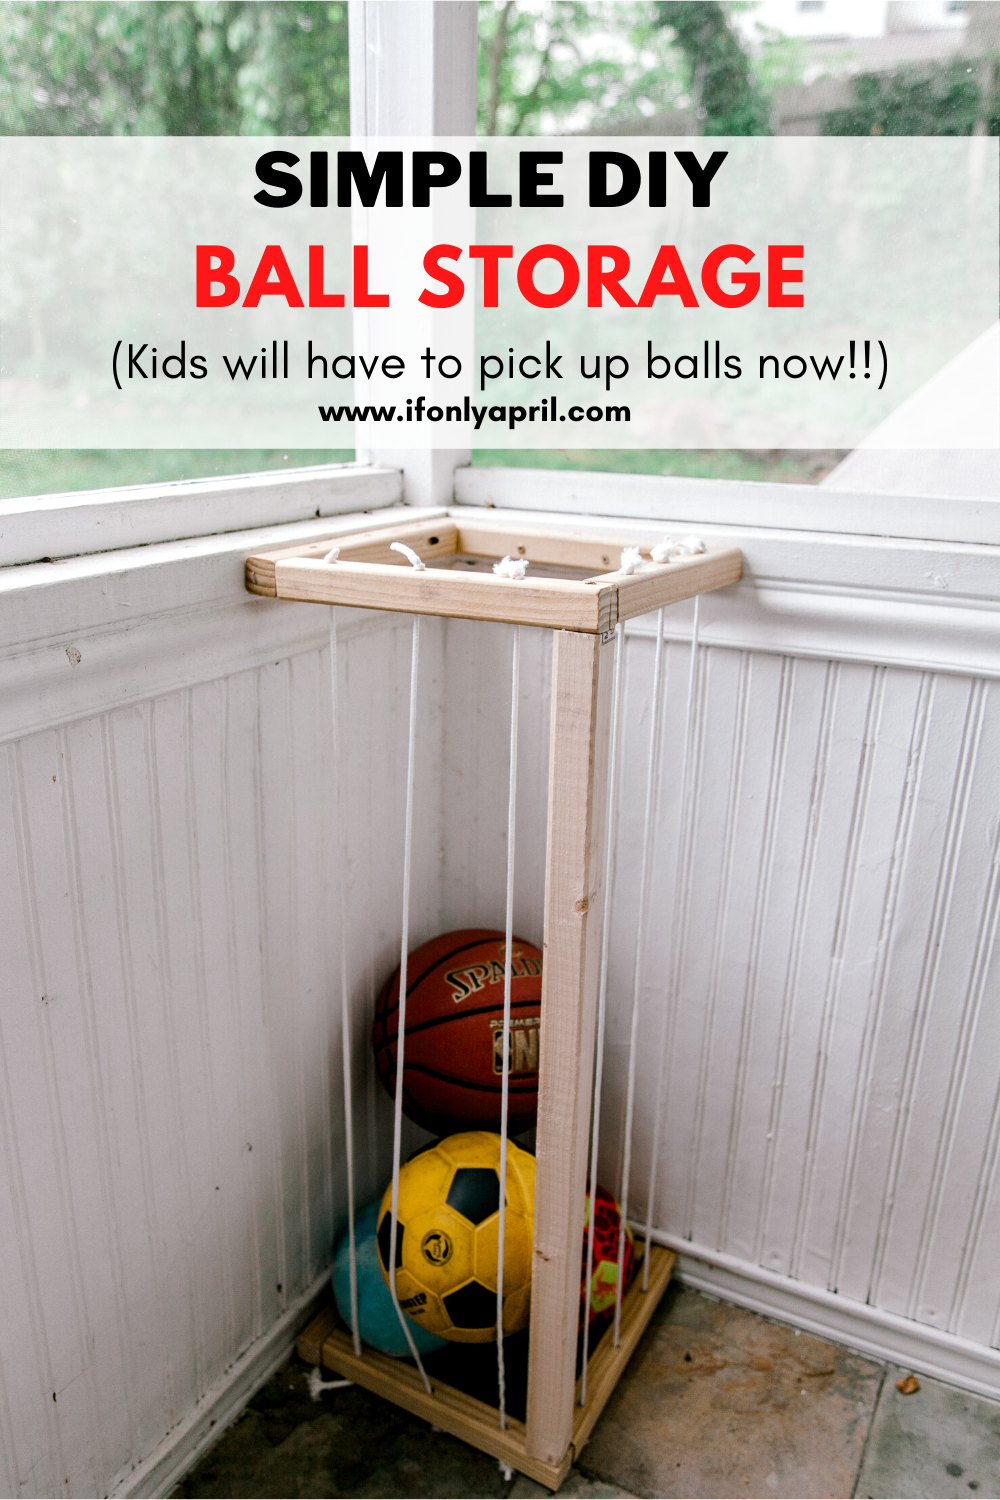
PIN FOR LATER>>>>>>>
Material that you'll need:
- Rope (I had it at home) (or bungee cords)
- 2x2x8 wooden plank
Tools:
Instructions:
1. Measure the biggest ball you have and Cut the wood accordingly.
2. Make two squares. Attach them with 2" pocket hole screws. I don't know why I started to attach it from the inside. That's clearly not the right approach. It would be better to do it from the bottom of the square. 
3. Connect squires with one post ( if you are going to put it in the corner), or add 4 posts to make it free-standing.
4. Drill holes through both squares.
5. Get rope through it or use bungee cords instead. I think bungee cords are probably a better solution, but since I had already the rope, I decided to go with it. It works fine, you just need to attach it very tight.
That's it! Super easy, right?
I have to confess, that for some reason I had so much trouble with it from the beginning but it turned out great and super functional! We have it outside in the season room and now I don't have to look at the balls laying around all backyards.
Sasha is so much more determined to pick them up at the end of the day, that this project is definitely a winner in my book.
This DIY Ball Storage is perfect for catching balls and ensuring that they are in one place and aren't spread all over the backyard.
I hope you are enjoying your summer wherever you are!
Comment below what's your favorite way to organize your backyard with kids!
YOU MIGHT ALSO LIKE:
To learn how to paint a mural on the climbing wall.

How to make a growth chart for your kids for as little as $5
Or how to make a baby gym with toys.

xoxo,
April


Leave a Reply