
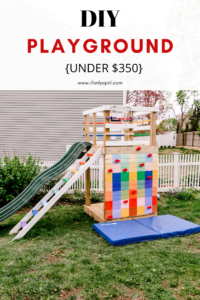
A few weeks ago I posted about how to build a playground from scratch for under $350. If you didn't read it yet, make sure to go there first and see the whole process from start to finish. And today I'll show you how to paint a mural wall outside (on a climbing wall in our case).
You can also see a video of how I made it HERE.
When the playhouse was ready, I couldn't wait to "spice it up" as I say haha
After all, the whole point of this playhouse is to be so cool that my kids (1.5 and 3.5yo) can play there all day long!
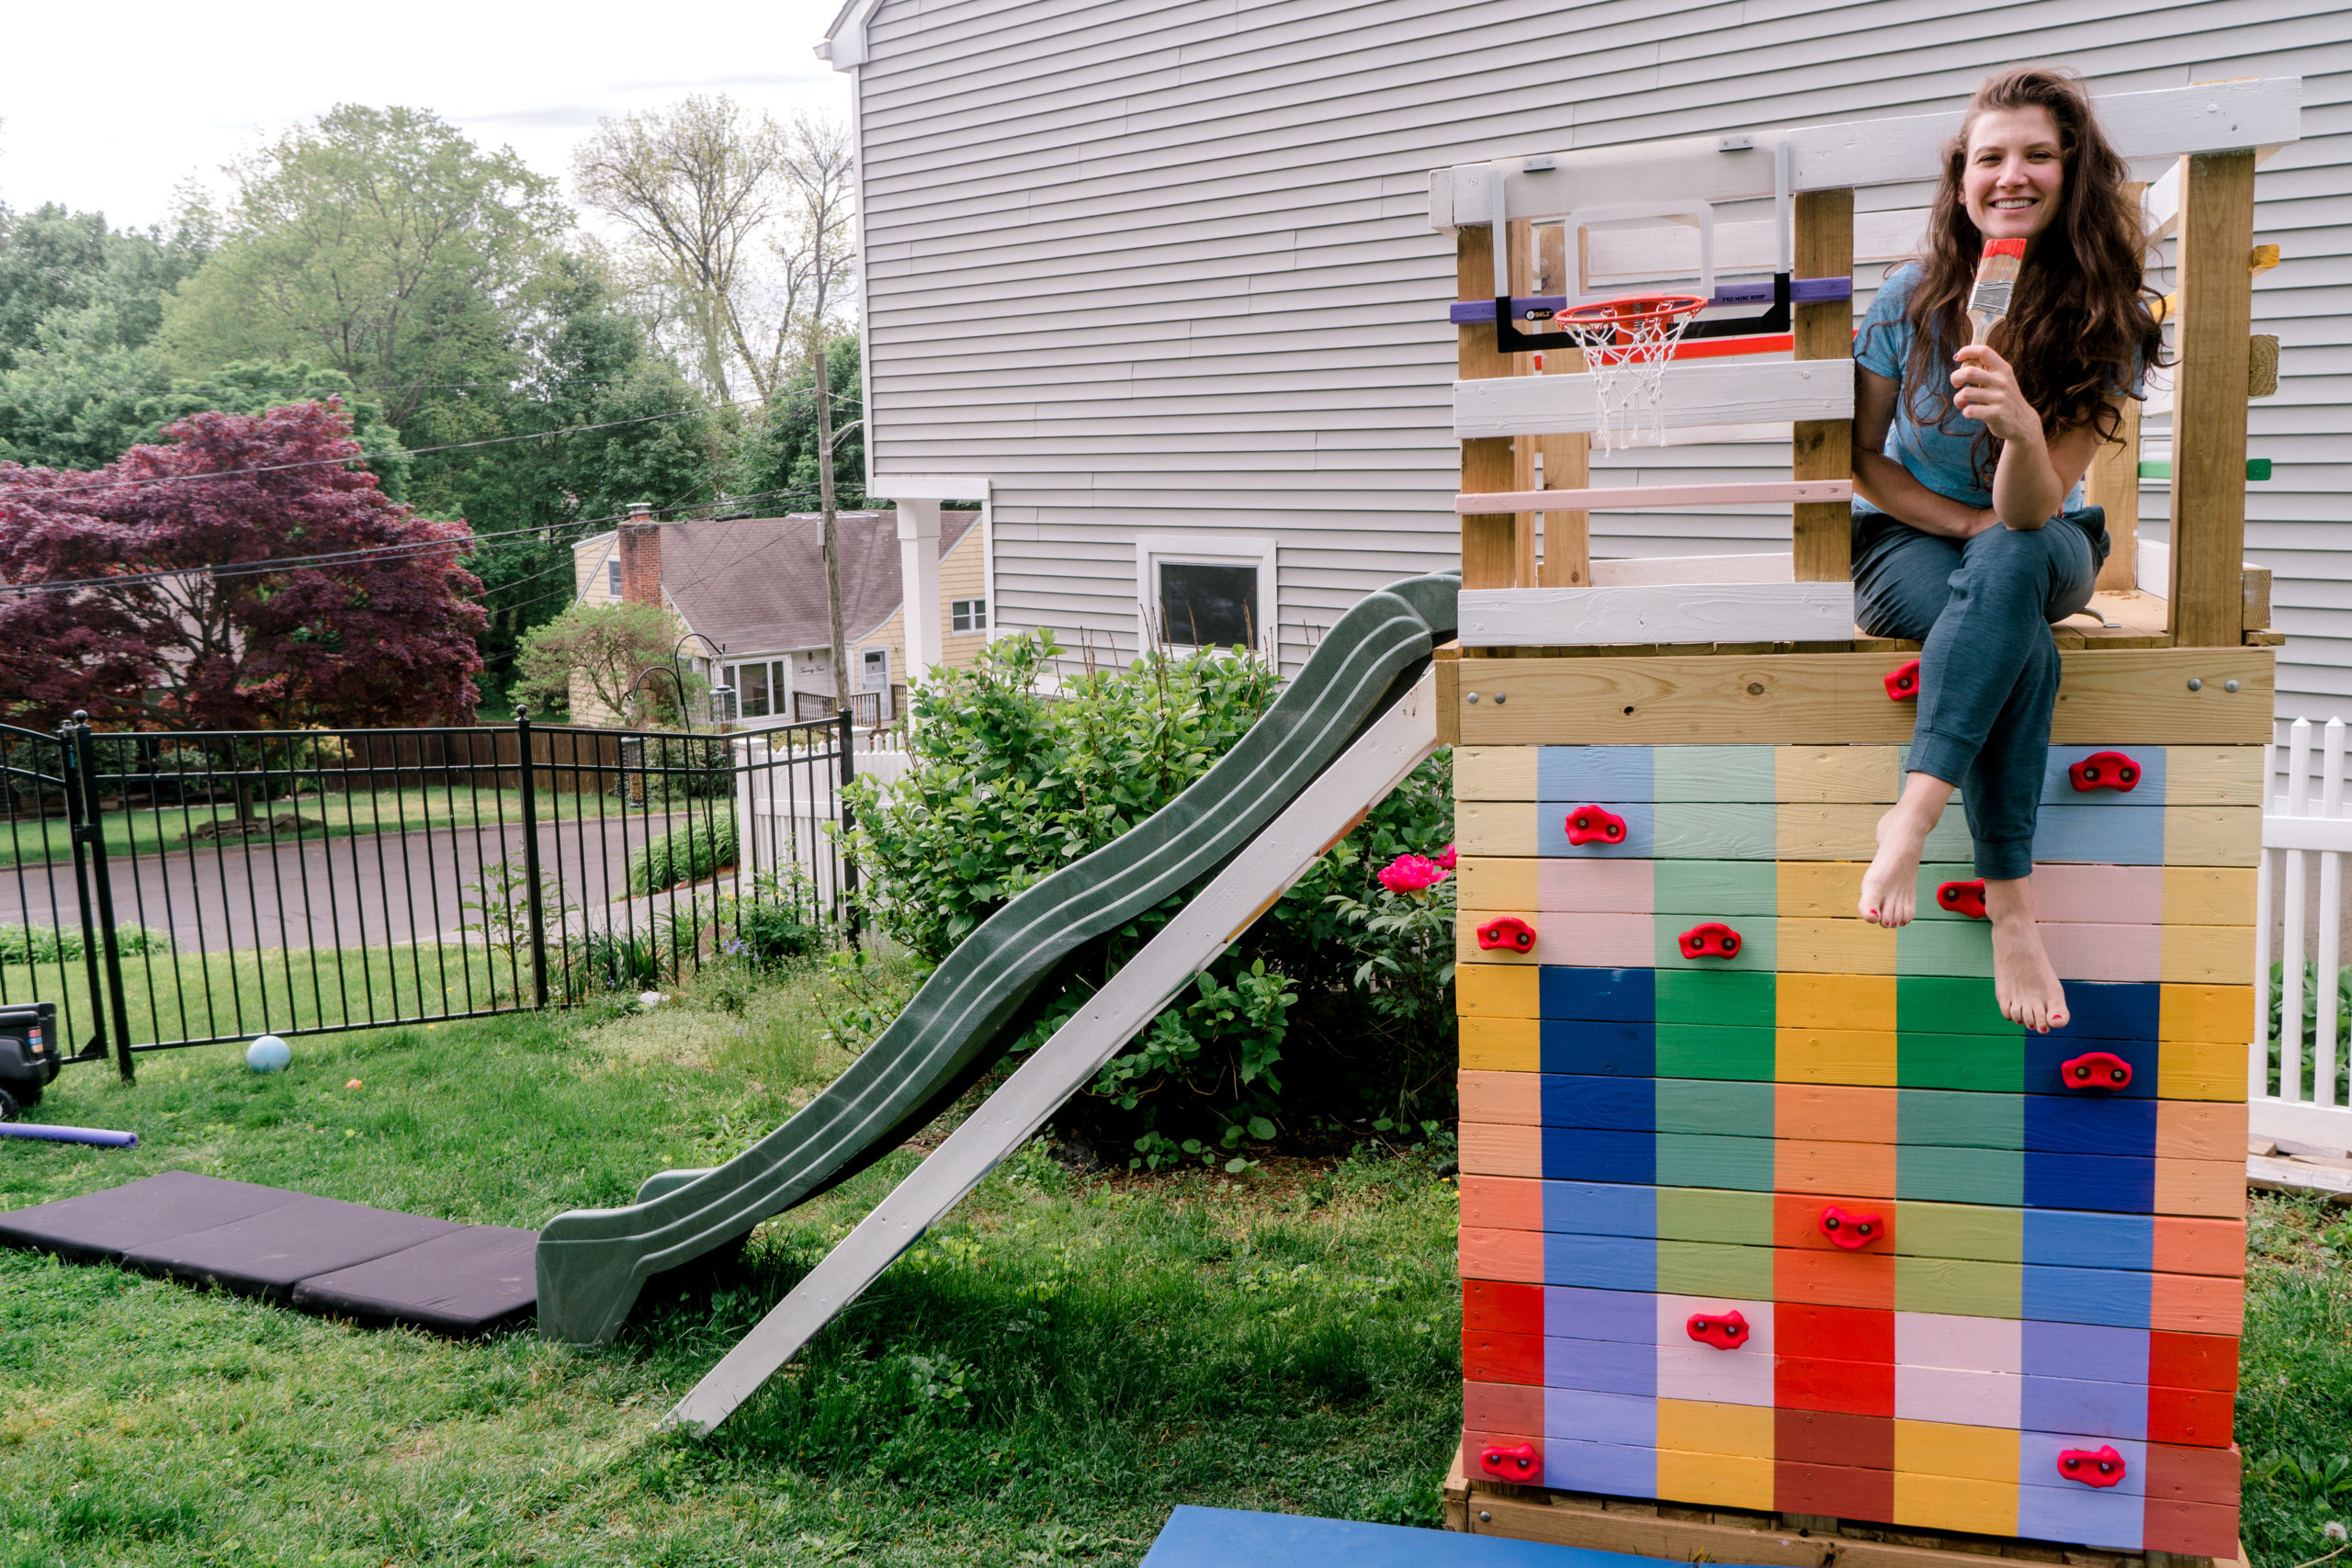
The playground beside the slide features a few cool add-ons, which are a basketball hoop, climbing wall, busy board, board for balls throwing, chalkboard.
But first, let's get our attention to this gorgeous mural on the climbing wall.
COST: $18 (6 color samples + I had white exterior paint so I didn't have to buy it)
TIME: 3 hours
LEVEL: beginner
Disclaimer: Please note, that some of the links below are affiliate links and I will ease a commission if you purchase through those links (at no additional cost to you). Thanks for your support this way.
Materials:
- BEHR Exterior paint sample
Yellow - Blazing Bonfire
Green - Park Picnic
Pink - Prarie Rose
Blue - Dark Cobalt Blue
Red - Top Tomato
Purple - Just a Fairytail
- Paintbrush
- Frog tape
- Mixing bowl ( I use empty containers from Greek yogurts for it)
How to paint a mural wall outside
The most obvious choice to make the playground stand out was to paint it. Besides painting a ladder and rails, I wanted to come up with a cool mural for the climbing wall to look fabulous! After searching Pinterest for inspiration I found a lot of colorful designs, but they didn't speak to me. And then I found this photo:

After doing my research I discovered it belonged to super talented Racheal Jackson (her Instagram is @banyanbridges). I stocked her Instagram and decided to come up with my own design, inspired by her beautiful, outstanding murals!
That's how this wall was born.

It's also inspired by Grimm's blocks pattern. I didn't have a sketch. I just knew that I wanted colors to tell a story by "flowing from one another and shades smoothly transforming". I didn't know how it will turn out and simply went with the flow.

Well, I wasn't disappointed in the end.
Things you need to consider:
- First, I calculated equal squares and drew the outline.
Each square is 7 inches. I went from the size of the boards (2x4s are actually 1.5x3.5, which if you add 2 of them creates a 7in Square).
I traced with a pencil and outline for them and tried to draw on paper where I'll want to lines to be.
2. When the rows were divided, I chose the middle vertical row and 2 from the sides. I placed the frog tape there and it was prepped to be painted.
I started with the lighter color and mixed them up. All the colors you see are derivative of 6 colors and white.
If the color repeats on another side, I'd do it at the same time to keep the consistency of the shade.
3. I used the angled brush to paint the squares. I had only one brush and had to wash it, which is not ideal, so I'd recommend having a few for different colors. I didn't tape between the horizontal rows and just went with a brush trying to be careful. It worked most of the time, but one or two spots were smudged, but it's all fixable if you notice it fast and wipe off.

4. I eyeballed all the colors and can only give approximate formulas.
3rd ROW (from the top):
- White+a bit of green
- Same mixture + more green
- The original green that I had
- Green + blue + white mix
- Green + yellow
- Original pink that I had
- Original yellow.
1st, 4th, 7th ROWS
- White + dash of yellow
- The same mixture from above + more yellow
- Yellow
- White + red+ dash of yellow
- Add more red to the previous mix
- Red
- Red +blue (this color was a bit of surprise and I just went with it 😁)
2nd, 6th ROWS
- White+blue
- Pink
- Blue
- Purple
- Blue +white
- Purple + white
- Add more white to the previous mix.
When you are done with the middle row and 2 others, you can take off the tape. I find it easier to do a better job if you take off the tape while it is still a bit wet.
You need to wait for the paint to dry. I was a bit impatient and tried to tape while it was still wet - big mistake, wait for it to dry before taping over. When it dries, which should happen relatively quickly since you are painting outdoors, you need to tape off the remaining vertical rows. Start painting again with a lighter color, making your way to the dark ones.

I painted stairs and rails in rainbow colors.
This is how we paint a mural wall outside.

Climbing wall
There are a lot of climbing rock options on Amazon. I found them a bit pricey. I tried to find used ones but was out of luck. So I got this set from Amazon, which seems price appropriate for what it is.
Some people left a review that you need to change hardware, but since our climbing wall it 1.5in thick, it fits perfectly.
My husband installed it with a customized route. He used to climb before and knows how to make the route challenging but exciting.
What can I say? It's been such a fun addition so far! Sasha loves it! And my husband is so happy they can bond over the climbing experience.
At first, looking at the structure we were a bit taken back but how tall it is and I was worried about that opening on the top - that one of them can by accident fall over.
After some consideration, we decided to get a crash pad and chose this one. And let me tell you! It's just perfect! It's thick and wide enough to smooth the fall if in the very bad case it happens.
We are thinking to get another one to be 100% sure about the safety of the operation.
There are also options to put squares of the ground under, but it's for a more permanent solution and we don't want to mess up grass in our rental. If it was our permanent place of living, I'd probably installed the proper flooring for this playground. I must admit, it's a bit painful to take the crash pad inside when it rains.
I hope you liked my tutorial on how to paint a mural outside.
If you have any questions, don't hesitate to ask.
PIN FOR LATER >>>>>>>>>

If you like this type of content, please make sure to visit my Instagram and my YouTube channel where I post DIY videos.
xoxo,
April


Leave a Reply