
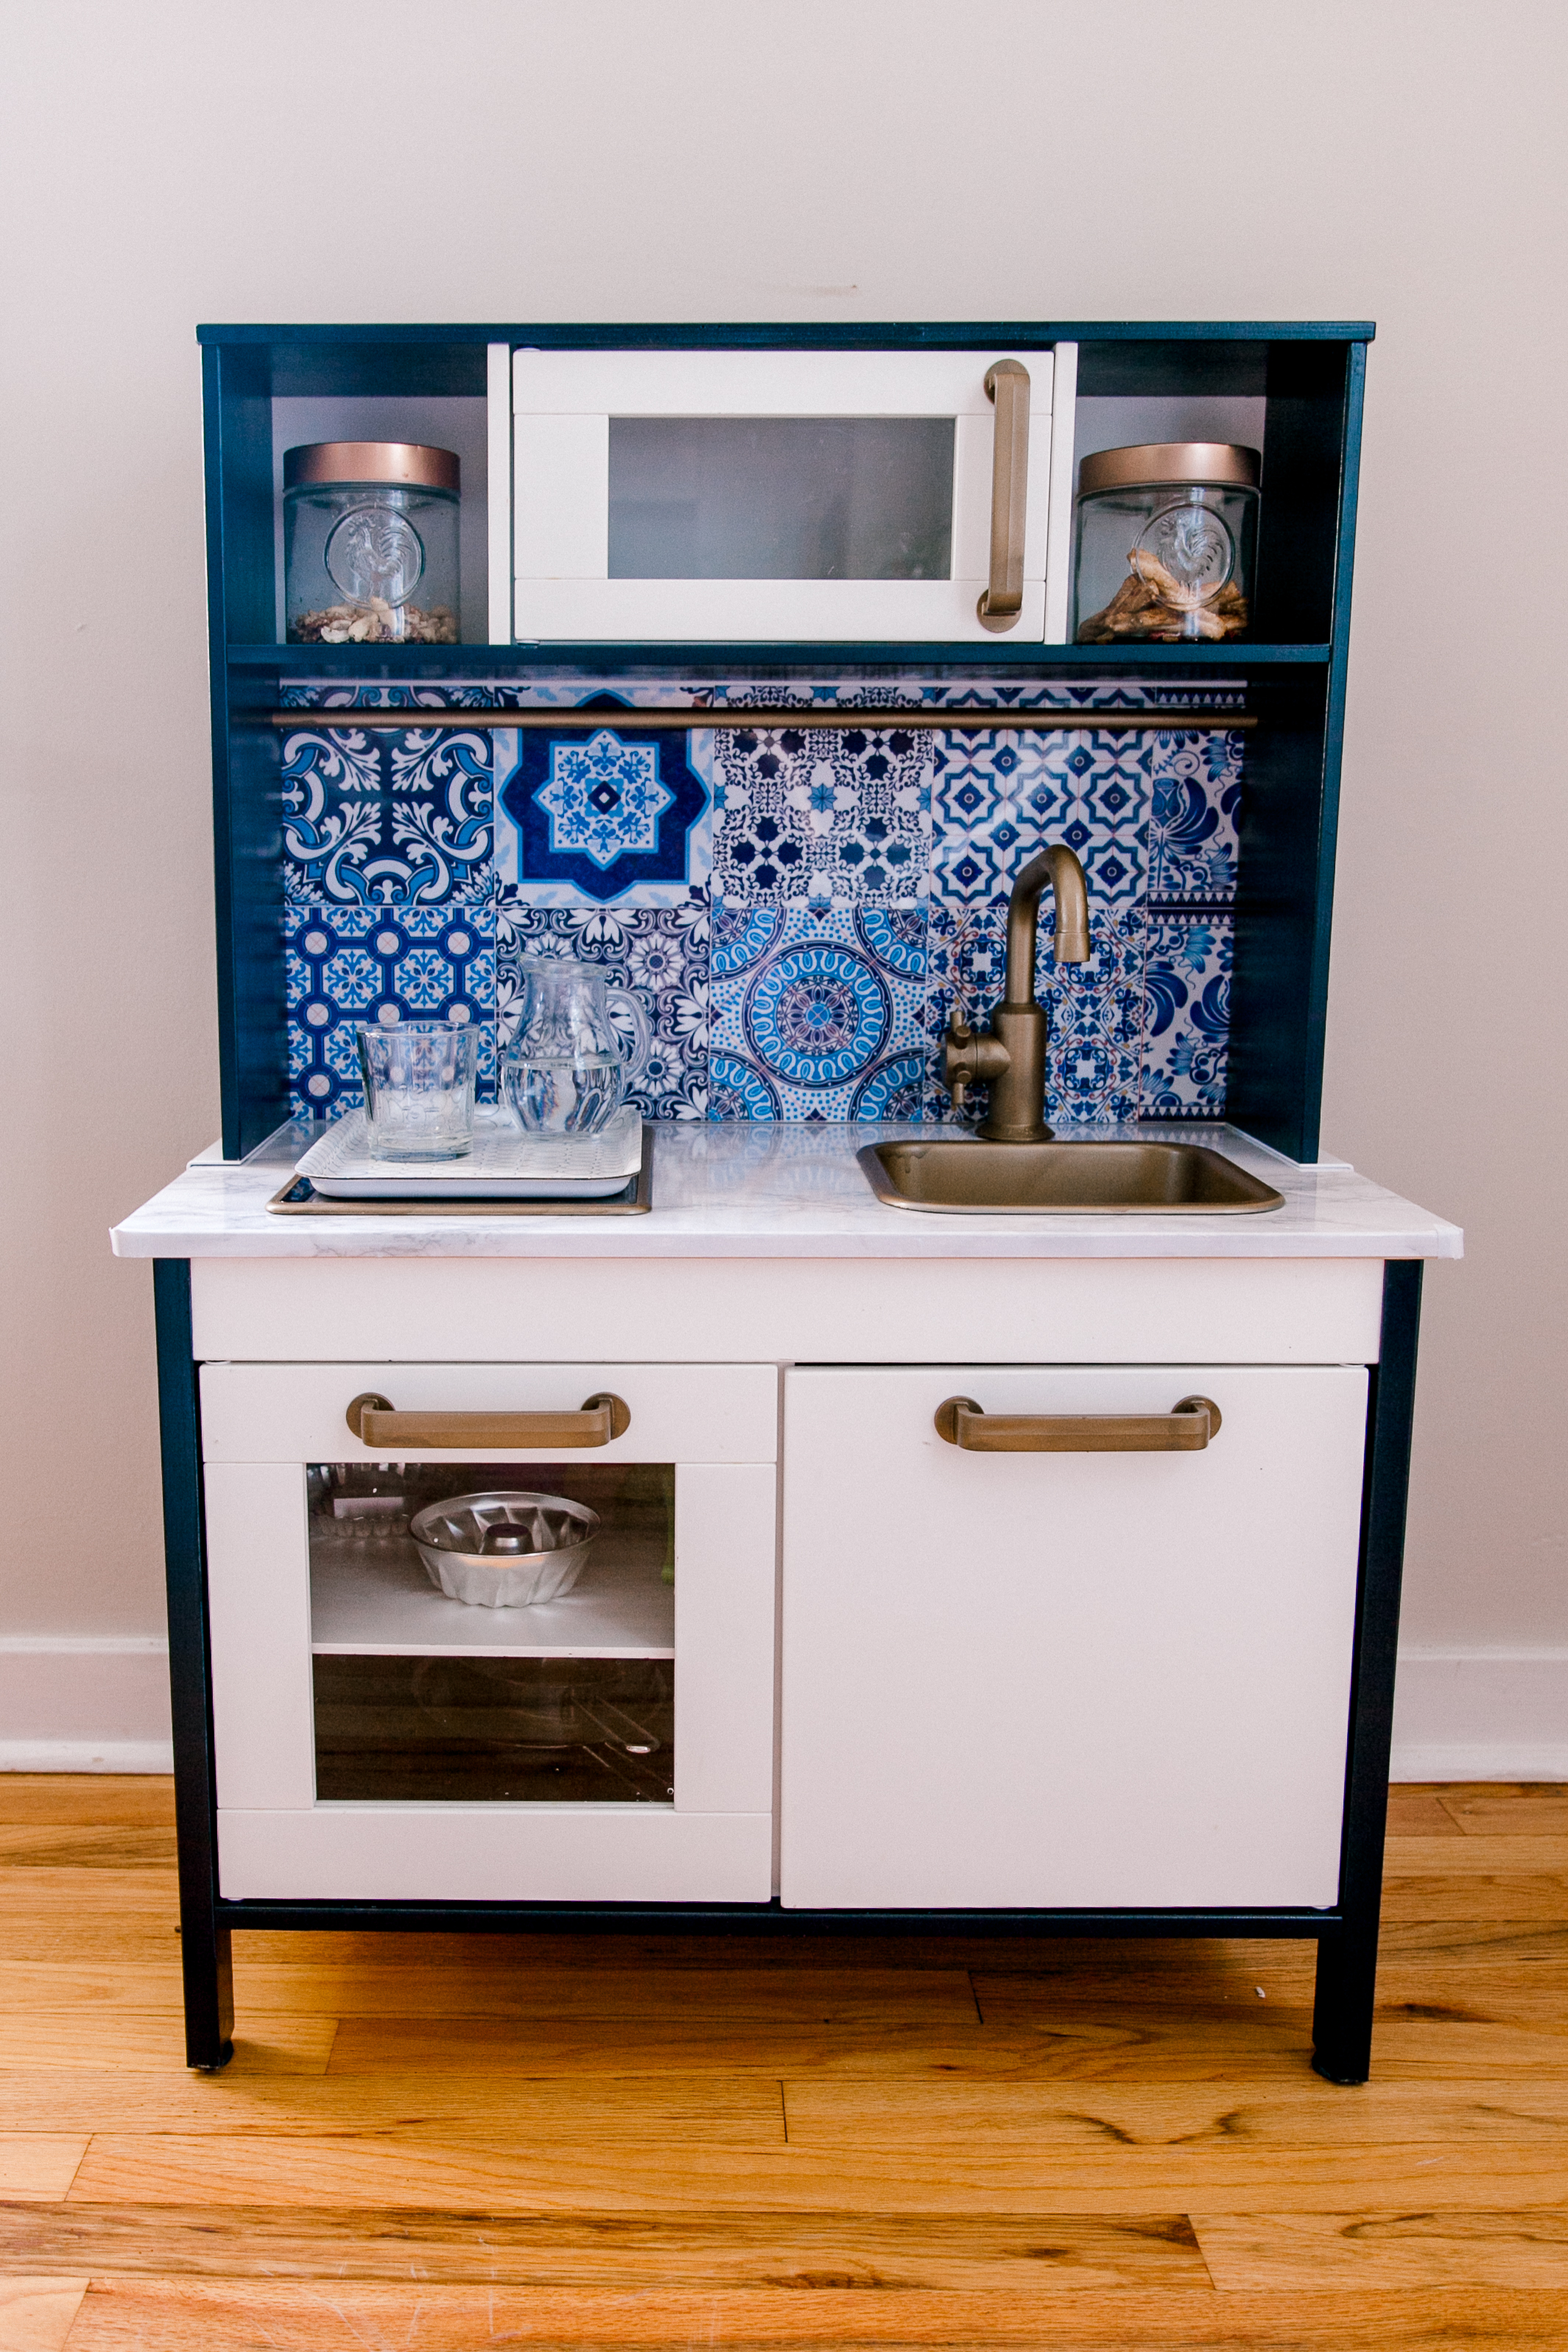
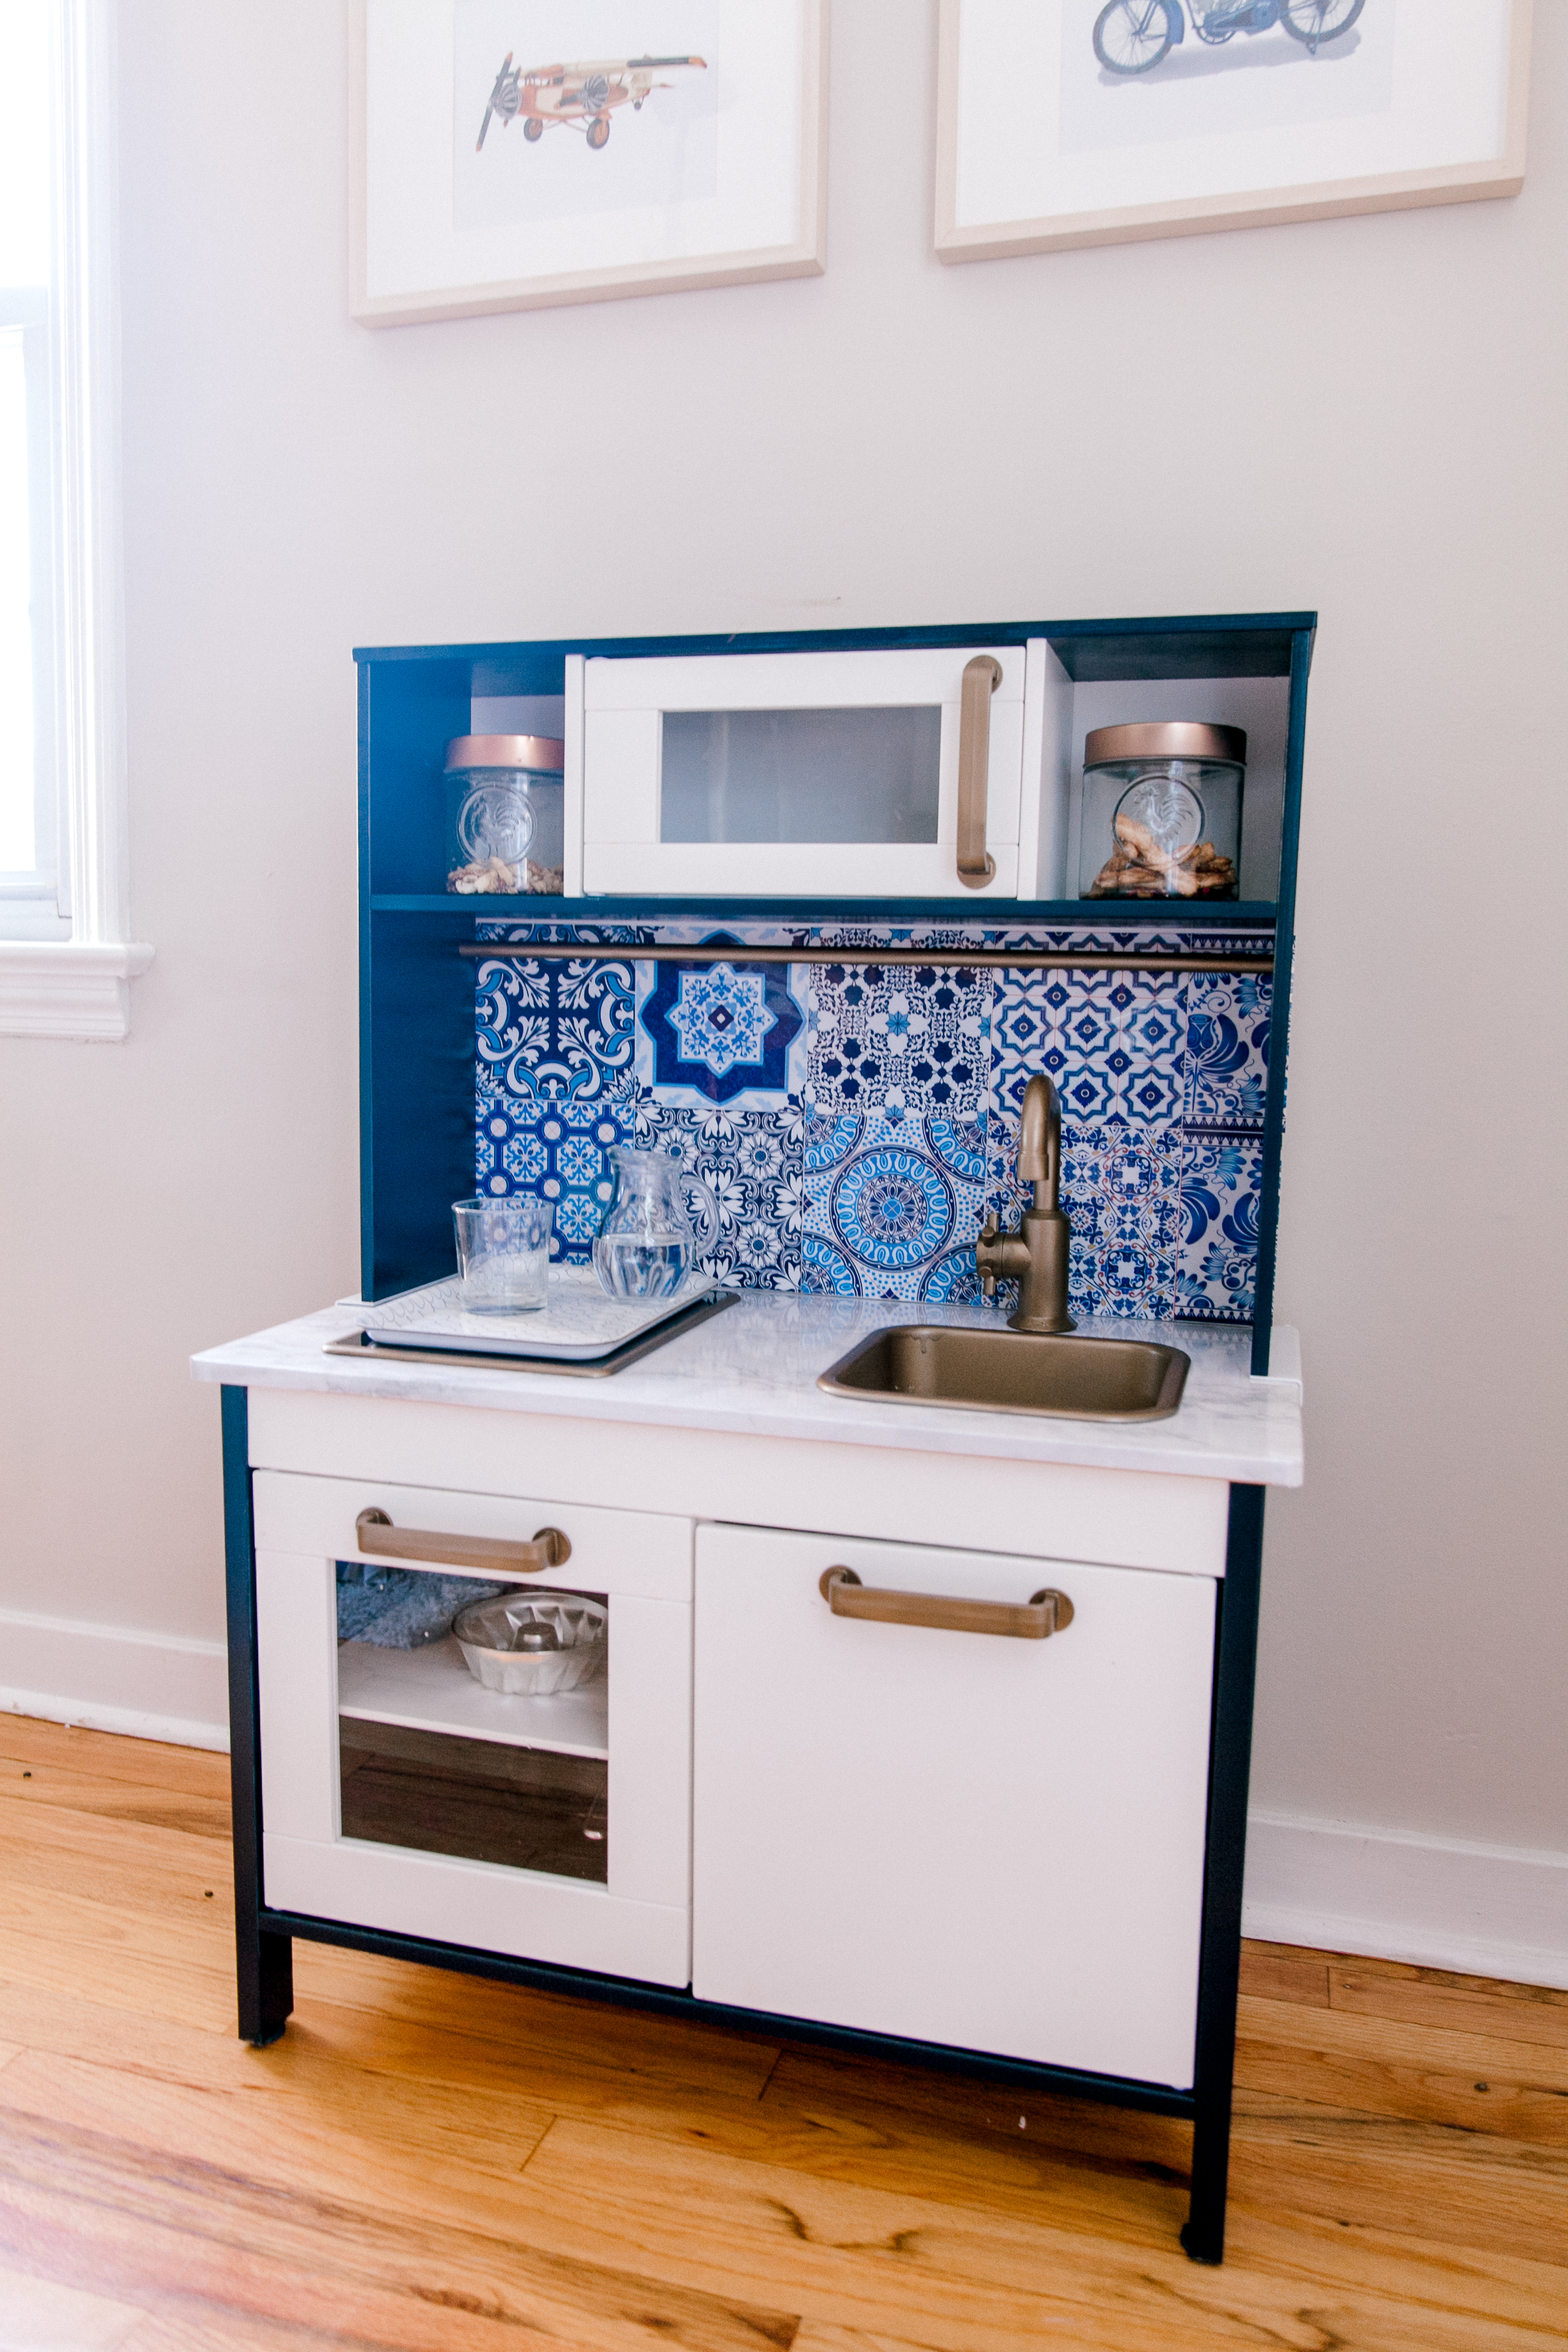
 Ikea Duktig's play kitchen is so versatile and functional. I wanted to get one for a long time and it finally happened. Of course, the plain regular Ikea set up didn't do it for me and I wanted to upgrade it a little bit. I wanted to do a pop of color but not too crazy. I love the look of white airy play kitchens with subway tiles on the back, but I feel I've been seeing so many of them on Pinterest that I wanted to make something different. This style is inspired by Moroccan nights and contains elements of Moroccan style. Let me introduce you to this Ikea play kitchen hack.
I bought this play kitchen on the Facebook marketplace for $30. It was in great condition and since I knew I'll be painting it over I didn't want to buy a new one. I highly recommend checking your FB Marketplace. I see a lot of that half price in a good condition that parents sell since their kids have overgrown it.

So let's get to materials you'll need to upgrade your kitchen.
MATERIALS:
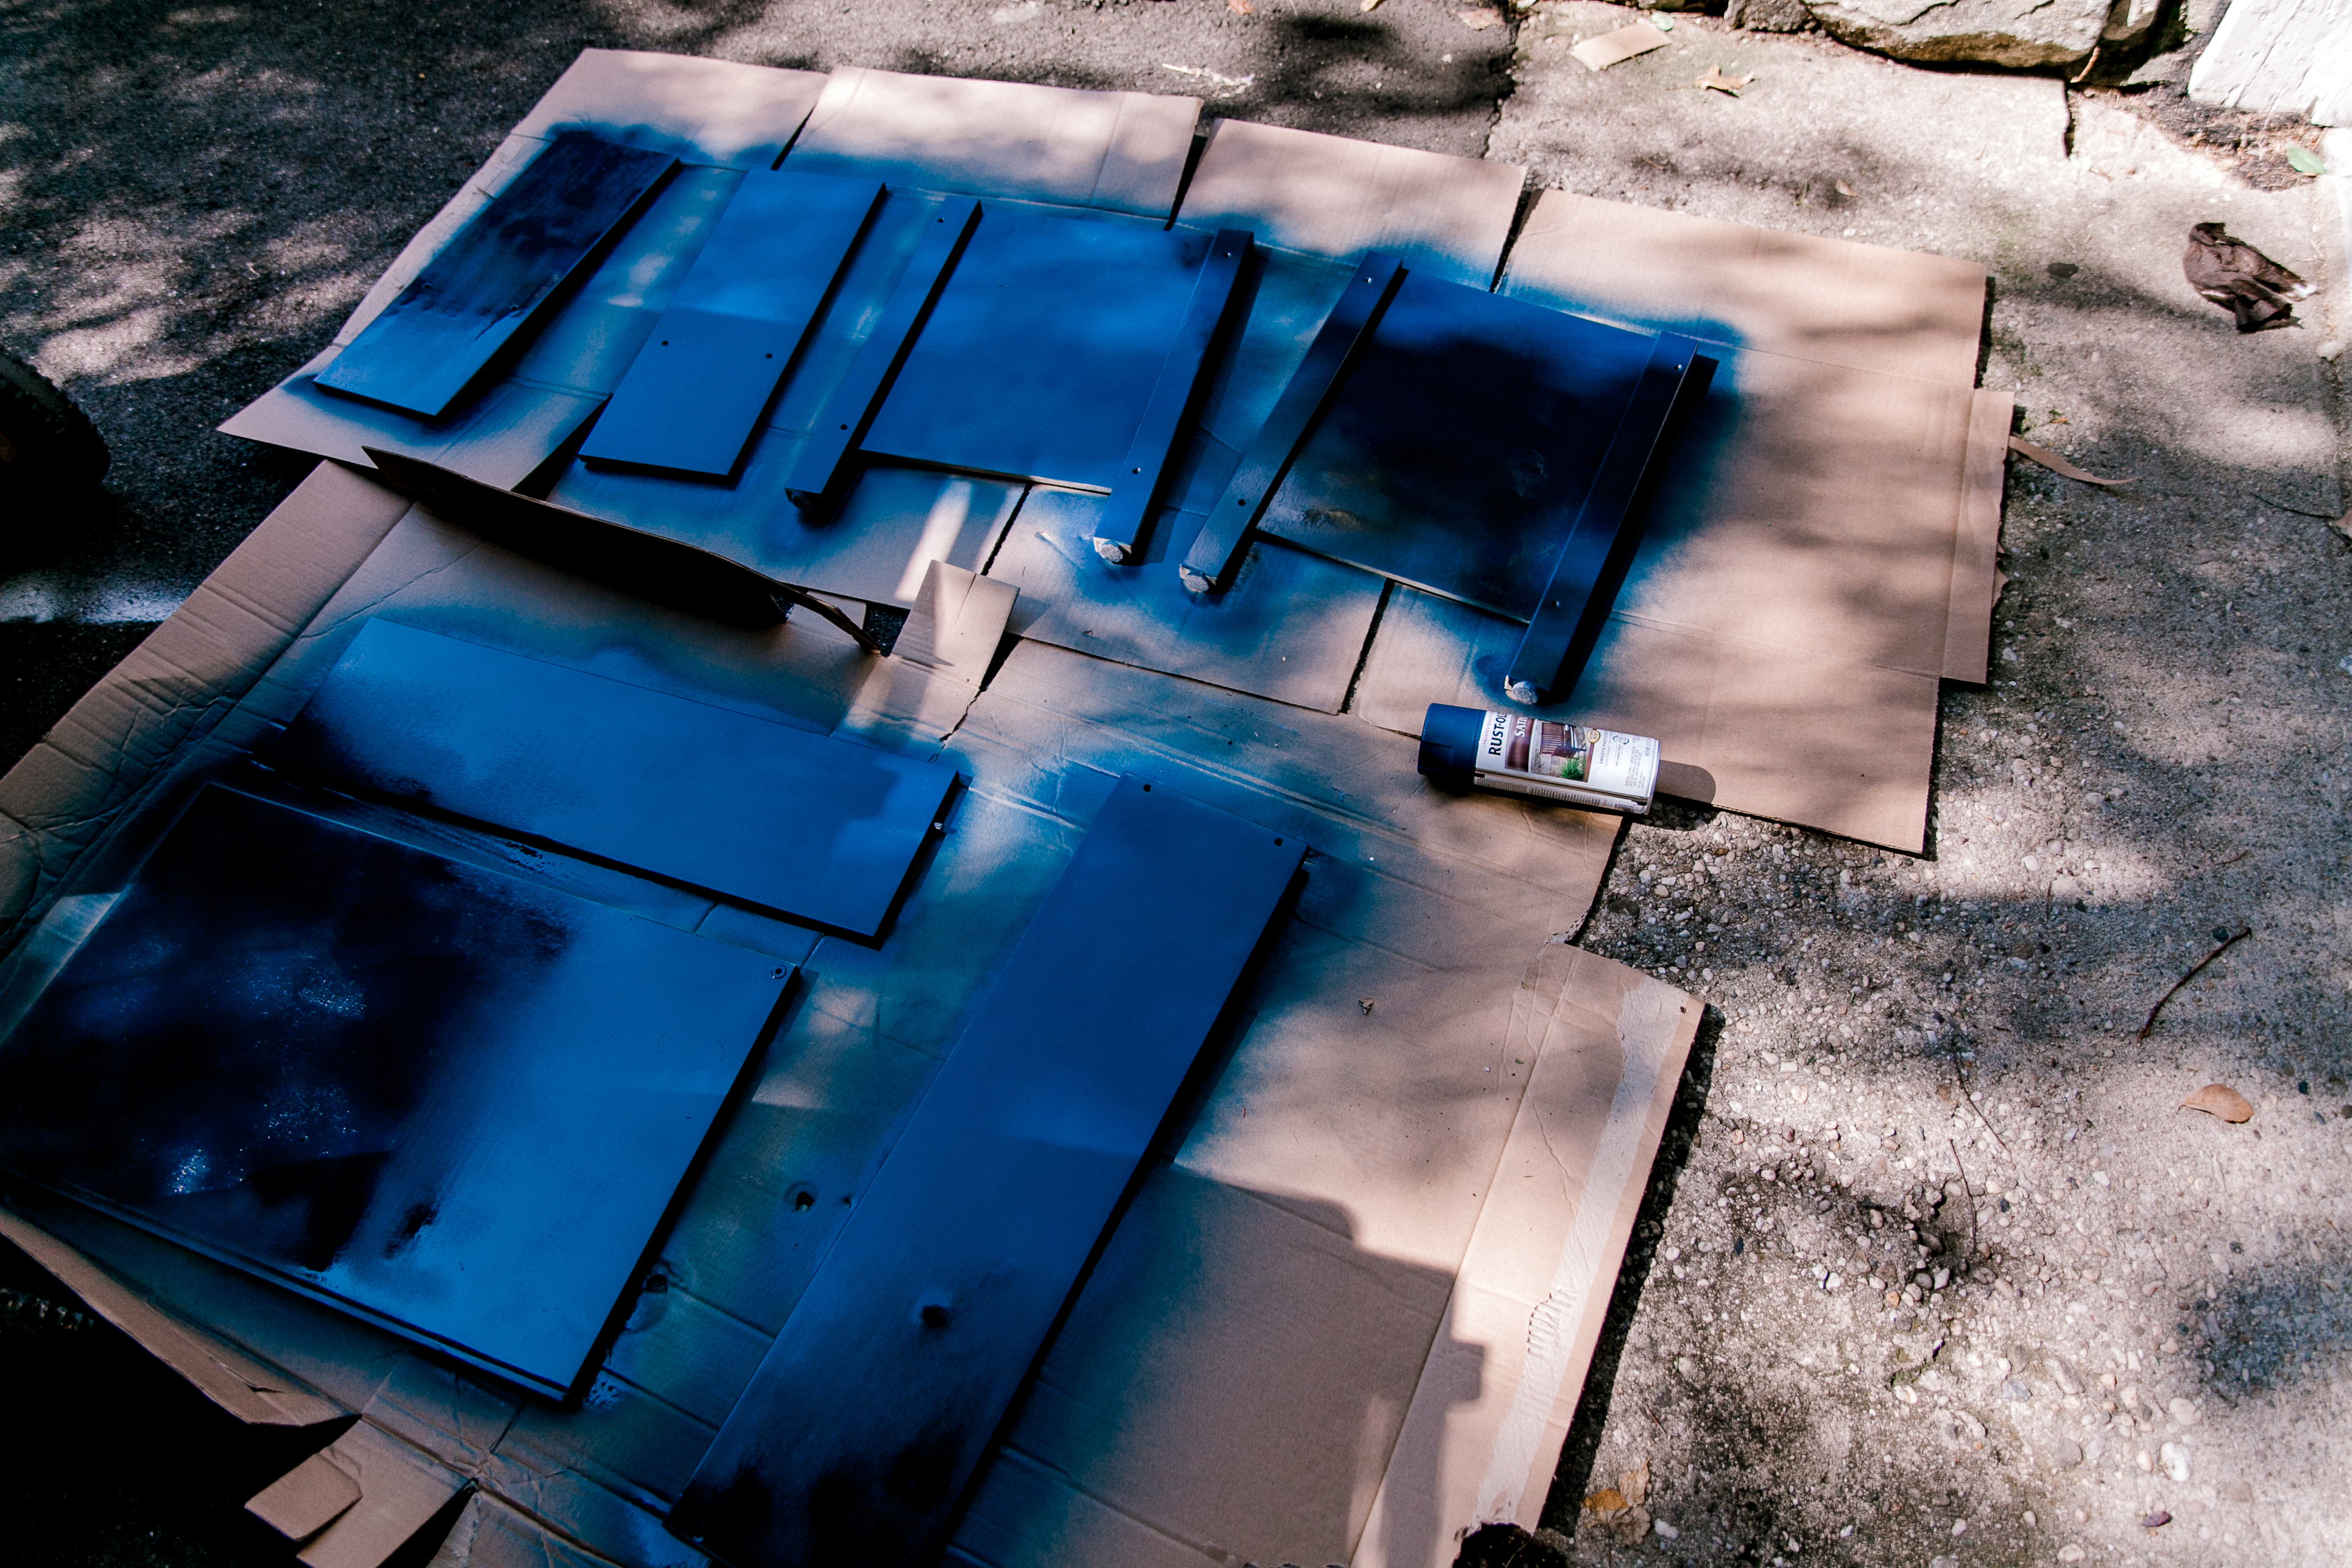
- Spray paint for the main color. I used this Rust-Oleum spray paint in Midnight Blue color. I bought 2 at Home Depot since Amazon sells it at a higher price.
- Metallic spray paint for handles. I used Metallic Rust-Oleum paint in Satin Bronze. This one on Amazon was cheaper than Home Depot.
- Marble contact paper. The cheapest in the right size for this kitchen can be found on Amazon or AliExpress if you have time to wait.
- Moroccan Vinyl Wall tiles. This set has the highest ratings, cheapest and I'm very happy with the result
- Foam board. Something like this but bigger size (20x30"). You can find it in Staples or Michaels
STEPS:
- Since I bought my play kitchen second hand, I had to disassemble it. If you are planning to do the same I encourage you before (!!!) you take it apart to write down on each board which color you want it to be and what you want to leave as it is. I started doing halfway through and had some regrets later when I had to paint it and was confused what is what

- Spray paint all the handles, sink, trimming of the stove with Metallic finish paint.
- Spray paint all the sides with blue paint. I thought one can be enough, but I had to stop everything and go to the local hardware store to get a second spray paint can in the middle of the process. I think it's because I had to do a few layers since the original color was seen after one layer. Let it dry 24 hours.
- Attach a marble contact table to a countertop. Start by peeling and sticking one side, take a credit card and slowly make your way through the surface. Cut holes where sink and stove suppose to be and fold the trimming inside. Don't worry if it's not perfect, it will be covered anyway.

- Now get ready for the most fun part! Assemble the kitchen! I hope you will have the instructions. Oh man, I didn't have it and it took me way longer than it should've. I think this was the most challenging part of the process.
- When your kitchen is ready, take foam board and cut it to the length of the back. Arrange vinyl wall tiles and peel and stick them on the board. I nailed the board to the back but I think you can use a hot glue gun for this and it should stick fine.


ALTERNATIVE USE OF THE KITCHEN 


I'm so happy with the way it turned out and my little ones too! I'm intending to use it for kids' kitchen space where they can keep their kitchen tools, plates, cups, water, and snacks. The idea of the Montessori practical life shelf is behind it. For this reason, I'm planning to remove the faux faucet and put its water dispenser. Sasha keeps coming to the faucet and "pretend" that she washed her hands or fruit. As it might seem fun, I think it confuses her and she will be better off with real water. So sign up to the newsletter if you'd like to receive notifications when I upgrade it again 😉


If you need more ideas of things for kids, check out these posts
DIY MONTESSORI-INSPIRED SENSORY PLAY TABLE
DIY ACTIVITY CUBE FOR TODDLERS
xoxo,
April


Leave a Reply