

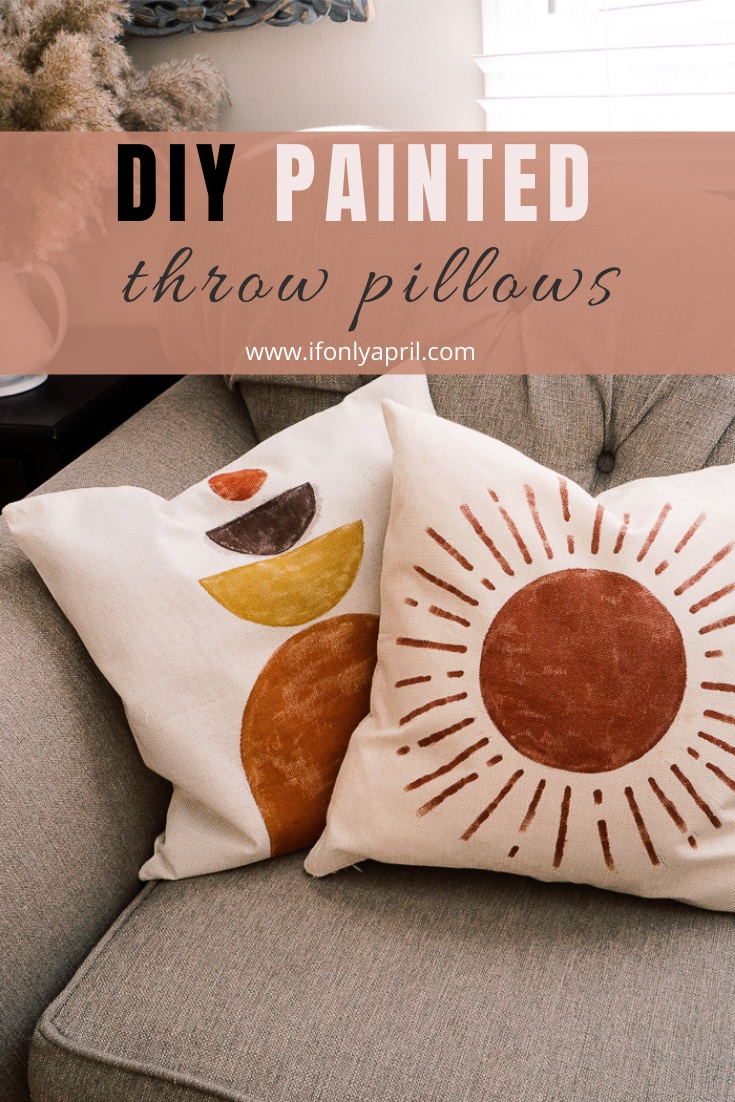
Hand painting boho style throw pillows is one of the most therapeutic DIY's I've done recently. Fabric paint was a new medium to me and today I'll share with you 10 useful tips on painting fabric, on the example of this gorgeous DIY painted throw pillows. When you can't find matching pillowcases in the store, what other way do you have left besides making your own?
If you haven't tried it yet, I'm telling you, you will be obsessed! Well, almost! Let me tell you about the things I've learned while using fabric paint.
If you prefer a video version of these DIY painted throw pillows, you can find it here
Subscribe to get notifications!

Time: 2 hours (it gets faster with practice)
Level: beginner
Cost: $2.50 pillowcase + paint
Choosing fabric
Most of the reviews I read, suggested using a 100% cotton fabric for painting on it. It should be thick enough not to let the paint soak through. I couldn't find a 100% cotton pillowcase so decided to go against the recommendations and use a washable high-quality polyester pillowcase that feels like linen. Well, it certainly doesn't feel like linen, but for a decorative throw pillow on the budget, it does just fine ;D It comes in a pack of 4 and gives you plenty of freedom for decoration.
Choosing paint for fabric
To paint on the fabric you can't simply take any acrylic paint and start creating. Acrylic paint by itself is too thick and might crack after application. You've got a few options that you can use to paint on fabric and assure great results.
Specialty textile fabric paint
This is an option I chose for a few reasons. It's an easy way and doesn't require any further steps, (you can get it on Amazon). It is a bit pricey, but in my opinion, totally worth it. I bought a set of earthy colors by Jacquard since they were perfect for my DIY bohemian painted throw pillows. I found them $10 cheaper on BLICK Art Materials.
You could also get colors separately, but they will cost more if you buy them by one.
Acrylic paint
A cheaper route would be to buy an acrylic fabric medium that can turn any acrylic paint that you already have into textile paint.
The way it works, it dilutes acrylic paint and makes it more liquid and soft to work with when it dries.
Experiment time: I tried to mix regular acrylic with the textile paint to see what will happen and it didn't work. It was so thick that when it dried it became very stiff and hard. Not a good look for the pillow.
Note: Always try your paint on a small piece of fabric to make sure it works the best it can.
PIN IT FOR LATER
Preparing your fabric to be painted
Like with most things in life, before you jump into something, preparation is key.
You need to get rid of all the chemicals, so run your throw pillows through a dishwasher, but don't add any conditioner. It will make the fabric softer and easier for fabric paint to stick to it. To be honest, I didn't pre-wash my pillows. I tried to put acrylic on the pillowcase and it soaked in just fine.
Then iron the pillowcase. If it's wrinkled, it will make your job a bit harder and painting won't come out good. Don't forget to put your iron on the right setting. My pillowcases were synthetic, so I used a special setting for them (if your iron doesn't have different settings, put it on the lowest). I have a very basic iron and it has all the functions.
Use a cotton cloth on top of the throw pillow you are going to paint. I have a feeling if you use the iron directly on synthetic it might damage the fabric.
Protect another side
Lay down the pillowcase flat and add cardboard or cardstock inside the pillowcase. It will prevent colors to bleed through to the opposite side.
The first pillow I started painting, I put the colors directly on it and didn't use anything under. I should've expected it I guess😁 but it seeped through onto another side. The damage wasn't very visible so I could continue working on that pillow but the lesson was learned - always use a protective layer under your textile surface!
Choose your brushes for painting fabric
I can't stress enough how important is it to use high-quality brushes for this project. Low-quality brushes might leave bristles behind and ruin your project. I used the semi-professional set of synthetic brushes that I got from Amazon and they worked perfectly.
How to seal textile paint on fabric
First, let your project dry for at least 24 hours. Read instructions on the package of your textile paint and using iron, seal the paint with heat. Don't forget to use a cotton cloth over it to protect the paint.
These are quick overall tips on painting fabric. You can experiment with different mediums, different paints and see what works best for you. But let me walk you through how I painted my throw pillows and how to make them better.

DIY painted throw pillows step-by-step tutorial
Materials
- Blank throw pillows. I had a pack of 4 (17x17")
- Jacquard fabric paints (Earthy tones set of 8)
- Brushes for acrylic paints
- Iron
Instructions
Step 1. Prepare pillows
Prepare the throw pillow to be painted, wash, and iron it with the right settings.


Step 2. Use cardboard
Lay down the pillowcase flat and add cardboard or cardstock inside the pillowcase to prevent colors from bleed through to the opposite side.

Step 3. Draw your design
Draw your design with a pencil. If you don't trust your abilities to draw, use stencils. You could also print out from the internet an image that you like and transfer it to the DIY painted throw pillow using graphite paper.
I chose a very simple geometrical design and just drew it out with a pencil. I used different round objects for different sizes of circles and semi-moons.
For the first one, I used a saucer (in about 6" circumference), for the semi moons I used a sanding disc for orbital sander (those come in standard sizes).

Step 4. Paint
Take out your textile paint and start painting. I used a "Flat 3" brush for the outline and "Round 10" to fill it out.
Start with a little bit of paint on the tip and slowly paint an outline. Then take a bigger brush and with horizontal strokes, fill out the whole space. I like the effect when you leave some gaps, it adds some texture to the painting but if you are not in the same camp, you can go ahead and paint it whole.
I was super happy with almost all colors and mixed a bunch of them to create different shades. The only color from this set that disappointed me tremendously, was raw umber that bled all over the pillow after I applied it. And not only on one pillow but on all of them! It's very unlikely I'll be using this color again.
Such a disappointment but hey, no one said that it all comes out great from the first try! So that's why you have me, I will try it out and let you know what to use and what to avoid 😄

Step 5. Let it dry
Let it dry flat for at least 24 hours and then you need to seal it with the heat. Set your iron on the lowest setting and use a cotton cloth on top.

It's been such a fun experience to make DIY painted throw pillows! Have you ever tried painting fabric and what tips do you have for me?

WE THOUGHT YOU MIGHT ALSO LIKE
Macrame wall hanging step-by-step tutorial or watch me make it here

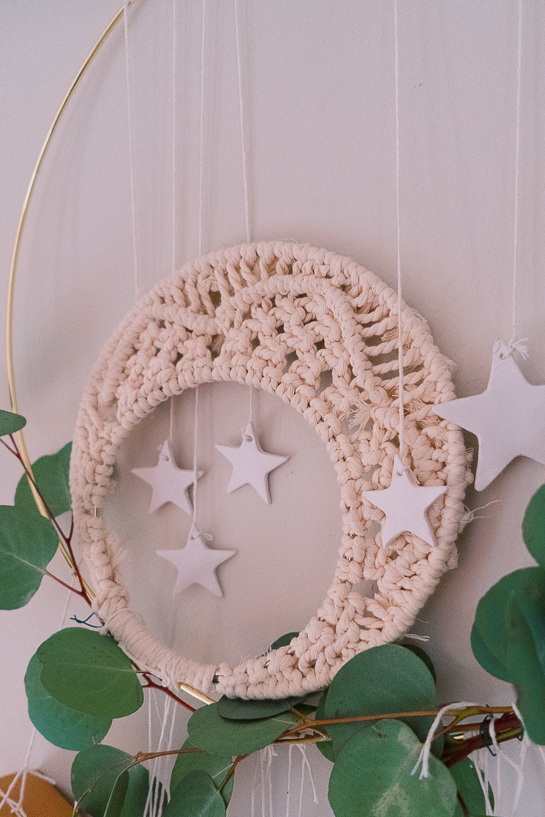
Macrame semi-moon in a ring or watch me make it here
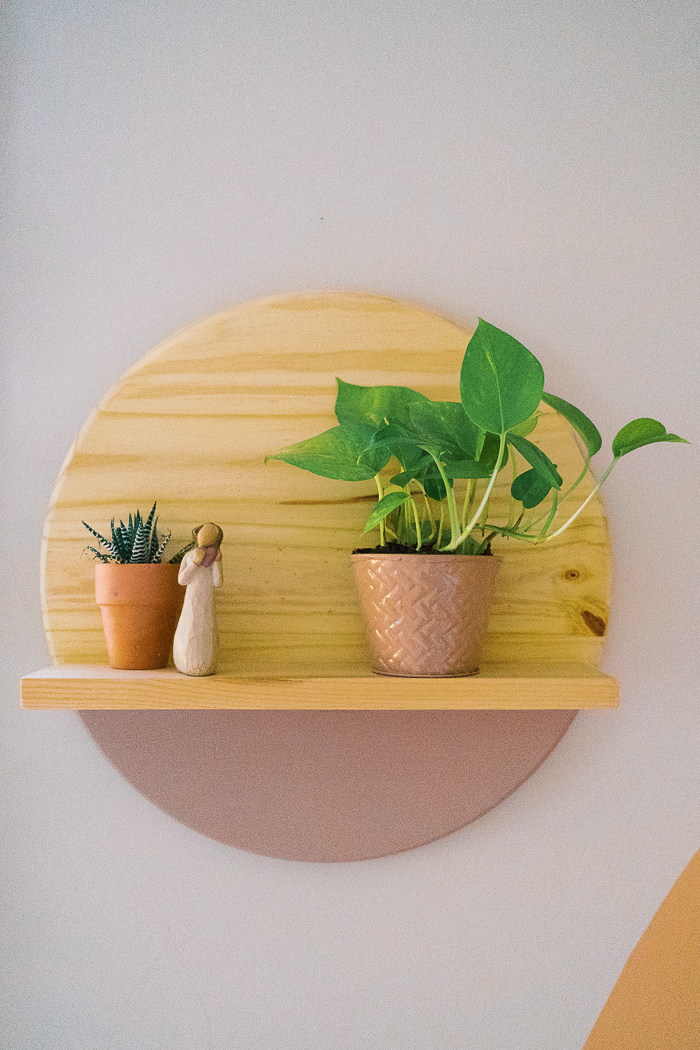
DIY round wall shelf or watch me make it here
xoxo,
April


Patricia Harrington says
Beautiful! I'm going to try this. Thanks for sharing.
April says
Thank you! I’m so happy you’ll try it. Tag me on Instagram! I’d love to see!