

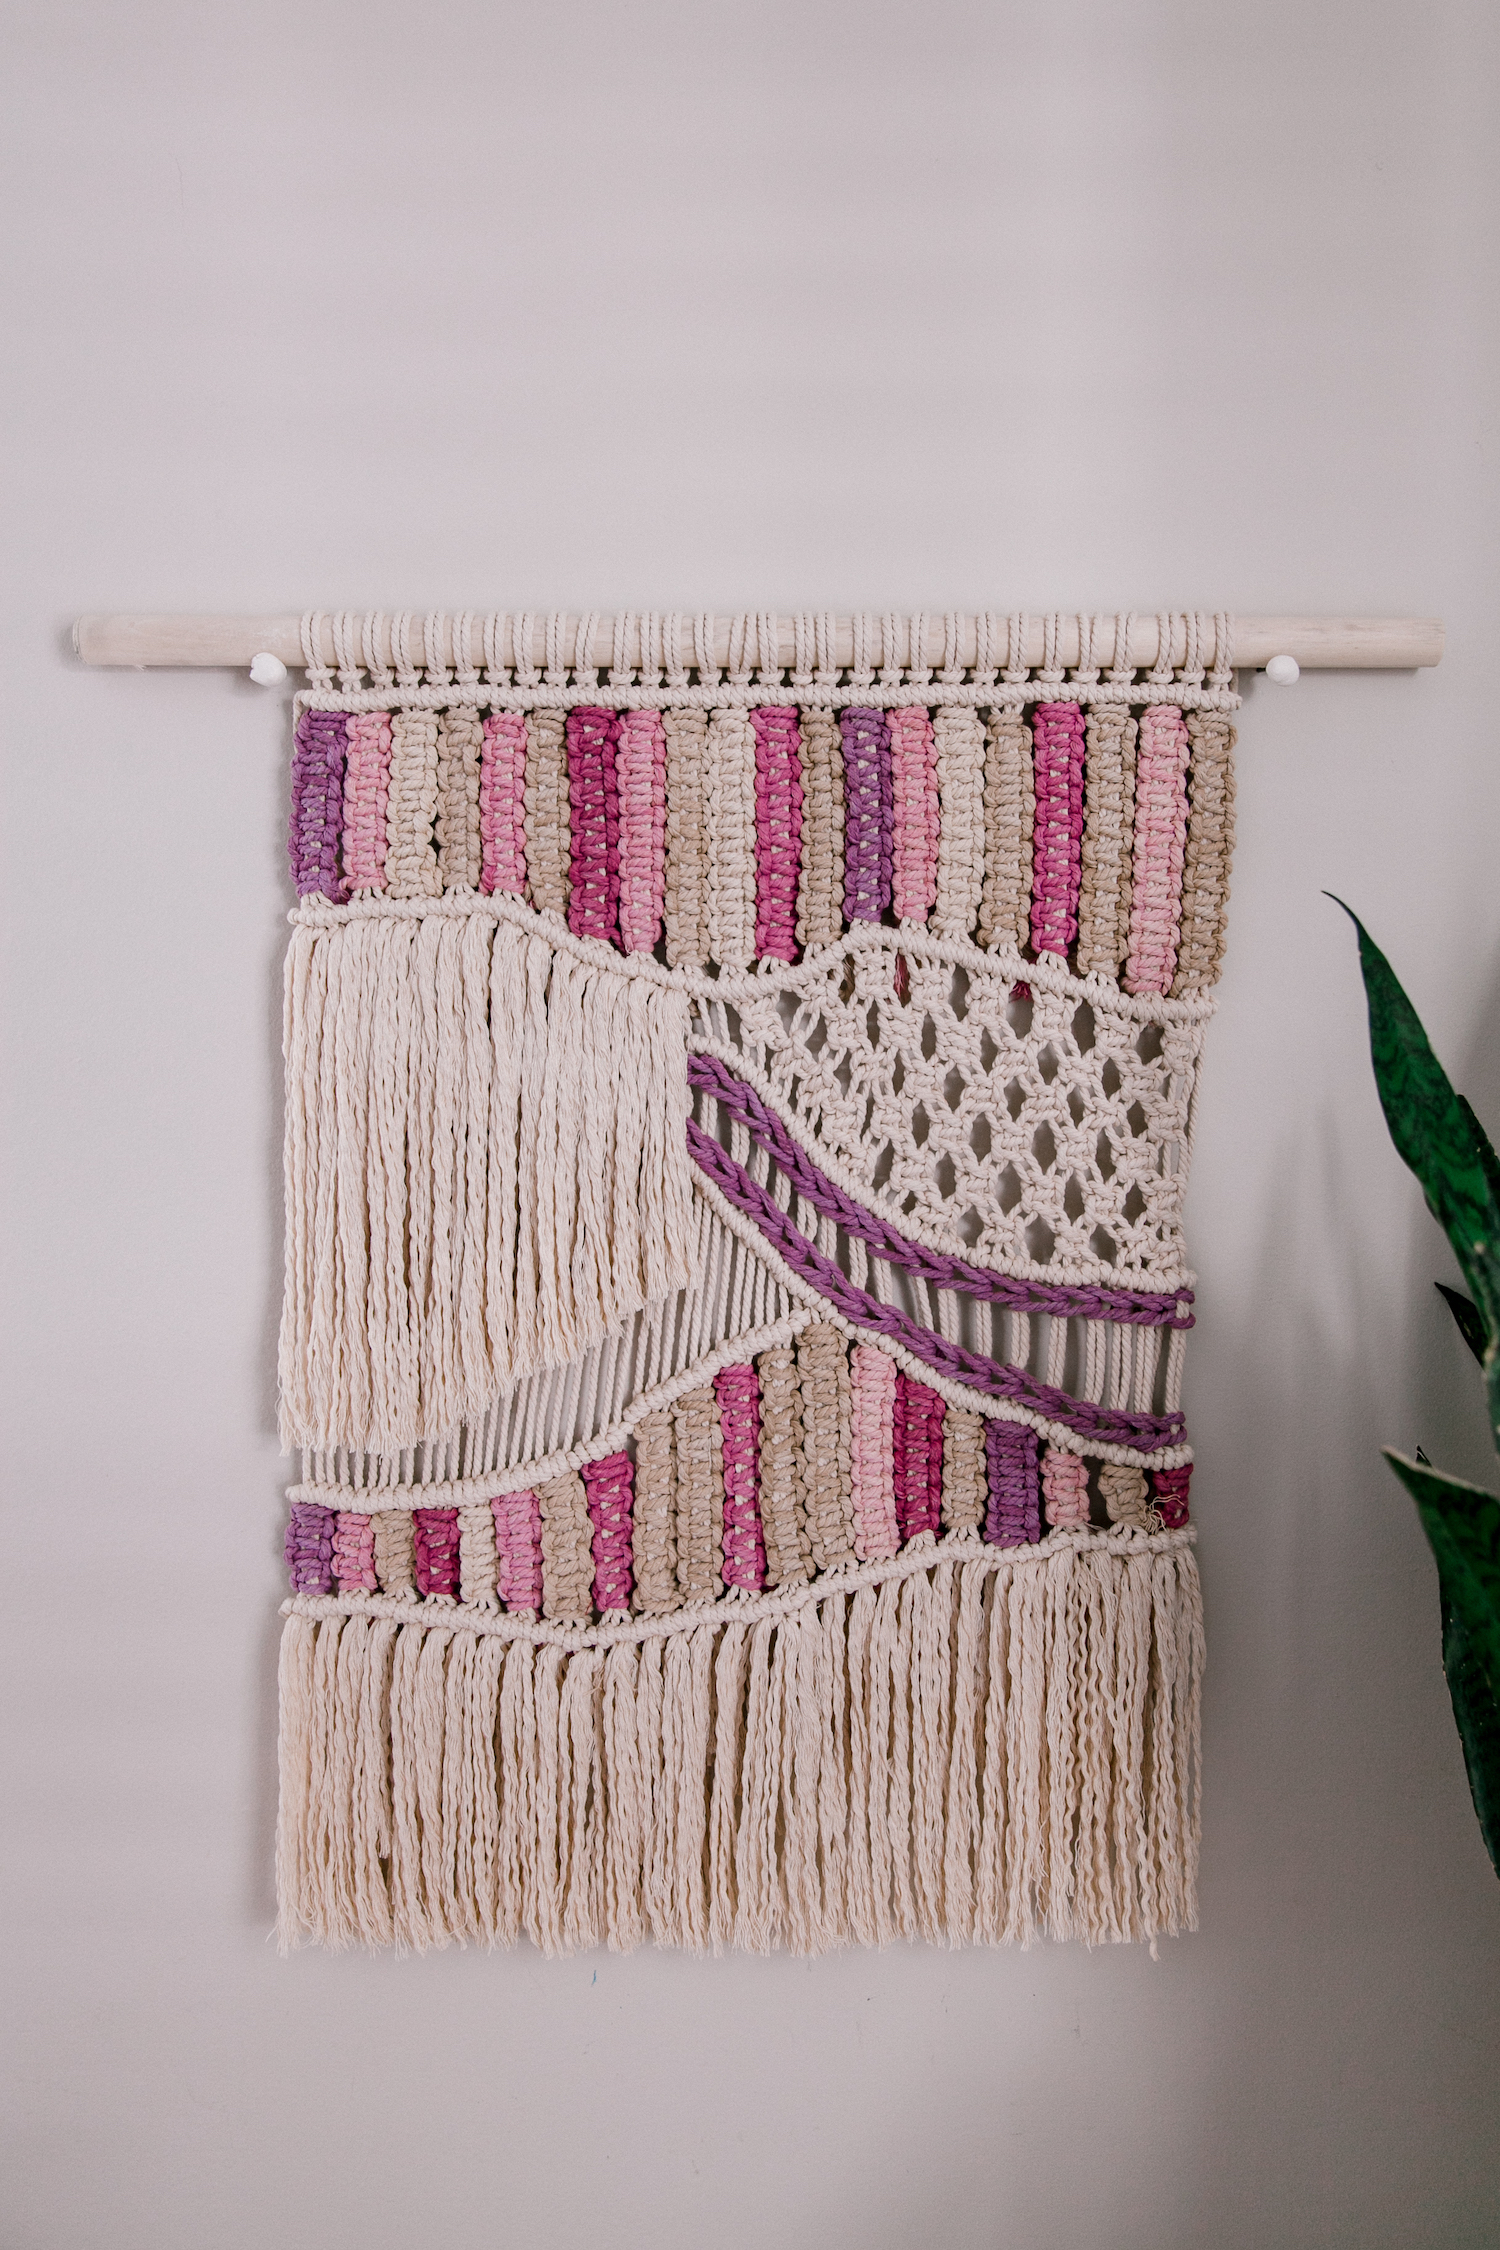
I like the look of the macrame. I needed one for my office so decided to make this easy macrame wall hanging for beginners.
It might seem a bit intimidating, but I promise you, it's quite simple to make!
With a bit of practice to get all the knots even, I'm sure you'll get a hang of it.
It was my first attempt at macrame ever. I find it quite therapeutic and definitely will make another macrame wall hanging in the future.
This macrame was inspired by a very talented Tamar Samplonius.
Originally, it was meant to be in terra-cotta colors, but I had a problem getting a terra-cotta color from natural ingredients 😁 more about it later.
Time spent: I'd say approximately 10 hours, but I did it over a week.
Cost: $20
Level: beginner
If you prefer a video version, you can watch it here.

Materials
- dowel or drifted wood
- cotton rope ( I used this one)
- scissors
I'll try to describe to the best of my abilities how I made all the loops, but I might be wrong with names, so if I am, let me know!
I watched this video to learn the basic knots which are lurk's head, square knot, and horizontal double half hitch knot (clove hitch) knot, but I also show it in the video that I made, so check that out.
These are the only knots that you need to know for this macrame wall hanging.
Before you start, calculate how long you want the macrame wall hanging to be. Usually, you'd need to take the thread at least 4 times longer. My original threads were about 80" and I was planning to make a 20" macrame till fringe.
I had 30 threads. You can make it as narrow or wide as you wish but for this particular design, you need to have a total count that divides by 3 and by 2. In my case, after I started with a lurk's head knot, I had 60 threads to work with (that could be divided by 3 - 20 and by 2 -30). It will be important later when we will use 3 threads at a time to make the colorful square knot rows.
These are 3 knots that we will be using in this macrame:
- Lark's head
- Horizontal double half hitch knot
- Square knot

Credit: Starshopvintage
Instructions
First row: lark's head knots all the way through.

Second row: horizontal double half hitch knots all the way till the end
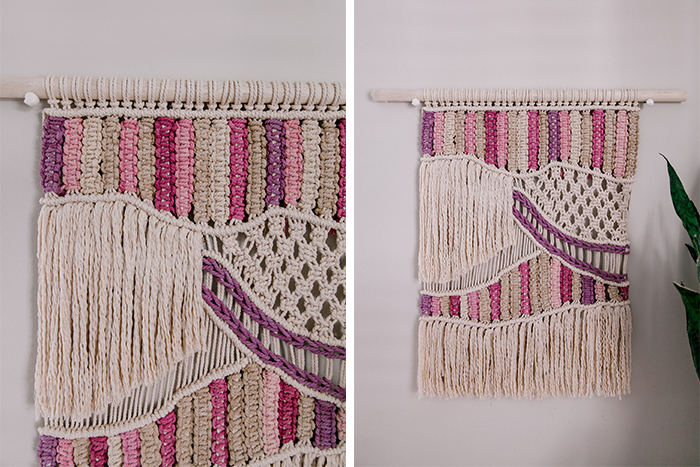
Third row: you skip about 4 inches from the top, and make a row of double half hitch knot in the "wave" direction. Try to make transitions as smooth as possible. Mine isn't perfect, but oh well, it's my first time!
Make a triangle using square knots
When you are done with that first wave, it's time to make square knots on the side. From right to left, I made square knots across the row till the middle. Then I went back to a chess sequence, creating this beautiful triangle.
Since all of this is very difficult to explain in text, I highly recommend watching the video. 😉

The next row was another double half hitch knot, that goes around our "triangle" with square knots.
TIP: Try to keep the same strength while making knots so they come up with the same size.


After that, we need to make a few more waves using double half hitch knots, going through the whole macrame wall hanging.
When we are done with the "outline" of the structure, we can start decorating it with colorful threads.
How to dye cotton threads with natural dyes
So here comes my big experiment! I wanted to make this macrame wall hanging in terracotta color but didn't have any colorful threads on my hands. I also didn't have any fabric dyes. So I decided to derive natural dye and use it instead😄
I did my research and to get a nice clay color you need to dye onion peels, carrots, turmeric, and paprika also could give a desired orange effect. I decided to try onion peels first.
Perhaps, I didn't have enough peels or didn't boil it enough, but when I dropped the thread into the water, it came out with this weird beige/brown color. Not something that I wanted.
So I decided to experiment with other products to see what I could actually use to make brighter colors.
The first was Hibiscus tea, also knows as karkade tea (not shown in the photo above) and the color is amazing! I did a few dips and thought that color will fade a bit (I wanted to have different shades of one color). I had to add a bit of water, to dilute the dye and make it lighter. Here is a result. I'm satisfied.
I couldn't simply let go of my idea to have a terra-cotta/orange color, so I tried one more time - with a mix of shredded carrots, turmeric, and paprika. I think I even added leftover onion peels 😁 the more the merrier I thought. The color came out more orange than I thought it would be. Not happy, but I still used it in my wall hanging. Big mistake, since the color, faded enormously within a week and left me with some pale pathetic remaining of once orange color.

Another color that I tried to achieve was blue. As a natural choice, I went with blueberries. I boiled them for an hour and was excited to see blue as a result. To my disappointment, the color was bright (at least it was bright) purple. Blue color only remained on my hands that I forgot to cover with gloves while handling the threads.
I love the purple, maybe it's not the combination of colors that I was going for, but I still like the way the final product looks.
Later I added a brown color that I made using coffee.
So we've got the colors, now let's continue making this adorable macrame wall hanging for beginners.
Colorful threads on top of macrame wall hanging
USING COLORFUL THREADS ON TOP OF MACRAME WALL HANGING TO CREATE A UNIQUE LOOK
When the threads dried and were ready to be used, I continued working on this project.
On the top, I took 3 threads at once, looped a colorful thread around, and made a square knot over it.
Update 07/24: one of my readers kindly noted that this knot called "cobra weave".
I calculated that for each inch of the threads on macrame, I'd need at least 4 times more of the colorful thread. So if my macrame gap was 4", I used around 50" of colorful thread. Check the measurements that would fit your weaving. I'd try a few times and measure how much thread you use for one line.
I continued with it till the end of the row and also used the same approach in the bottom row.
Under the triangle, I made 2 simple braids that go across half of the macrame. I first tried it with brown color and threading around one thread, but then did it with two and I feel it looks much better!
The final step was to attach threads around and let it hang (I detached the thread into 3 parts). Repeat the same on the bottom row, it will also help to cover all uneven endings of this macrame wall hanging.
I don't know what to do with the back, so I just tied loose ends together, preventing them from falling apart.
The style is so unique and I love how it came out! Of course, I wish I could make terra-cotta colors with blue, but oh well, maybe next time😃

Let’s be friends on social!
Follow me on Instagram and my new YouTube where I post all my DIY journey! I really hope to see you soon!
xoxo,
April
YOU MIGHT ALSO LIKE:
ADVENT CALENDAR WITH MACRAME CRESCENT MOON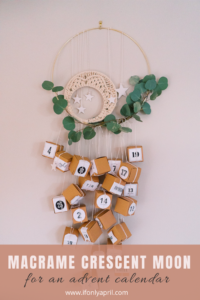
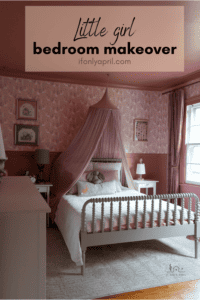
A DREAMY PASTEL LITTLE GIRL BEDROOM


Hi April,
I’m a beginner too and I really love what you have done. My daughter has orange and blue curtains in her room but I’m making a wall hanging and have ‘stolen’ your idea for adding colour and love the face that you’ve used natural ingredients. I must try it! I hope you will do some more macramé and share with us!
Hi Penny! I’m glad that it inspired you 🙂 the idea isn’t mine and has been around for ages:)
I really want to dive into macrame again, so definitely will make more tutorials in the next year 🙂
Macrame is addictive😁
Hi, I love this hanging and am going to try one of my own! Planning on using twine for the braid accent--do you know if you can color twine using natural ingredients? If so, do you have any ideas how you would achieve a dark green?
Thank you 🙂 To make it with twine sounds like a fun idea! I'm sure you can color it. I don't see a reason why not! About green color - I'm still experimenting myself to get dark green 🙂 I'll make a macrame soon when I figure out the green :))