
 My office was long overdue for an update, so I decided to decorate this room in boho style.
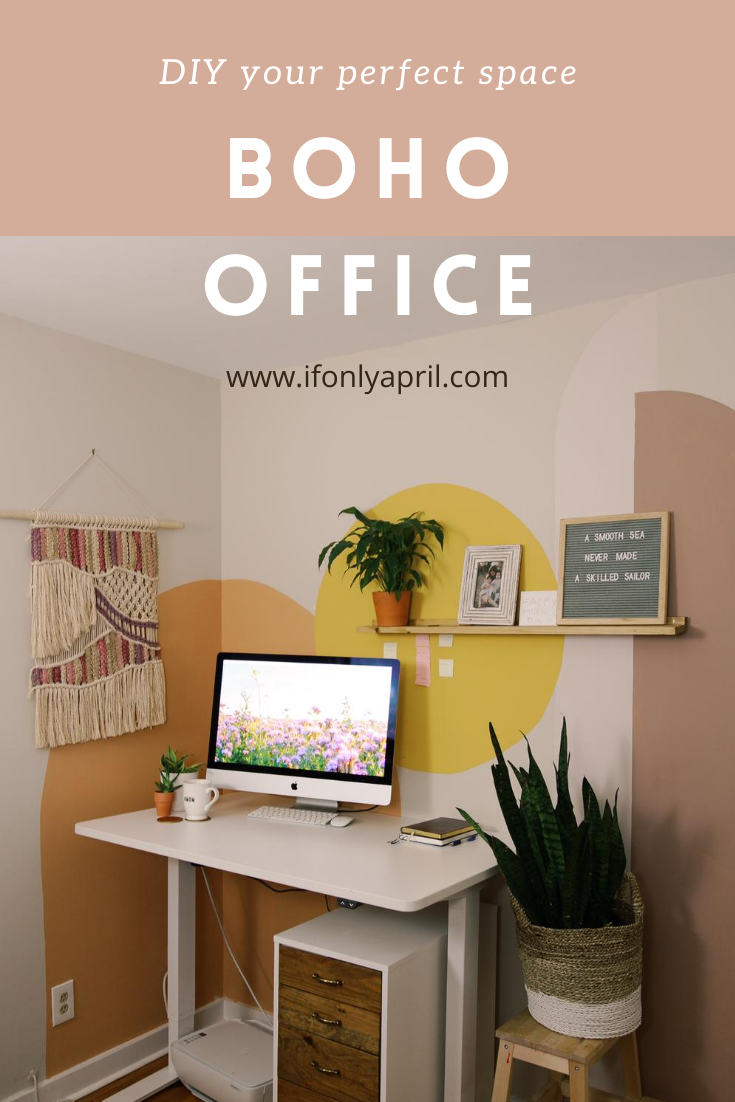
Boho, or bohemian is known for bold colors, a lot of texture, wood, and greenery.
I think we got it all in this small space, judge for yourself!
If you'd like to see a video version of this blog, check it here.
I think I caught the COLOR-BLOCKING walls bug a few months ago when I first painted the playground that I built for my kids. Soon after that, I decided to give my office a little upgrade and paint an arch mural on the wall. What was meant to be one arch became three and a circle, haha. Let me share with you tips and tricks that I've learned on how to paint an arch mural.
Let's talk about the brush.
The quality brush is so important for this kind of work. You wouldn't want to finish painting and see pieces of a brush in your mural. Also, a good brush makes painting smoother. I chose a Wooster angled brush and it did a great job! For the round parts angled brush did wonders! If you have a roller to fill in the rest of the arch then go for it. I didn't have one and used only a brush, it took me longer to finish.
I'd also have a brush for each color instead of using one and washing it all the time between colors.
Colors. Colors. Colors.
The truth is there are so many options! It's so hard to choose just a few. I'd recommend taking as many paper samples as possible, bring them home, and put against the wall that you plan to paint. Try to find coordinating colors, the ones that look good together. I'd choose 5 or 6 to have a wiggle room in case the first paint of choice looks different on the wall.
My original plan was to paint an arch and a circle, but when it was done, I felt that I need to make another half arches to it. It's nice to have a ready sketch before you start, but it also is fun to paint as you go.
How to paint an arch on the wall
Before you start painting, you need to prep the wall and define where the arch will be. Use the frog tape on the sides. Make sure to push the end of the tape with your finger so it's flush with the wall and wouldn't bleed later. To make a half-circle part of the arch, you need to take a pencil, attach it to the rope and use it as your guide to making a half-circle.
The same goes for the whole circle! Make sure that your paint can cover a pencil or make a very thin mark with a pencil. I was worried that the pencil wouldn't be covered but there was no need to worry. Behr covered everything beautifully!
Decorating the room in boho style
As I said before, boho style call for a lot of bold colors (check), greenery (check), clay elements (check), eclectic and bold style. I made these super cute and simple clay coasters for the many coffee cups that I have on my desk, you can find a step-by-step how I made them here, or watch a video if you are a visual learner.
I had this amazing custom desk in my office, that I made last summer. I was trying to brighten it up and remove the stain from it. It worked like a charm, but then I tried to stain it again, in a lighter stain and unfortunately, it became maybe slightly brighter, but not as light as I'd hope. So I decided to go a different route and got this awesome electric standing desk! And oh lords, did I regret it? I loooove it so much! And my back tells me thanks!
I finished painting this office a month ago or so, but last week we came up with a new renovation idea, so stay tuned, because I'll be moving out from this office to a bigger, brighter space!! And this room will be my kid's playroom!! So exciting!!! To decorate this room in boho style was a really fun experience and I might take some elements from here and add it to my new office:)

PIN FOR LATER>>>>>>>>>>>
WE THOUGHT YOU MIGHT ALSO LIKE:
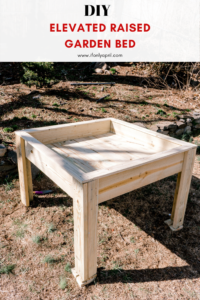
DIY ELEVATED RAISED GARDEN BED
VERTICAL ENTRYWAY ORGANIZER

ALEX DRAWERS UPDATE (IKEA HACK)

Follow me on Instagram and YouTube to see more DIY projects!
xoxo,
April


Leave a Reply