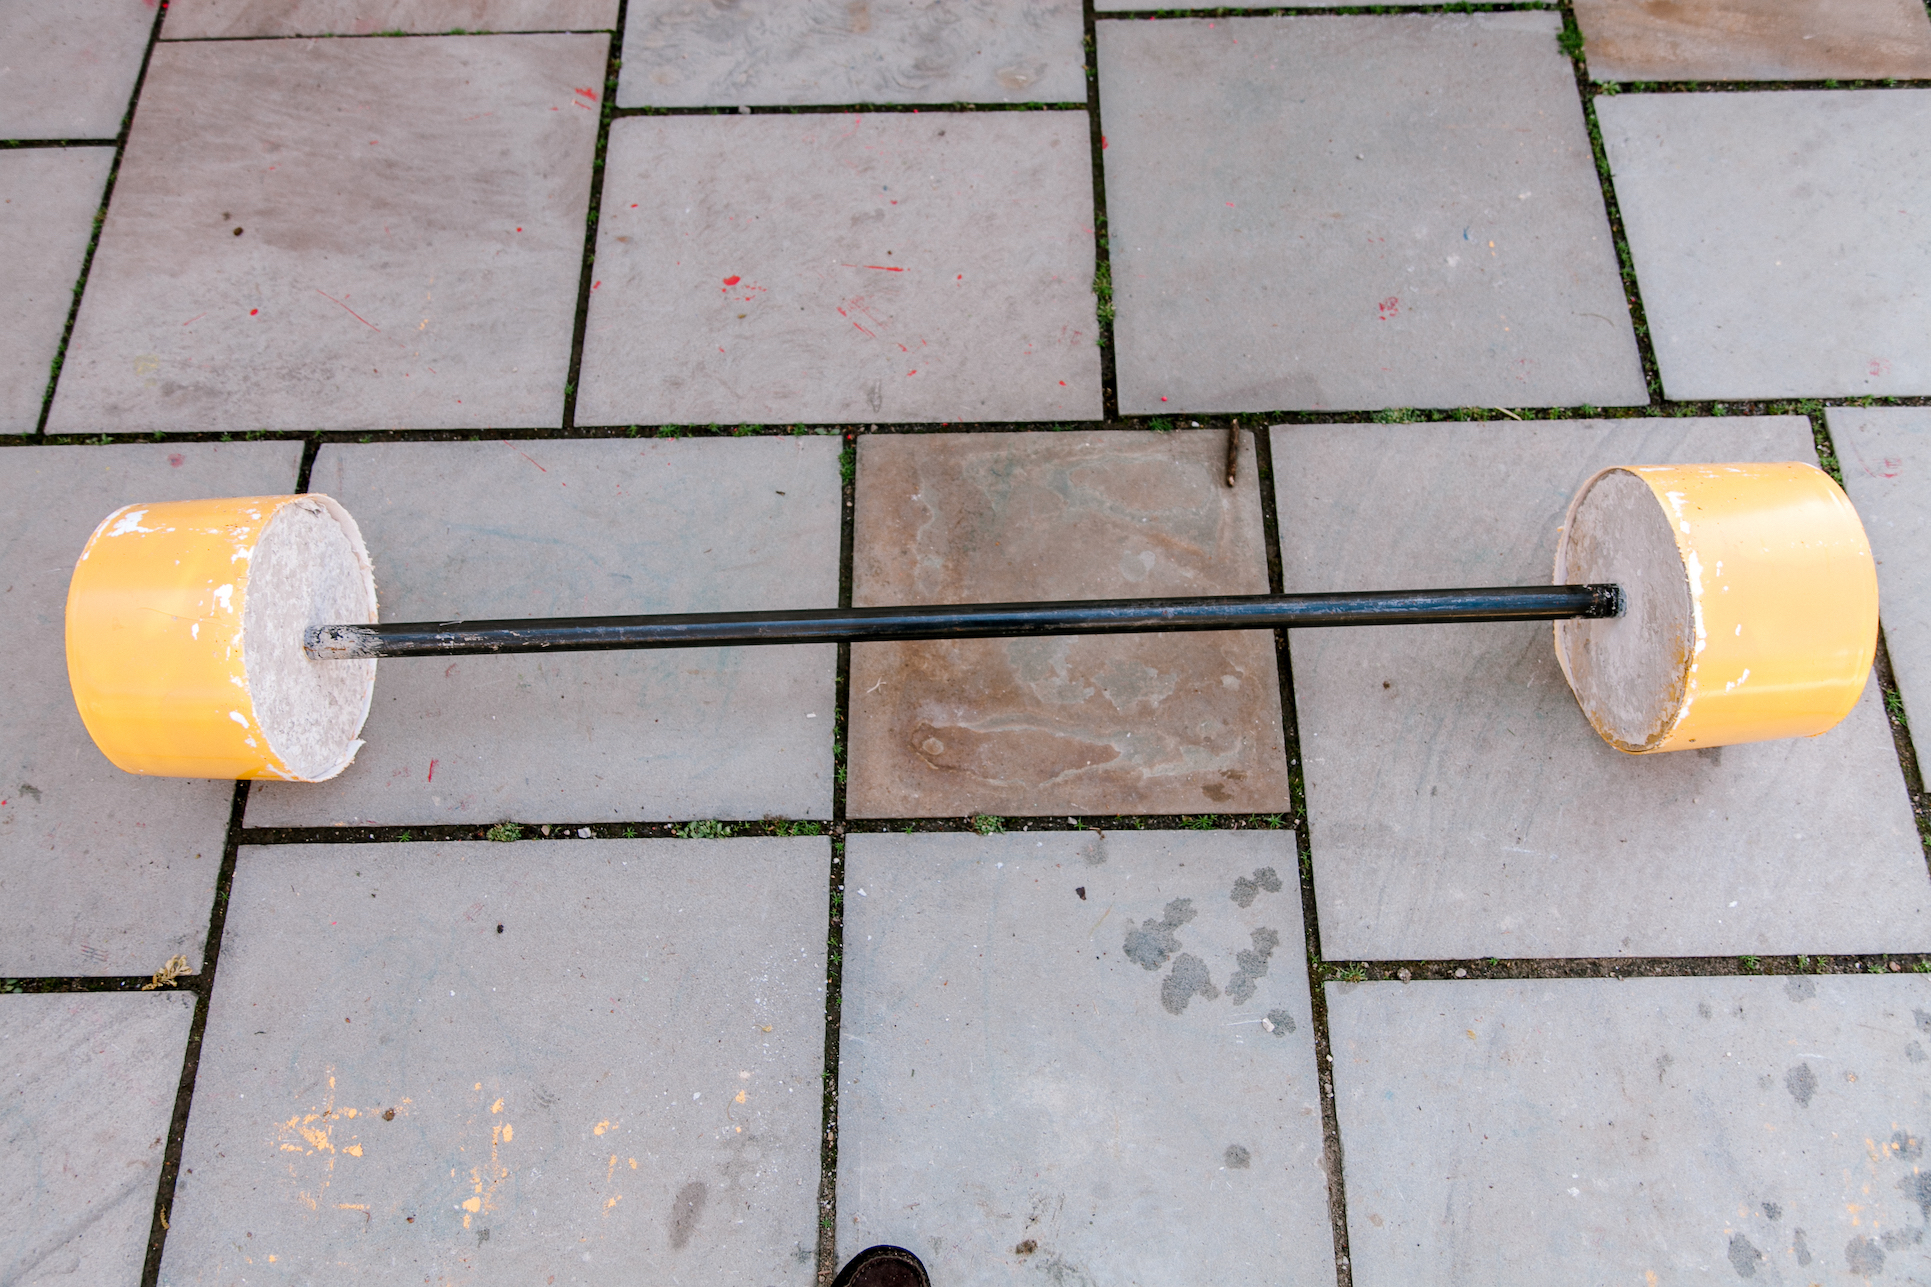
Who would've thought that all the gyms will close one day for months? This quarantine became for a lot of us an unpleasant surprise. My husband misses lifting weights so we decided to make him a homemade cement barbell.
Minimum effort, maximum results. It's super cheap and serves a great purpose. The perfect DIY project in my humble opinion.
The options on the market are quite expensive. And if you ask me, you don't need to go fancy if you want to get in shape.
TOTAL COST: $30
TIME: 1hr + about 6 days curing time.
LEVEL: beginner
Materials
-
- 80lb concrete mix
- 5ft black steel pipe
- 2 buckets (I used 5 gal., but could be used 2 gal.)
- Something to mix cement in. I used the bottom of a broken kennel transporter that I had in the garage.
- Level
- Scale
- Rustoleum spray paint (bonds to plastic)
If you want to see a video version of this post, you can find it on
If Only April YouTube channel HERE
How to make a cement barbell:
Part 1.
1. Take the scale and place your cement mixing bucket on it. We decided to make a light bar so we simply used 40lb of the cement mix bag (approximately a half of it)
2. Following instructions, mix the cement in your bucket. We needed 1.7 liters for a 40 lb concrete mix. We ended up adding a little more water and saw that it wasn't necessary when the water was left on the top.
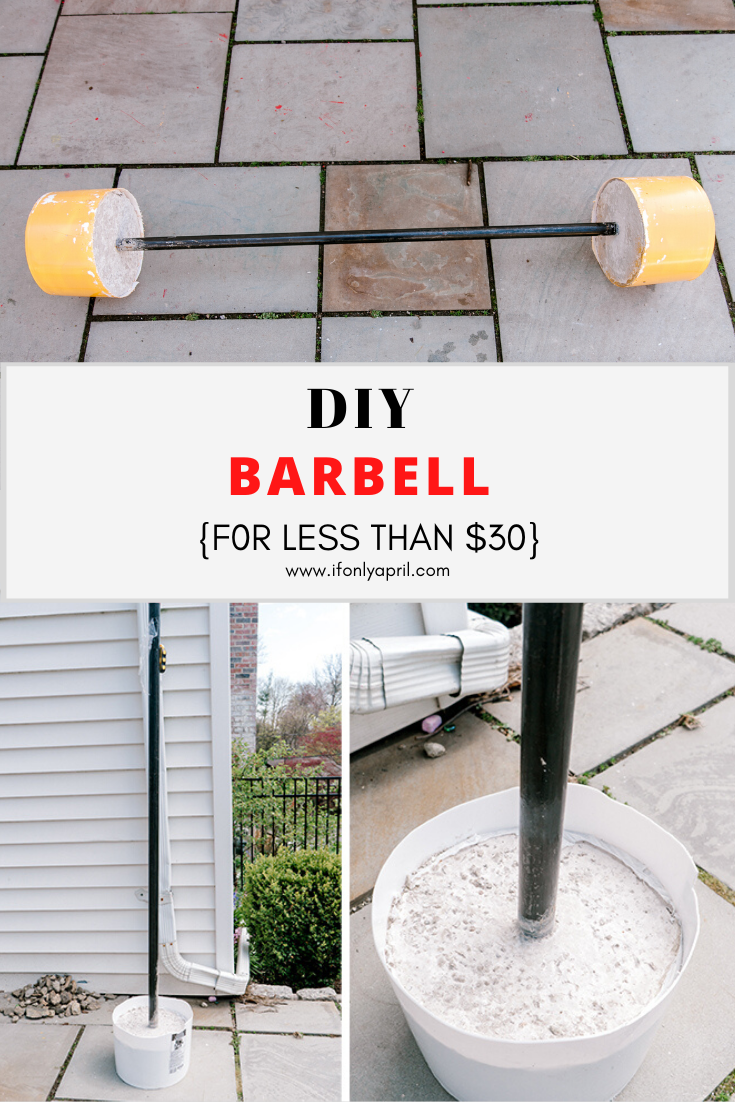
3. Place your black pipe in the middle of the bucket.
Here comes the tricky part. You need to find a place where you can place the bucket with a pipe standing straight without movement. For us, it was a punching bag that was heavy enough not to move around. We taped the pipe to it, made sure it's leveled and it worked perfectly.
As some ideas, you could tape the pipe to the ceiling.
4. Wait for 3-4 days for the cement to cure.
Part 2.
5. Here is another thing. We put the first batch to a bucket and lined with a plastic bag. I read that you need to add some oil to the surface so the cement comes out but for some reason, we decided not to do it. As a result, when concrete mix cured, we couldn't take it out of the bucket. Oops!
Not to be bothered, we decided to cut the bucket and leave it on. It will actually protect the cement barbell from breaking and the bucket will take the shock off when it's slammed to the ground. Does it make sense?
If you don't like the look of it, you can try using oil to prevent the concrete mix from sticking to the bucket. In that case, You'll need one bucket only.
We cut the bucket with a utility knife and burned the plastic bag off with a lighter.
6. At the same time, we started a second batch of mixing 40lb of concrete mix with water. Repeat the steps we took before and poured it to the second bucket. This time it was more tricky to hold since it's heavier.
7. To put it still also required a bit of brainstorming, since the punching bag wasn't able to hold 40lb side of the cement barbell. So we took our punching bag off the stand and tighten the heavy part of the barbell with the rope to the top of the punching bag stand.
You would have to get creative on this one here.
8. Wait for 3-4 days.
9. I feel that everyone needs a bit of yellow in their life, so I painted our DIY cement barbell with yellow spray paint (this spray paint sticks to plastic great!).
It works out perfectly! The total weight is 91lb.
My husband is super happy and now wants to make another set of barbells and dumbbells with different weights. Oh boy!
Perhaps, by the end of the quarantine, we will have a full handmade gym in the house:D
IF YOU PREFER TO BUY:
There are some cool options on the market, like this one or this.
PIN IT FOR LATER >>>>>>
YOU MIGHT ALSO LIKE:
the story of how I built a 16ft square feet garden.
Or how I built garage shelves for $40 in lumber.
How to make DIY dumbbells at home using sour cream buckets.
I also post in Instagram stories the progress with my projects, so hop in to follow along and always be the first one to find out what I'm working on.
xoxo,
April


Leave a Reply