
 I bet you have plenty of wine glasses that could be used for this fun project - wine glass Christmas candle holders. And what a great way to upcycle some of those old glasses that don't get any use. I think the idea is so cute and looks amazing on the dining table as a Christmas winter centerpiece. You can customize the insides of the glass as you like and tell winter magic stories. It could be full of flowers, or snow, or different animal scenes... The sky is the limit!
If you don't have old wine glasses at home, you can get them for $0.50 at any thrift store, or Dollar Tree. As an idea, you could also play around with different kinds of glasses, like tequila glass, for example, or Champagne.
Time: 1 hour
Cost: $2
Difficulty: Easy
If you want to see a video version of this tutorial, you can find it HERE
Subscribe to get notifications!
Disclaimer: Please note, that some of the links below are affiliate links and I will earn a commission if you purchase through those links (at no additional cost to you). Thanks for your support this way.
Materials:
To make wine glass Christmas candle holders, you'll need:
- wine glasses (I got mine at Dollar Tree)
- hot glue gun
- cork Christmas trees
- Epsom salt and regular salt for the snow
- paper
- candles (also from Dollar Tree)
- mod podge
INSTRUCTIONS FOR wine glass Christmas candle holders:
1. Using a pen, trace a circle on the paper from the top of the glass. It's better to take cardboard or something heavier weight than regular paper. It will eventually be the bottom of your masterpiece!
2. Pour some mod podge on the plate and cover half of the side of the glass with it. Dip the wine glass in Epsom salt and sprinkle on top to make sure it's fully covered.
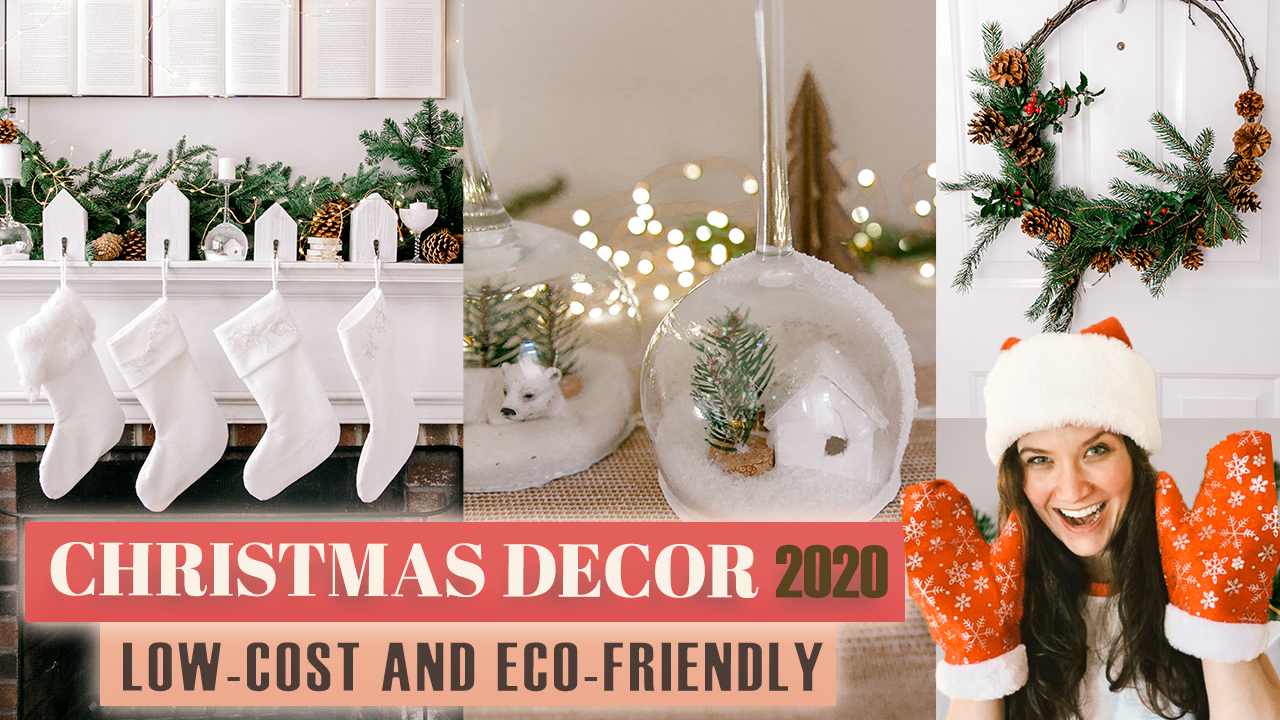
3. It's time to create a scene! Take your miniature items and glue them to the paper circle.
In my Christmas nature village, I used cork Christmas trees( I made them from cork and a small branch of evergreen), a polar bear that I borrowed from my daughter, a small present box that I made out of the brown bag, a paper house, a little snowman made out of cotton balls. Let your imagination run wild and create a unique world in a wine glass!
My Christmas theme was simplicity and I went for a more white natural look. I love it!
WE THOUGHT YOU MIGHT ALSO LIKE
A step by step tutorial on how to make a natural Christmas wreath from materials found in your backyard.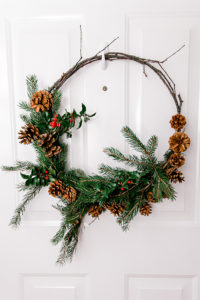
4. When you are finished with the scene, take ¼ cup of a mix of Epsom salt and regular salt. I felt that when you mix them up it becomes more textured and more realistic than if you'd just add only one type of salt.
Pour a mixture of Epsom salt and regular salt into your wine glass. 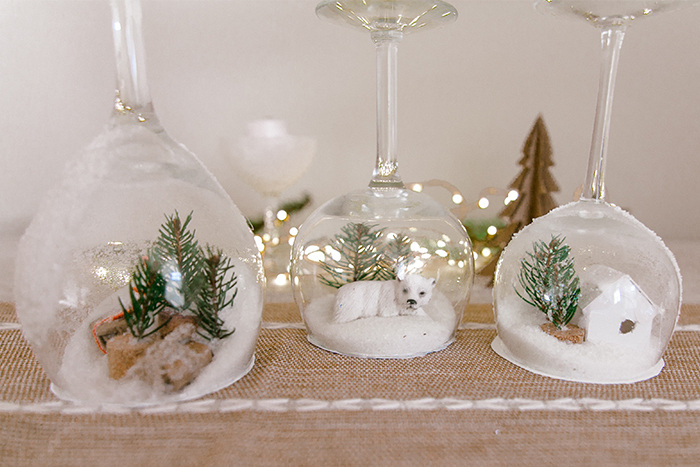
5. Use a hot glue gun and carefully glue the paper circle with a scene to the wine glass.
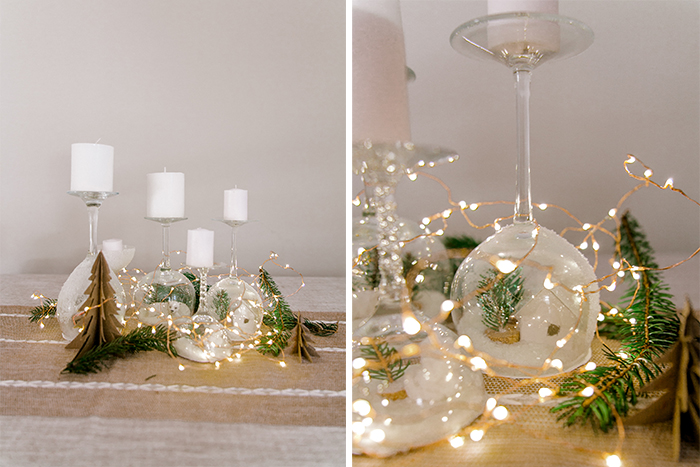
6. Turn upside down and enjoy the magic!
You could also add some flowers or glue pinecones on the outside, but I really enjoy the simplicity of it and this clean look.
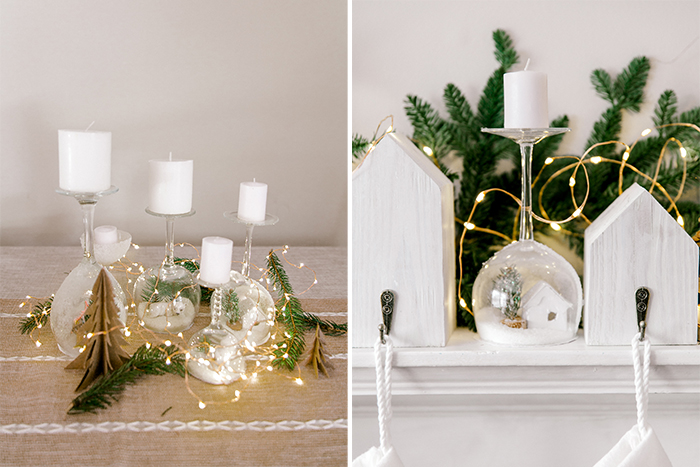
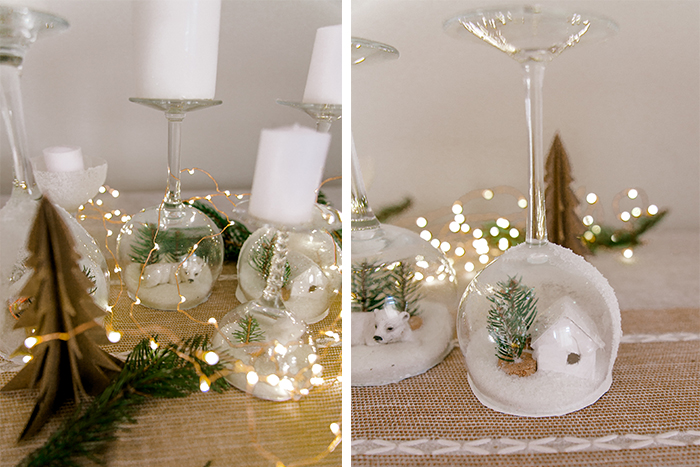
These wine glass Christmas candle holders are truly unique DIY Christmas table decorations. I think they can make any Christmas table look special. Throw a couple of evergreen branches here and there and Boom! You've got yourself a DIY Christmas table centerpiece.
I didn't use it as a centerpiece but spread those wine glass Christmas candle holders throughout my beautiful mantel, to complete a unique and serene vibe of our Christmas decorations.
Happy crafting!
I hope you enjoyed this step by step tutorial on how to make this unique decor - wine glass Christmas candle holders. Follow me for more fun unique budget friendly projects on Instagram @ifonlyapril. I try to post in stories my progress with all the projects.
Also, don’t forget to follow me on Pinterest, where I create inspiration boards for my next projects,
Till next time!
xoxo,
April
WE THOUGHT YOU MIGHT ALSO LIKE
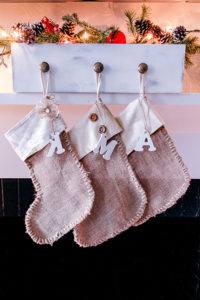
How to make burlap NO SEW rustic Christmas stockings
Handmade snowy white felt Christmas stockings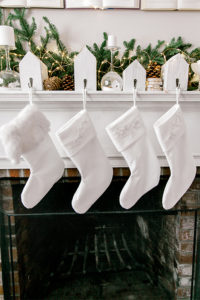


NancyAgnew says
What is mod podge your work is amazing I’m a complete beginner hopefully I can master it thank you so much
April says
Hi Nancy! Mod podge is a decoupage medium that acts as a glue in this case but dries up clear.
Thanks you so much and I’m sure you will make it amazing yourself!!! Tag me on Instagram so I can see your amazing creation!
Anna Shauck says
Thanks for this project idea. It’s going to be fun to try it. How did you make the brown trees in your winter scene?
April says
Thanks Anna! I’m happy you liked it 😉 for the trees I took a brown paper bag, cut 4 Christmas trees, fold it in half and glued together. It’s similar to paper hot air balloons that I made last year. You can find it on my blog. I hope this helps 😉