
A NATURAL CHRISTMAS WREATH {STEP BY STEP}
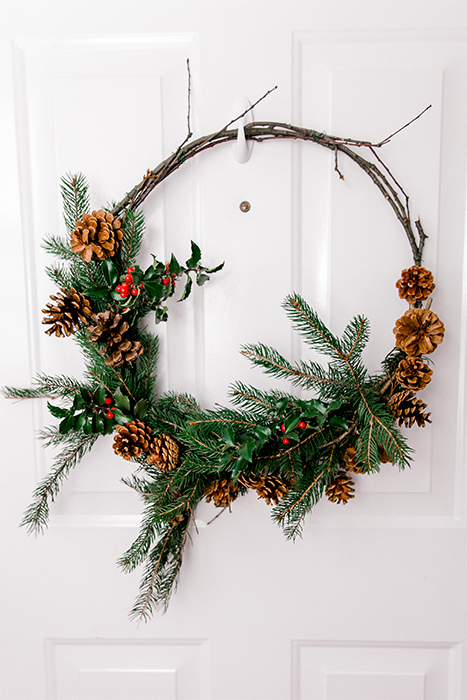
This year I've decided to have a natural Christmas. No plastic, only natural and recyclable materials. And let me tell you, it's been so much fun so far! I've never made a wreath before, but it turned out such a success! I can't wait to tell you how to make a Christmas wreath step by step. It's unexpectedly easy to make, gorgeous, and absolutely for free!
If you want to see a video version of this tutorial, you can find it HERE
Subscribe to get notifications!

MATERIALS:
A NATURAL CHRISTMAS WREATH {STEP BY STEP}
STEP 1.
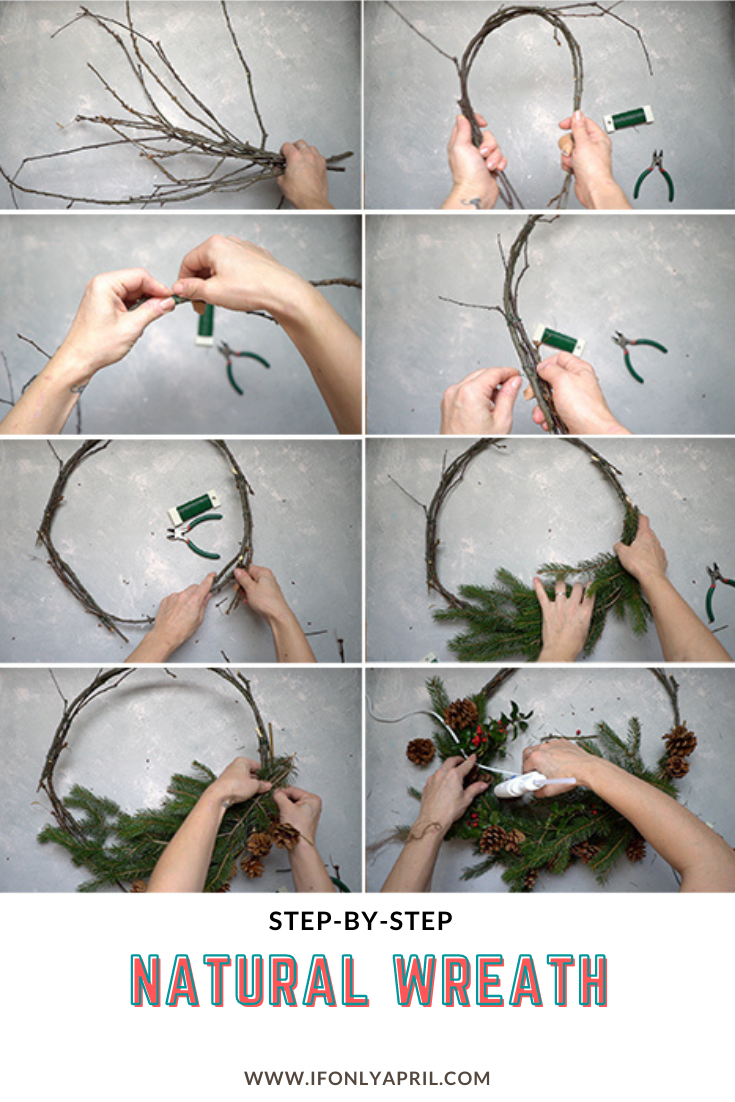
First, you need to gather your materials. Take a walk in the park, in the woods, or in your backyard. For this Christmas Pinterest-worthy wreath, you'll need to find a bunch of flexible twigs, some greenery - (fur branches, eucalyptus, holly berries), pinecones. Whatever you have on hand and nearby.
STEP 2.
You need to make sure that your twigs are flexible enough to bend a little. I was in luck - my neighbors just trimmed the tree yesterday and we had access to tons of freshly cut twigs. When you start assembling your natural Christmas wreath, put a bunch of twigs together and tightly wrap the floral wire around.
STEP 3.
Continue banding over your twigs, simultaneously adding more as you go and connecting them with floral wire.
STEP 4.
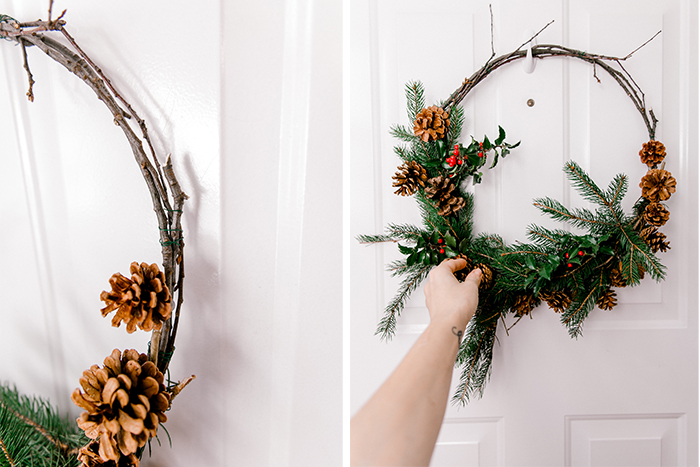
When you get to the full circle you can either adjust the size and make it a bit bigger or if you are satisfied with the size of your wreath, connect the twigs and finish a circle. You can also add more to the side to make it look fuller.
STEP 5.
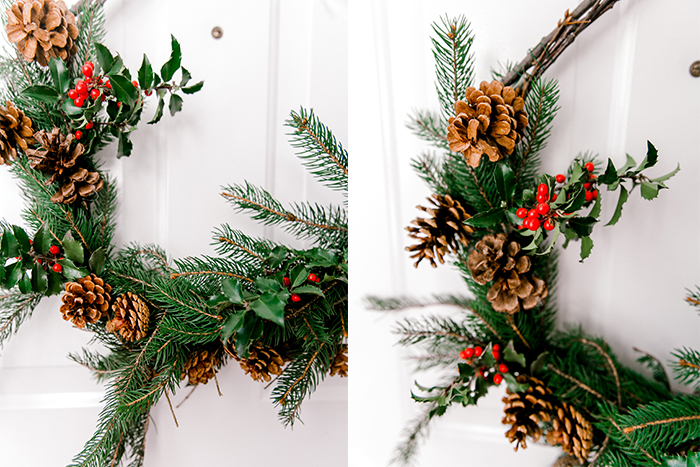
Here comes the fun part - decorating your natural Christmas wreath. The possibilities are endless. You can use greenery, pine cones, yarn balls, ornaments, burlap. Literally, whatever you want and have nearby. I had fur branches, holly berry branches, and pine cones. And that was more than enough.
STEP 6.
Attach branches with floral wire. Try to hide the wire under the greenery, and have fun creating! Try to distribute pine cones evenly and glue it in the end.
STEP 7.
Put the hook on your door and enjoy it!
If you'd like to see a video version of this tutorial,
you can find it on my YOUTUBE channel.
I hope you enjoyed this step-by-step how to make a natural Christmas wreath! If you like it, follow me on Instagram @ifonlyapril. I try to post in stories my progress with all the projects.
Also, don’t forget to follow me on Pinterest, where I create inspiration boards for my next projects.
Till next time!
xoxo,
April
WE THOUGHT YOU MIGHT ALSO LIKE
Amazing ideas that never get old on Handmade Christmas ornaments
Tutorial and my story how I made my bridal bouquet for $40


Leave a Reply