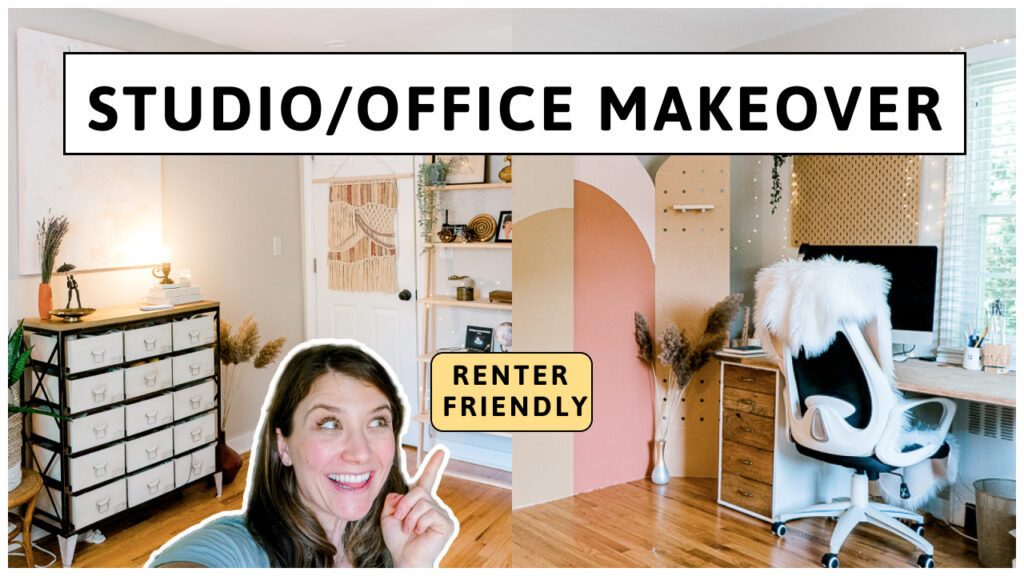
As with a lot of my projects, this office makeover was so long overdue. I was dreaming about a bohemian/industrial paradise that would have a relaxed and creative vibe.
And I think I archived that!!! In today's blog, I'll share with you my creative process, links to all the sources that I used, and shocking before/after photos.
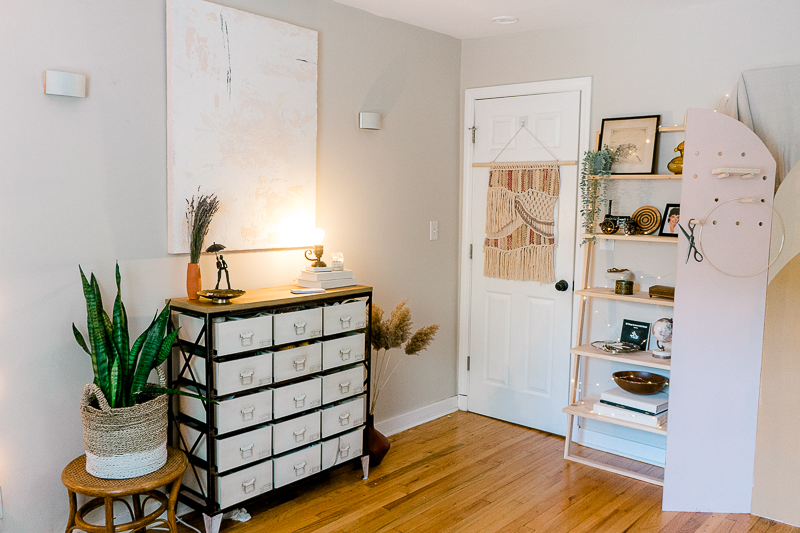
Let's look at the before photos. When I say the makeover was long overdue, you can see why🙈 there are a few reasons why my office/creative studio constantly gets cluttered.
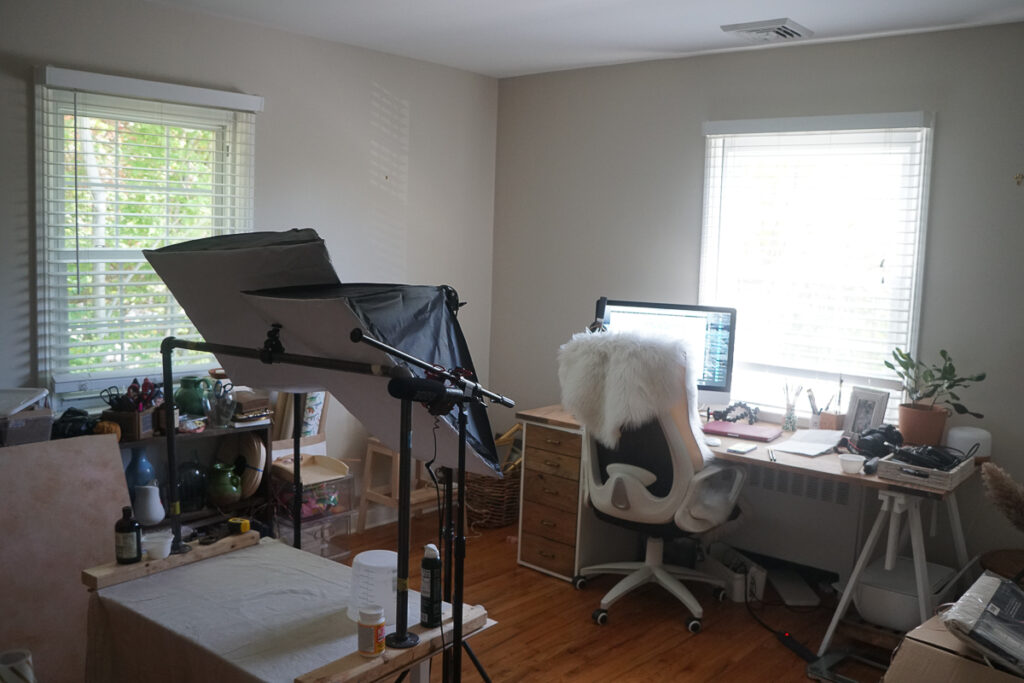

First, it's an inevitable part of the creative process (DIY fellas, I hope you understand). And second, it's my only "safe from the kids" zone in the house 😁 besides the garage of course. So every time I need to "save" something from the kids, I just shuffle it to my office. I know, it's probably not enough of the defense, but I hope I can rely on your understanding, my dear readers!
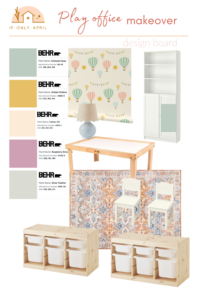
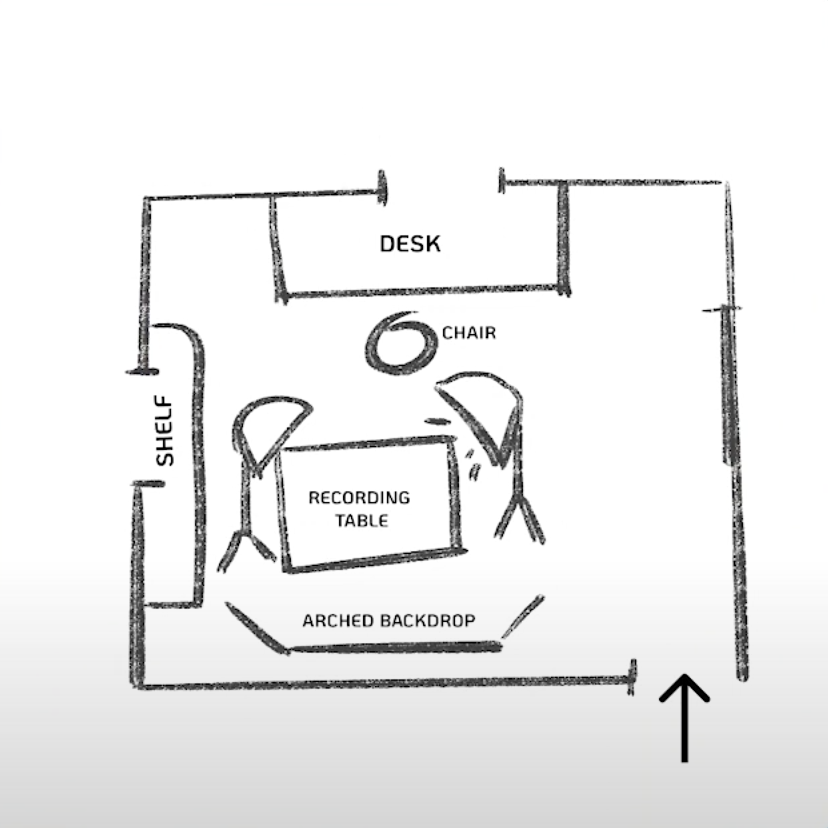
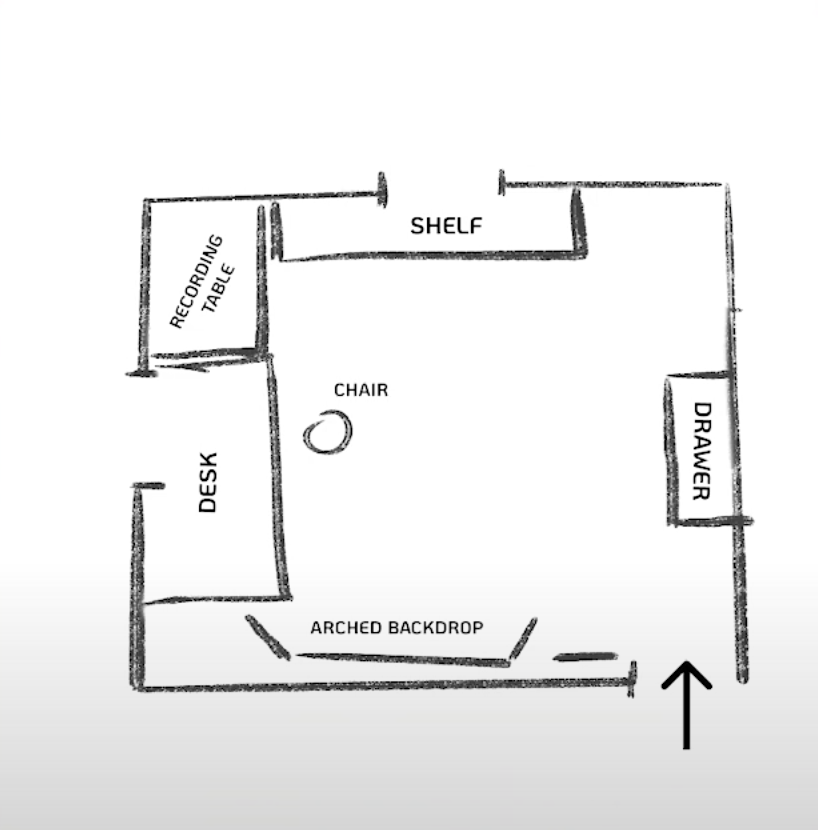
I tried to draw the plan of how everything was located before the office makeover and what was the goal to do after so you can better visualize the change.
Solving problems
Besides obvious things, like the office is messy, I needed a few changes in the space to make my creative process better.
First, a better organization of craft supplies.
Second, a perfect backdrop for YouTube video's for my channel. I also knew that I had to add fairy lights somewhere.
I have a lot of objects that I plan to repurpose, like vases, some large craft materials, a sewing machine... To keep it organized I had to get a shelf.
I decided to repurpose the shelf from the kid's playroom that I build a few years ago when I just started woodworking. It's a perfect Montessori display shelf for toys but now it serves its purpose in my office - displaying things that might catch my attention and I decide to DIY😁
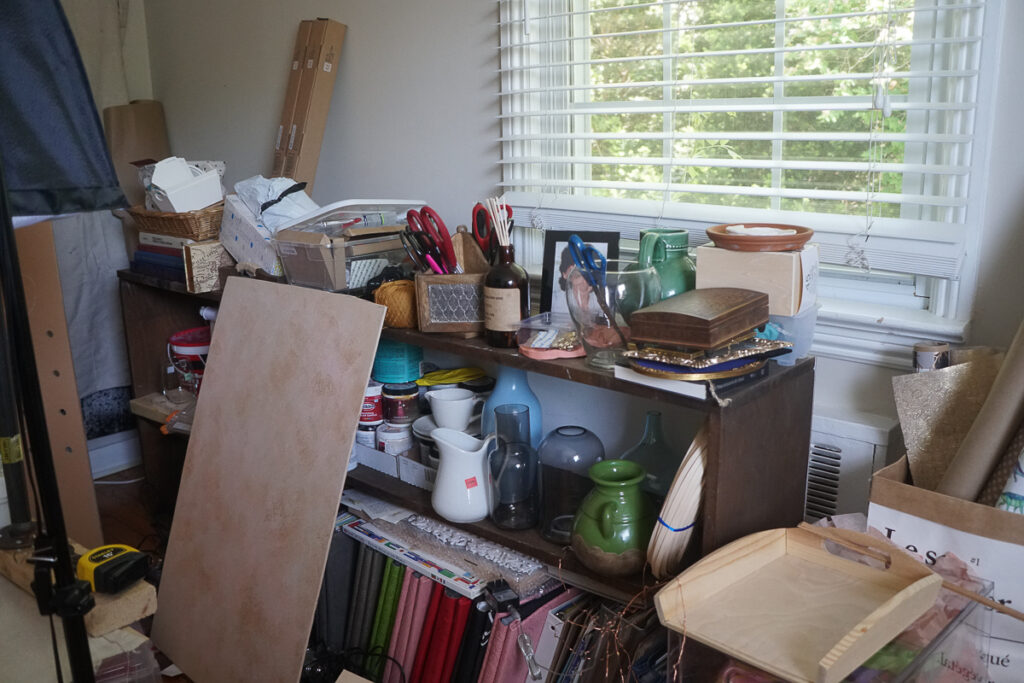

I put the shelf by the window. I'm not very pleased with the way it looks right when you walk into the room, but this room needed more functionality than being pleasing to an eye.
Desk area
I moved my beautiful oak desk by another window and I feel this way it serves a better purpose.
I made this desktop two years ago and it was my first project with hardwood (aka expensive wood). It has a lot of sentimental value for me.
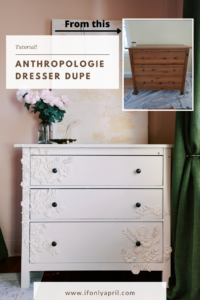
It's held by an IKEA Alex drawer on one side and a sawhorse (also from IKEA) on the other. I upgraded this Alex drawer to match my gorgeous oak desktop by replacing the front of the drawers with real wood and I think it looks stunning!
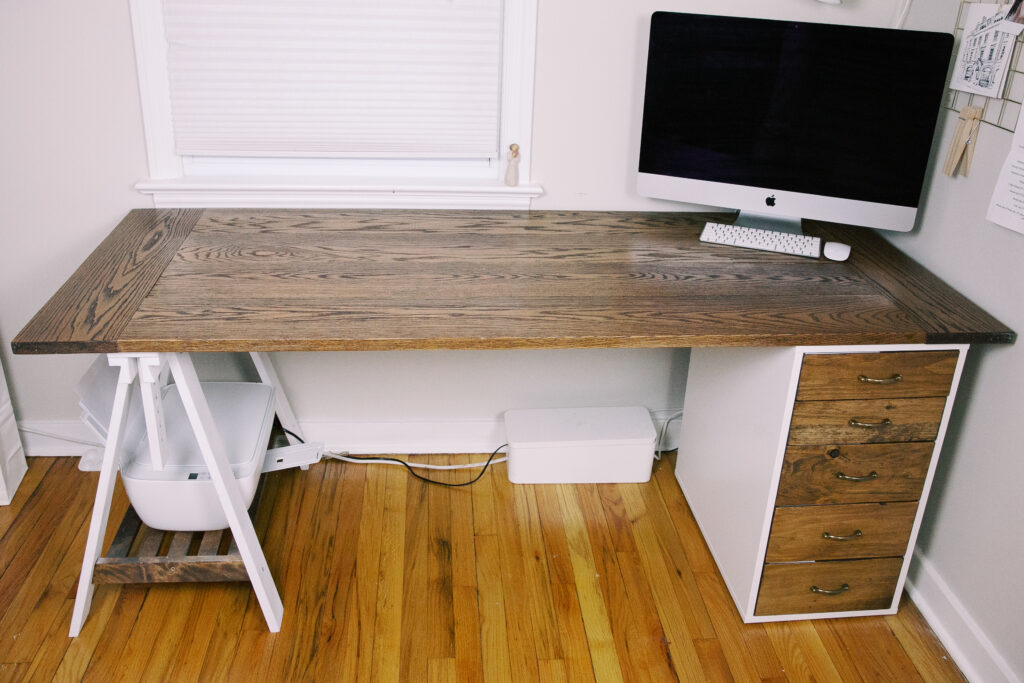
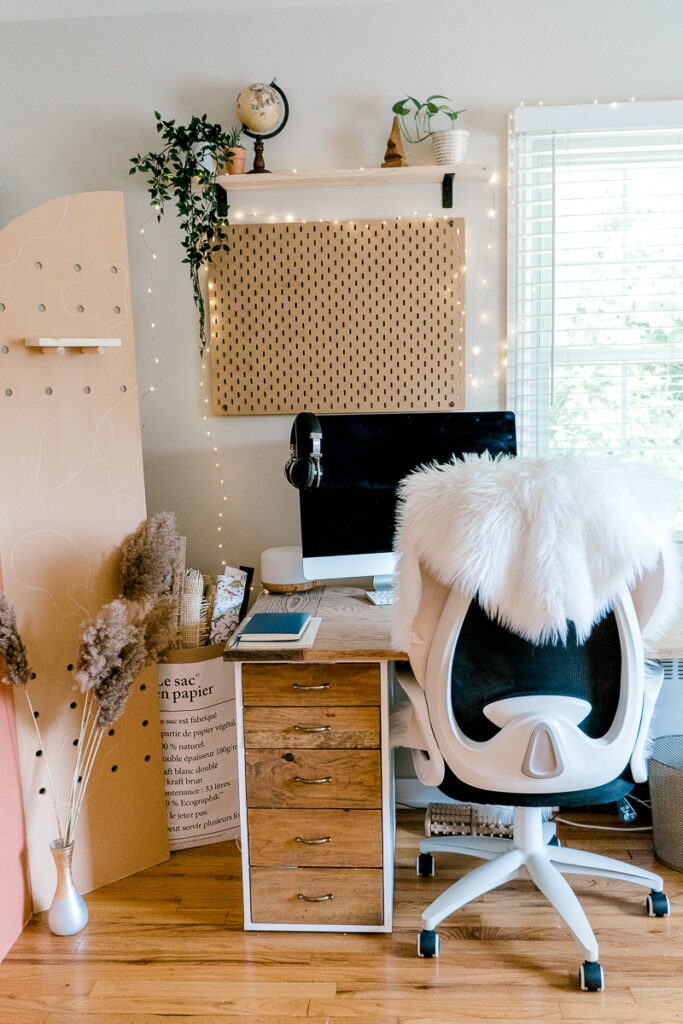
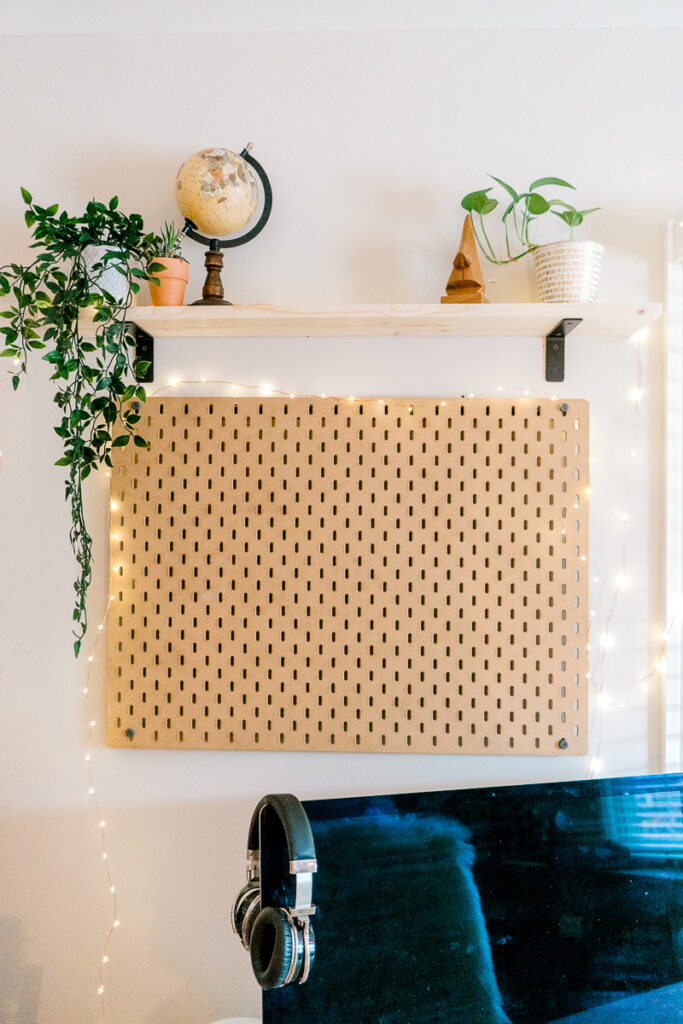
This positioning of the desk allowed me to put a pegboard on the left side which is super convenient since I can use it for my content calendar, office supplies, and organization.
I also made small shelves above the pegboard. For that, I ordered industrial-looking brackets from Amazon and cut a 1x8" board to size. I think it looks super cute but I also need more hanging plants.
Craft area
The previous craft area was located in the middle of the room which was highly inconvenient. Especially when I had to set the lights for it. It would take up so much space that I'd constantly have to walk around.
Because of course, I'm not that person who moves things away right after they are used. Duuh
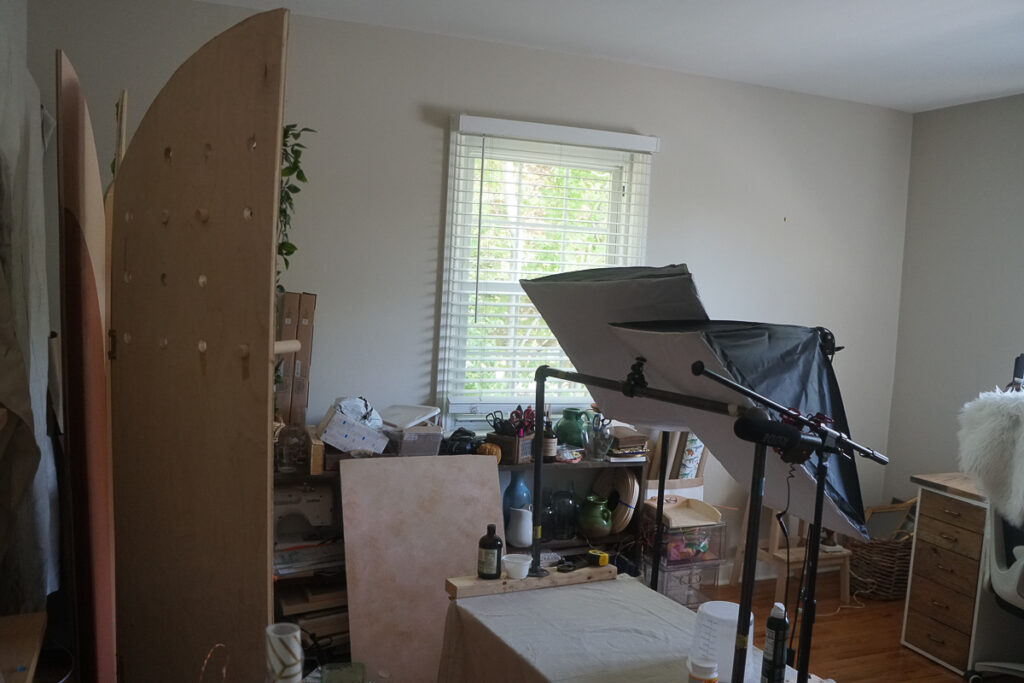
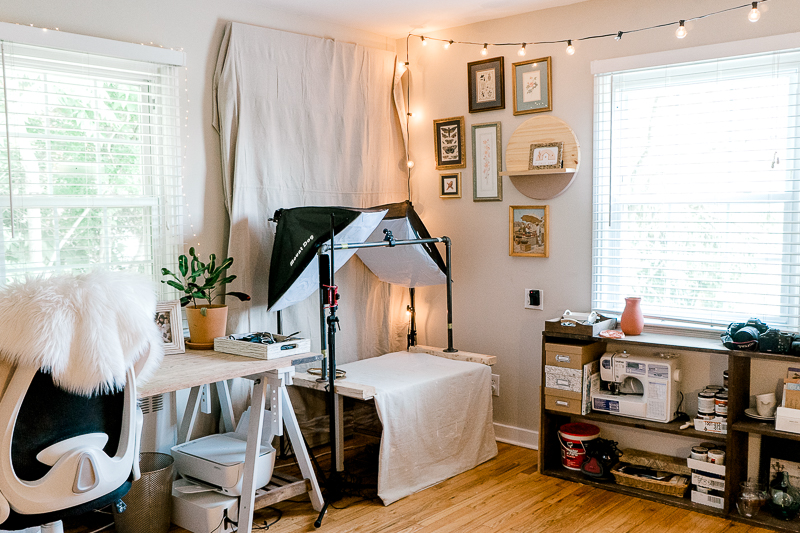
By moving the craft table to the side by the window I have it tucked away and can use it if I need it but it's not "to your face". It can just stay messy without screaming for attention haha
By the way, this craft table is a small children's IKEA table that I shamelessly stole from them🙈 well, to my defense they weren't using it.
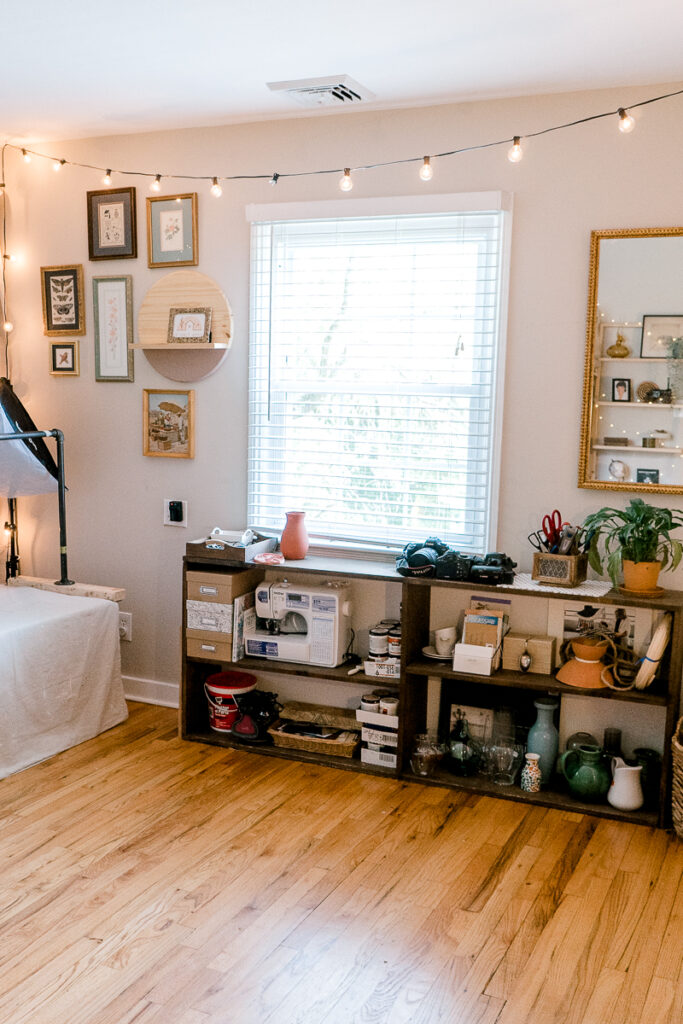
I also wanted to beautify the space and add a gallery wall of sorts for my office makeover. And I did! I got most of the frames from Goodwill. Frankly, not all the art is my favorite. I was rushing to make a video for YouTube and just used what I had on hand.
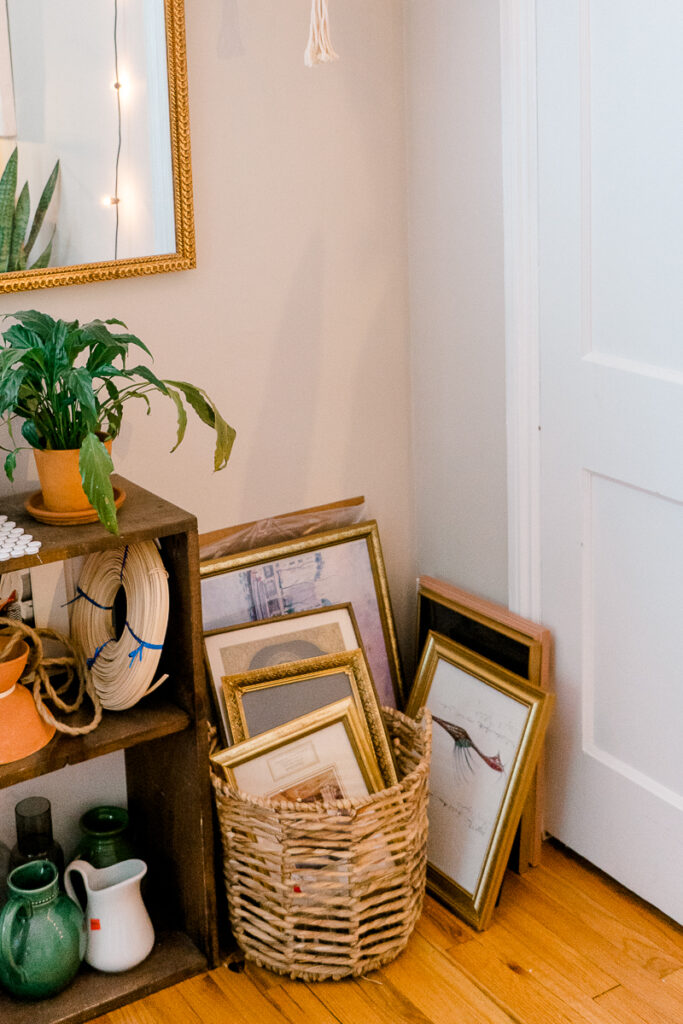
My favorite is this painting from 1925 that I brought with me from Moscow.
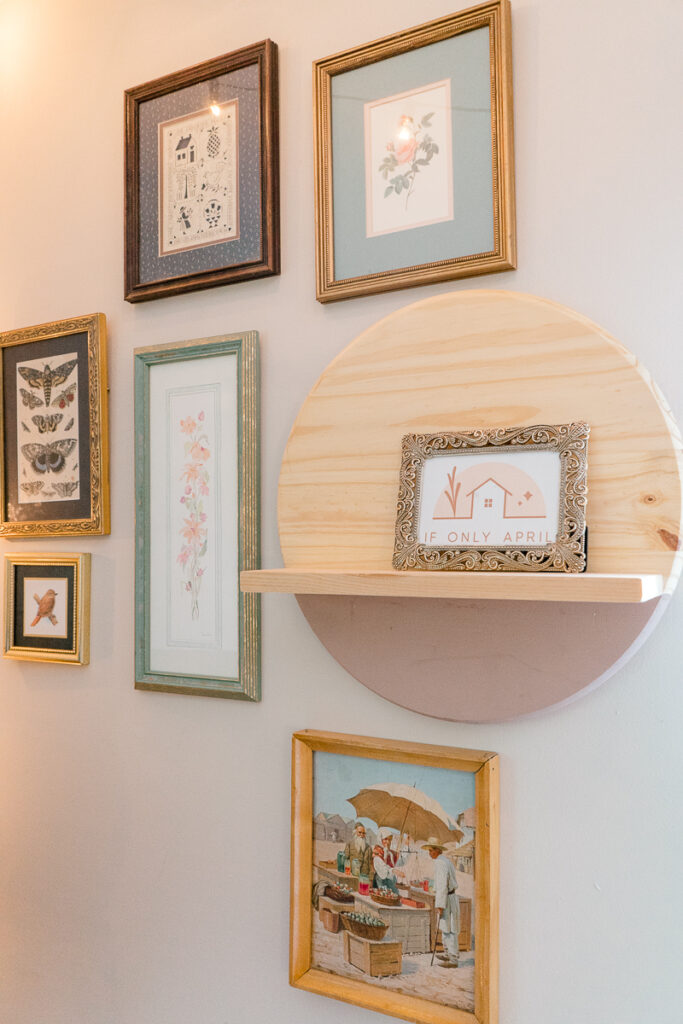
I also love the watercolor print with the bird🤗 You can find all my hand-painted watercolors in my Etsy shop. There are so many prints to choose from, including alphabets for kids and so much more.

I'm planning to come back to this gallery wall and change some of the paintings. I intentionally used different geometrical shapes of the objects to create an interesting visual effect.
And of course, I had to add bistro lights! That was one of the main requirements for this room😁 They create magic!
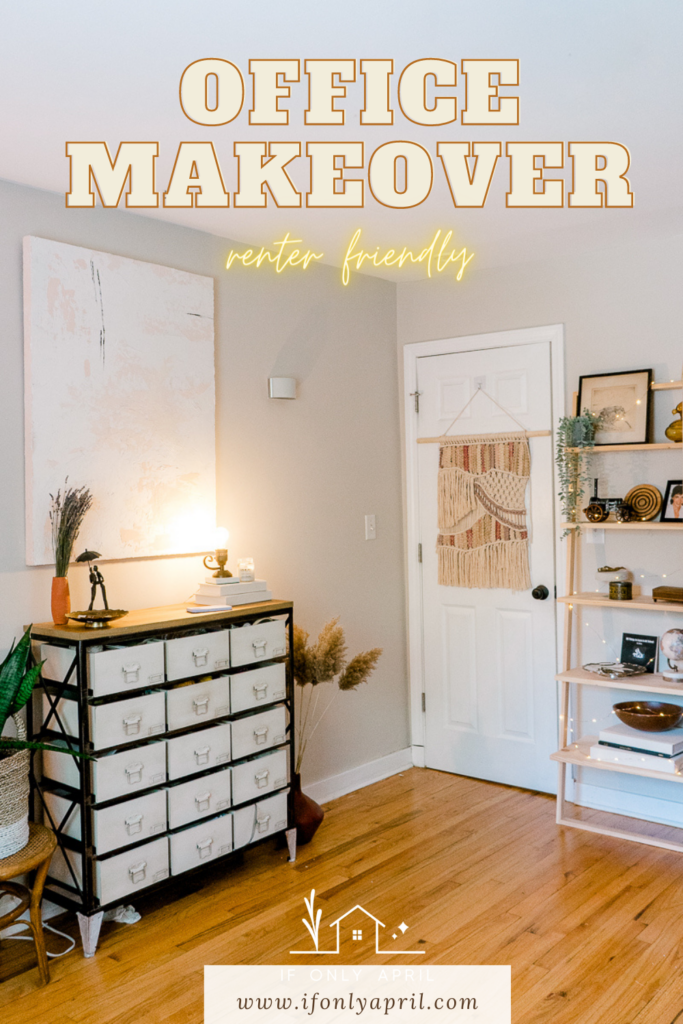
PIN IT TO FIND LATER
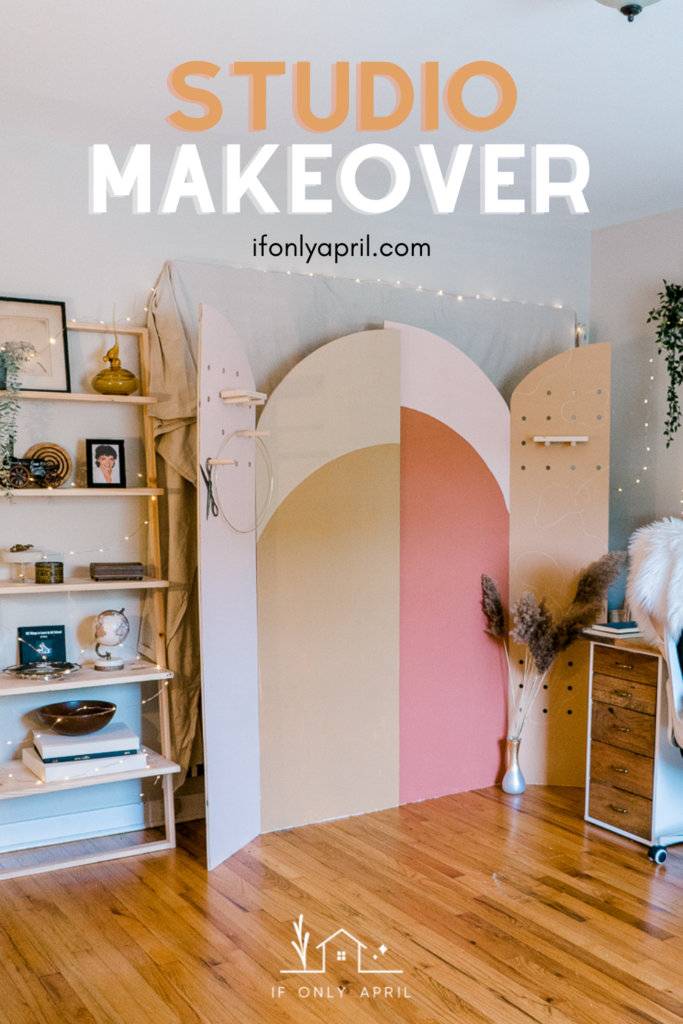
Video recording area
As you already have seen before, I made this beautiful arched backdrop a few months ago. And it still serves me great!
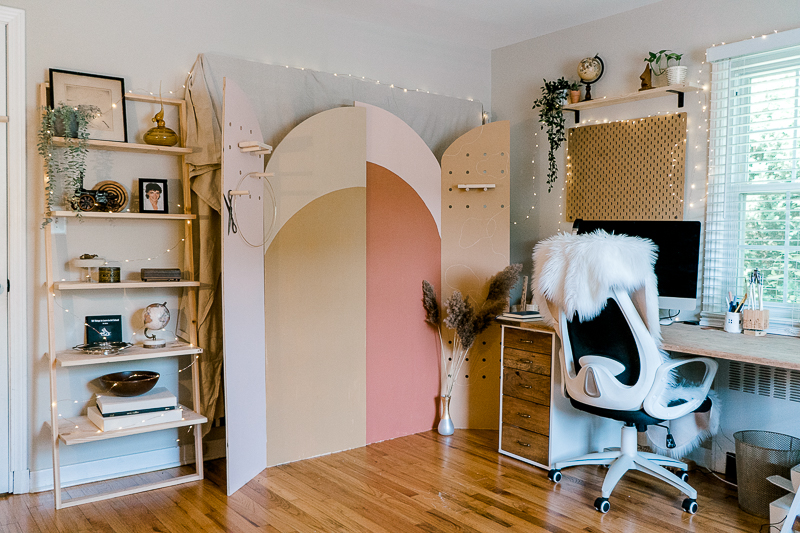
I also hung this beautiful mirror that I thrifted for $5. So I can see myself and fix my hair before I start recording a video 😁
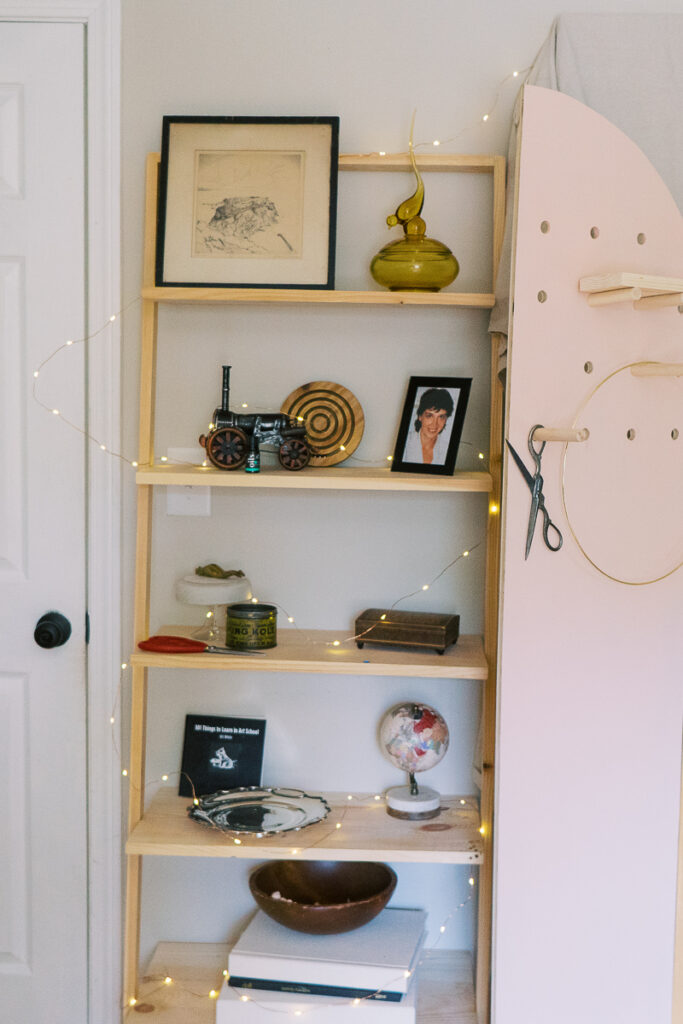
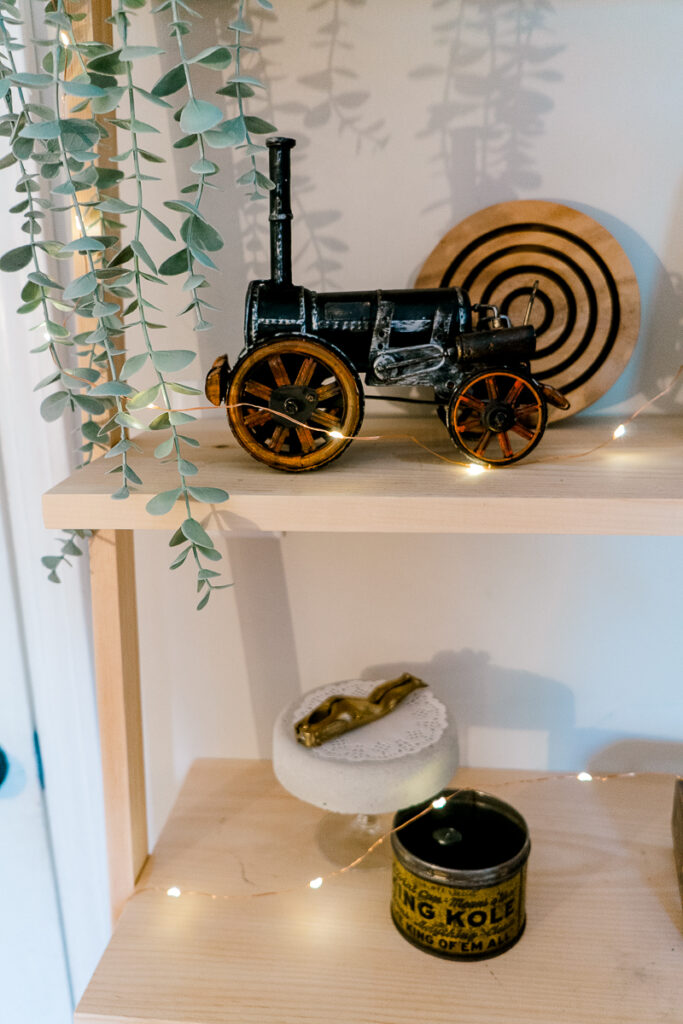
I located the backdrop in a way that that there will be a ladder shelf shown on the back. So I could style it with my favorite thrifted finds.

The etching and a bird vase are from Monger's market This industrial train I found in Vermont
I used this beautiful industrial 15-drawer dresser from Urban Outfitters that I found on the Facebook marketplace to keep some of my craft supplies. It's so amazing, it fits so many things and is overall perfect! I think I need one more to fit all of my craft supplies. Well, I'll be on a lookout for another one ;D
This is how the room looks now. What do you think about this office makeover?
Sources:
- DIY oak table
- Montessori shelf
- DIY ladder shelf
- Alex Drawers update
- DIY arched backdrop
- Industrial brackets
- Bistro lights
- Handpainted watercolors
- Dresser from Urban Outfitters
Watch the video version of this office makeover on
YouTube channel
xoxo,
April