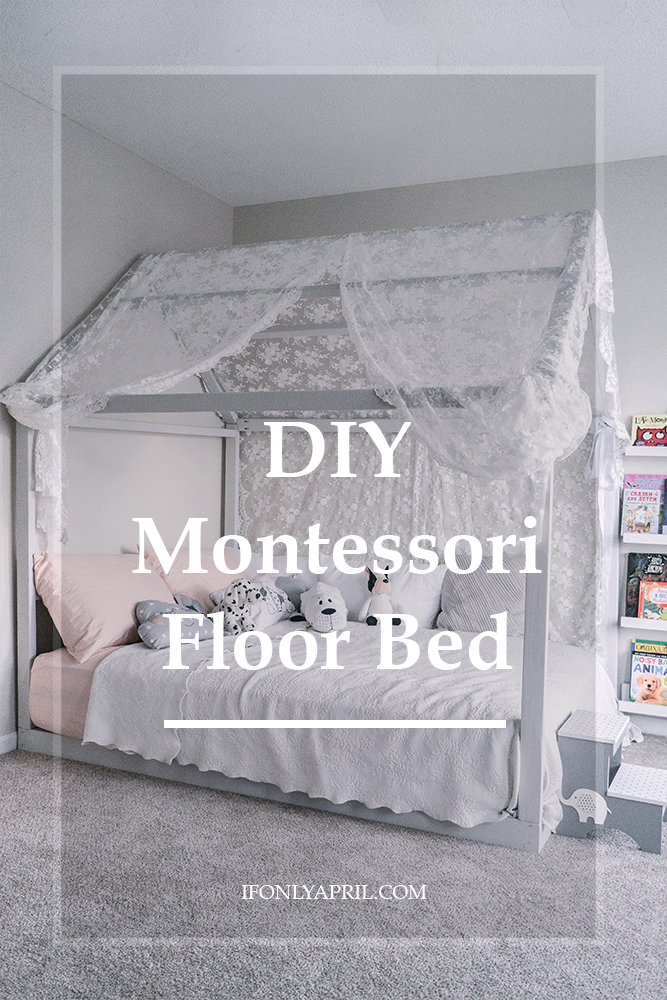
I came across so many Montessori Floor house beds on Pinterest that I've got a DIY Montessori Floor bed fever if you know what I mean 🙂
I checked the prices for similar beds and was quite surprised to find out how much they cost. Especially, since I wanted to have a full-size mattress, instead of a single toddler mattress. Prices grew accordingly. After extensive research and disappointment with the prices, I've decided to build it myself. It took me over a month and it's far from perfect but it was so worth it.
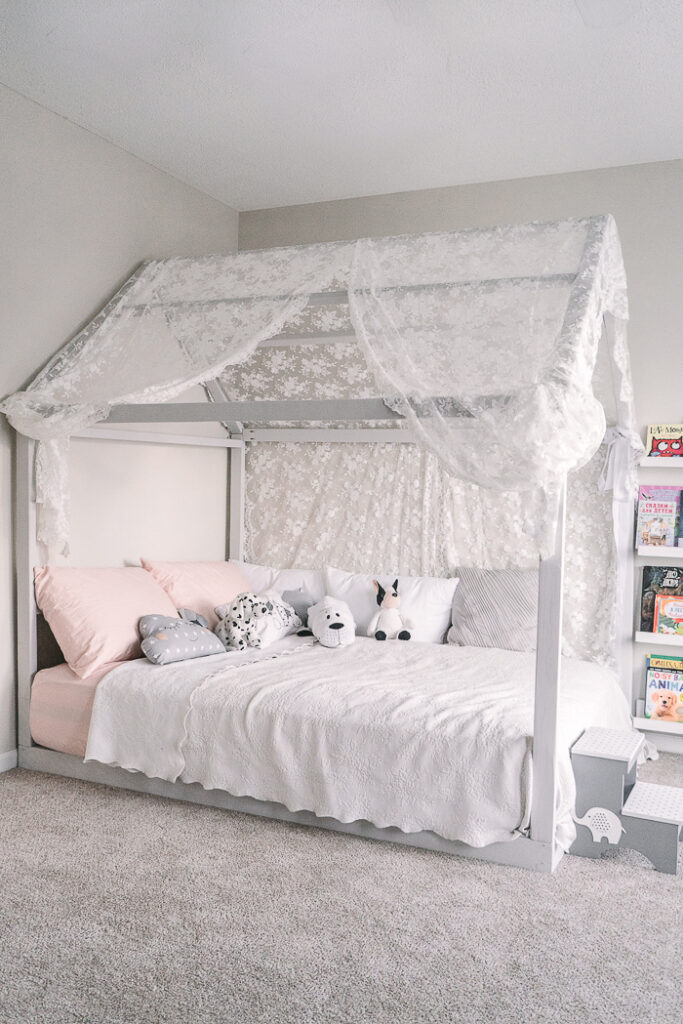

I was also 7 months pregnant when I started making it, but I hope a little sister didn't mind since it will be her magical bed at some point too.
Plan
I decided to make a bed with a platform. I chose it because unlike a lot of similar beds on the market this one has a platform. As much as I appreciate the concept of a floor bed, the idea to put a mattress on the floor didn't seem right. The plan is very easy to follow and if I could make it you can too!
I wrote a blog and published plans for the twin-size bed of the same plan. You can also watch me make it on my YouTube channel here.

Full-size plans will be available soon.
Few words about lumber
I started with choosing the right wood. That's where I made my mistake #1. You see, since I was trying to build this bed on a budget, I went to Home Depot and got the cheapest wood available. While most of the wood was decent, the 2x3s were a nightmare. They were shading so badly, I spent hours and hours sanding it down. In the end, I went back and bought another batch. The cuts are intuitively easy and if you have a miter saw with a bevel angle, it could be done super fast.
Besides sanding (which took forever), I was done with cutting wood in about an hour.
Assembly
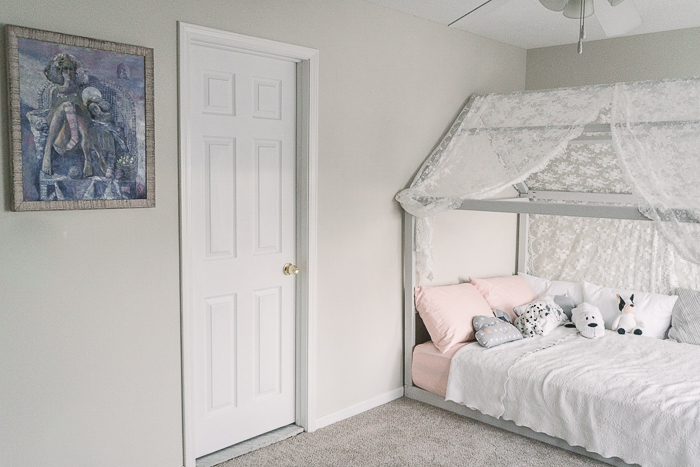
If you attempt to assemble it by yourself, don't! That was my mistake #2. I quickly realized that it's simply not possible, especially if you are heavily pregnant and the belly gets on the way. I waited for the weekend when my darling husband could help me with this ambitious project. It took us probably another hour to assemble. To my surprise, the whole construction is way heavier than it seems. Also, during this step, I realized that some of the wood planks weren't even. No, my measurements were precise. It all comes down back to the cheap wood, which is sometimes twisted and makes it harder to put together. We finally put it together, only to find out that it is quite shaky. I'm sure it wouldn't fall down, but it definitely not "children hanging on it" - friendly.
To make it more secure we added a 2x3 board on the side of the headboard (sort of like a rail that came in handy since our girl puts her toys on it and water bottle). I didn't want to add another one on the feet side since thought it would defeat the purpose of having a floor bed.
Paint
Imagine my excitement when we finished. We couldn't wait to paint it over. I used this chalk paint by Behr in Trellis gray color for the bed. I didn't use any sealer and it turned out just fine. Update* it's been almost a year and the paint is still intact.
Drapery
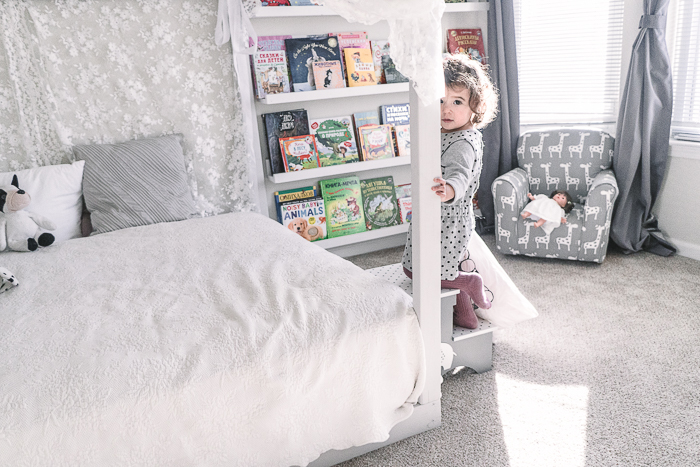
I've been looking for the tulle drapery all over the place and had a hard time finding a textile that wasn't sold by a yard in a pre-cut piece. It wouldn't go well to sew it together and have stitches in the middle. I found this tulle on AliExpress but I'm still in the search of a perfect drapery for this dreamy bed, so if you know where I could find it let me know. Sasha absolutely loves this bed, not only to sleep in it but jump on it, read books and just chill.

Are you planning to make a bed like this for your little one? Will you go for a full-size or a single-size bed? Let me know if you have any questions and I'll try to help!
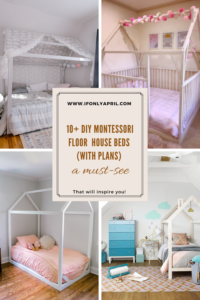
You might be also interested in 10 Free plans for DIY Montessori Floor House Beds.
If you like this bed, take a look at my other projects:
DIY ACTIVITY CUBE FOR TODDLERS

DIY MONTESSORI-INSPIRED SHELF FOR TOYS

Updated*
Disassembly
We had to move out from a place where we lived and honestly I didn't even think what we would do when it's time to go. I have to admit, it was quite painful to take it apart and put it back together in a new place. I had to secure it to the wall to be absolutely sure it won't move anywhere.
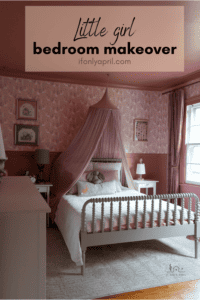
You can read about the updated little girl bedroom here.
DON'T FORGET TO PIN FOR LATER>>>>>>>>>>

If you ever have any questions, please, don't hesitate to reach out! I'm always here to help!
And make sure to check my Instagram @ifonlyapril where I post behind the scenes and everything that goes on in this crazy spectacular fun world of If Only April DIY 🙂
xoxo,
April



I am trying to make this in a double, do you have a pattern for this? Thanks
Hi Danielle, I'm not sure what double is. I have twin size and a just published a plan for a full size.
Where is the plan for the full size?
https://if-only-april.myshopify.com/products/montessori-floor-house-bed-plans-full-size
Do you have a link to the mattress you used?